Embedding electronics inside a 3D printed design is quite a challenge. While enabling such a technique opens up a new door for rapid prototyping and testing of ‘future’ gadgets, at the same time, it presents new avenues for wearable electronics. We can design jewellery that has chips embedded in them for various purposes such as health monitoring, movement tracking or data privacy/protection. Indeed, it is the future of smart electronics.
Motivated by the above possibility, I have designed electronic jewellery, which looks like a simple ring but is sophisticated enough to secure data and message privacy. However, embedding an electronic chip inside a ring is quite difficult as we are using 3D printing technology and 3D printers are not meant to print the circuits on mechanical parts.
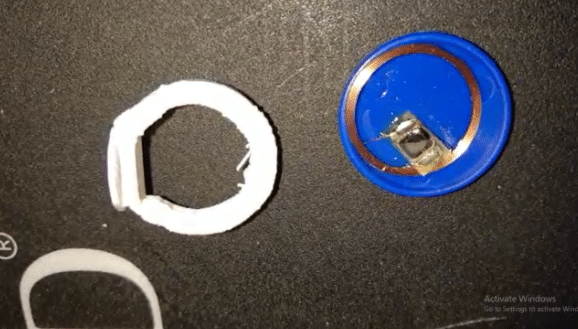
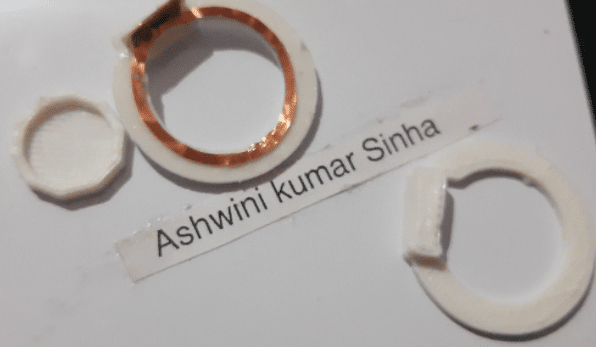
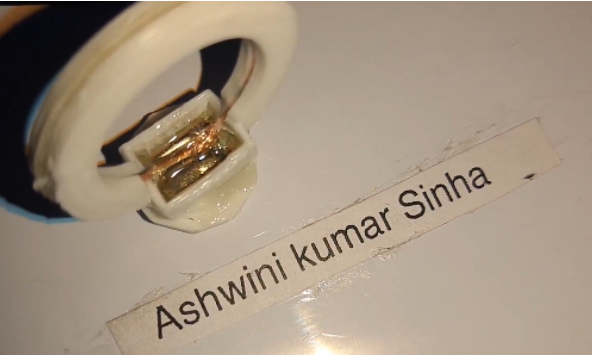
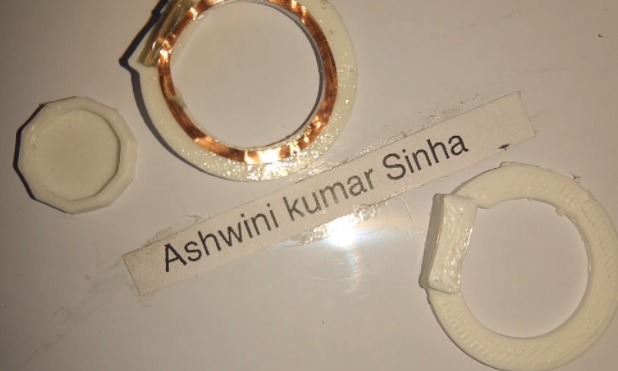
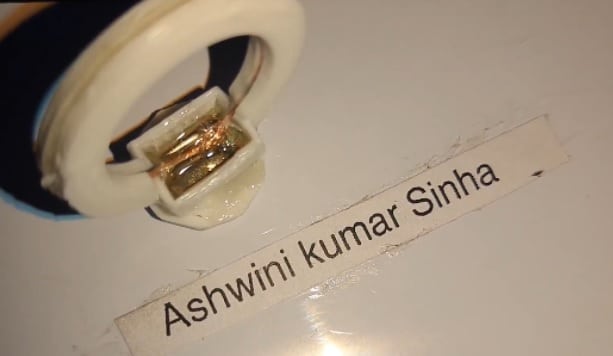
So my journey started with the 3D designing of electronics jewellery (ring) inside which I embedded an electronic chip. I developed various prototypes and designs to make an RFID chip-based ring but all of them failed because it is hard to embed a chip safely inside a 3D printed ring. Here are some pics of the failed prototypes.
Electronic Ring Design
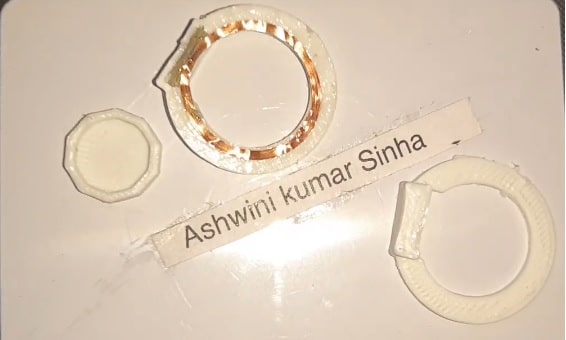
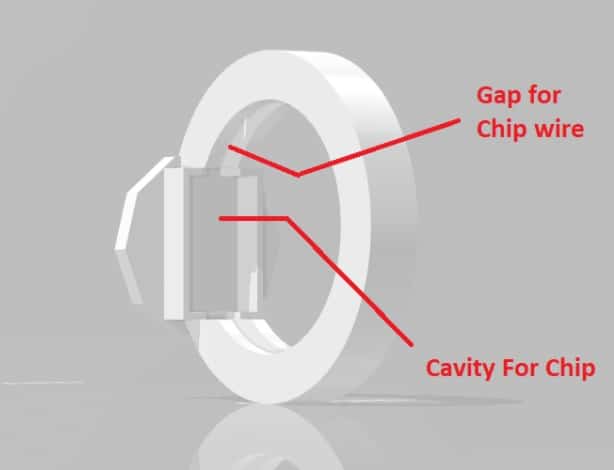
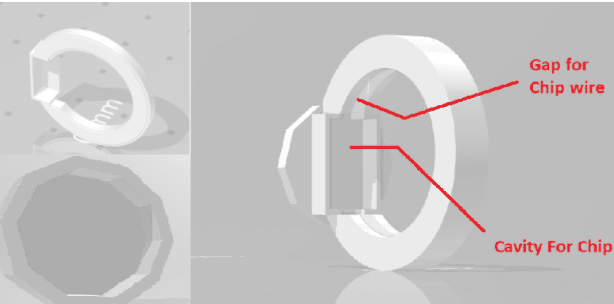
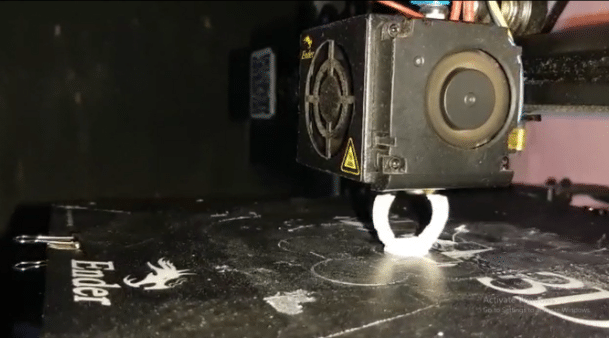
To begin with, I tried designing the ring in different shapes and cavity structures so that an electronic chip can be safely placed there. To make things easier, the design was split into two parts for 3D printing: the circular body and the top structure for a diamond or any other gemstone. 3D printing the design in separate parts helps a lot towards achieving success. In a matter of a few minutes, I got good quality 3D printed parts of the ring with each half having a cavity to fit the electronic chip.
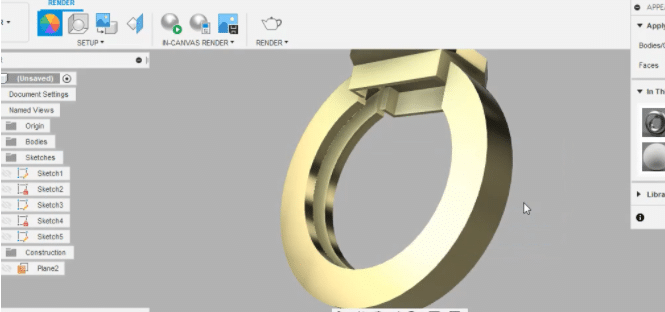
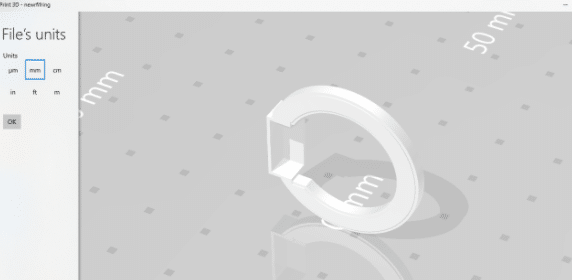
The final design of the electronic ring is in three parts consisting of two symmetric halves that have a cavity to keep the electronic chip and a top part for diamond or any other gemstone/decorative (see pic below for all the printed halves).
Chip Implantation
After getting the ring 3D printed two halves of the ring, we are ready to implant the electronic chip. Here, any small-sized chip and battery can be implanted. Therefore I have chosen to make a smart ring with an RFID chip whose information and password can only be read and extracted only using a specific reader device.
For implanting the RFID chip inside the ring, a problem is to get an RFID chip that matches the ring size. To overcome that, I safely extracted the RFID chip from the RFID tag by removing the glue that attached them. You can also safely extract the RFID chip from the plastic RFID card by dissolving PVC in certain chemicals. Be careful while handling such chemicals. After extracting the chip, glue its wires on the ring and place the chip inside the cavity. Now join both halves of the ring symmetrically while the chip is smoothly affixed inside the cavity.
Our electronic jewellery ring is now ready.
In the next part of the article, we will create a code that can perform auto-login, money transfer, message transmission and more on using the ring.
