


 The Internet of Things (IoT) is commonly used in homes and industries for monitoring sensor values. In this project, the Blynk IoT platform is used to get notifications through smartphone and email when the air-quality sensor detects a value that exceeds the user-defined limit. It can also be used as a gas leakage monitor.
Any suitable analogue sensor like MQ-135 may be connected to the analogue pin A0 of WeMos D1 board (Board1), as shown in Fig. 1. Using Blynk app we can now monitor gas or air quality through the sensor and get notification when the sensor gives a reading of more than 150. It is that simple!

Construction and testing
Download Blynk app from Google Play store and install it in your Android phone.

Registration is required for its use. After registration, click on New Project and enter a project name of your choice. Under Choose Device, select ‘WeMos D1’ or ‘WeMos D1 Mini,’ as per the device you are using. Under Connection Type, select ‘Wi-Fi’ and click on ‘Create.’ An authorisation token will be sent to your registered email ID. It will enable you to see the project space on your Android smartphone. Follow the steps below for configuration.
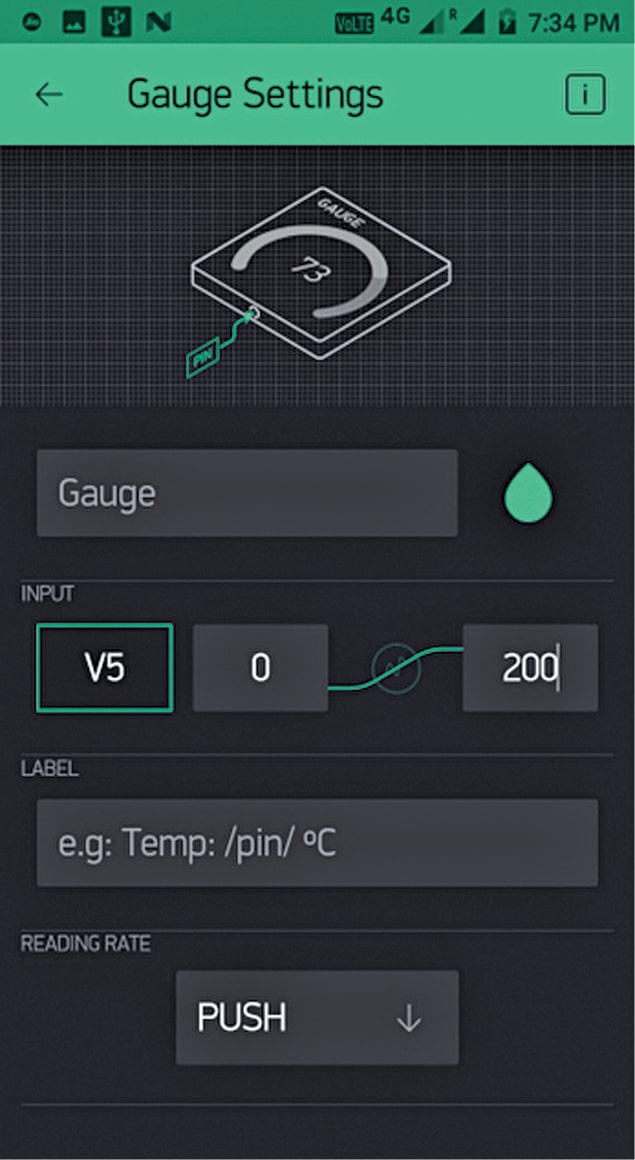
1. In the project space, select ‘Widget Box ’ and select ‘Gauge’ under Displays. You will be directed to the gauge settings screen. Under Input, select virtual pin ‘V5’ (if you are selecting a different virtual pin, change it in the program as well) and change the variation from the default 1023 to 200. This will set the gauge level from 0 to 200, as shown in Fig. 2.
2. Select ‘Widget Box’ and select ‘Eventor’ under Other, ‘Notification’ under Notifications, and ‘Email’ under Notifications.
3. Click on ‘Eventor’ in the project space and click ‘+ Add New Event.’ Click on ‘Vpin’ value and select ‘V5.’ Choose the condition as ‘is higher than’ and the type as ‘150.’
4. Under Choose action select ‘Send notification’ and enter the message you wish to see. In this example, we used “It’s greater than 150,” as shown in Fig. 3. Next click on ‘OK.’

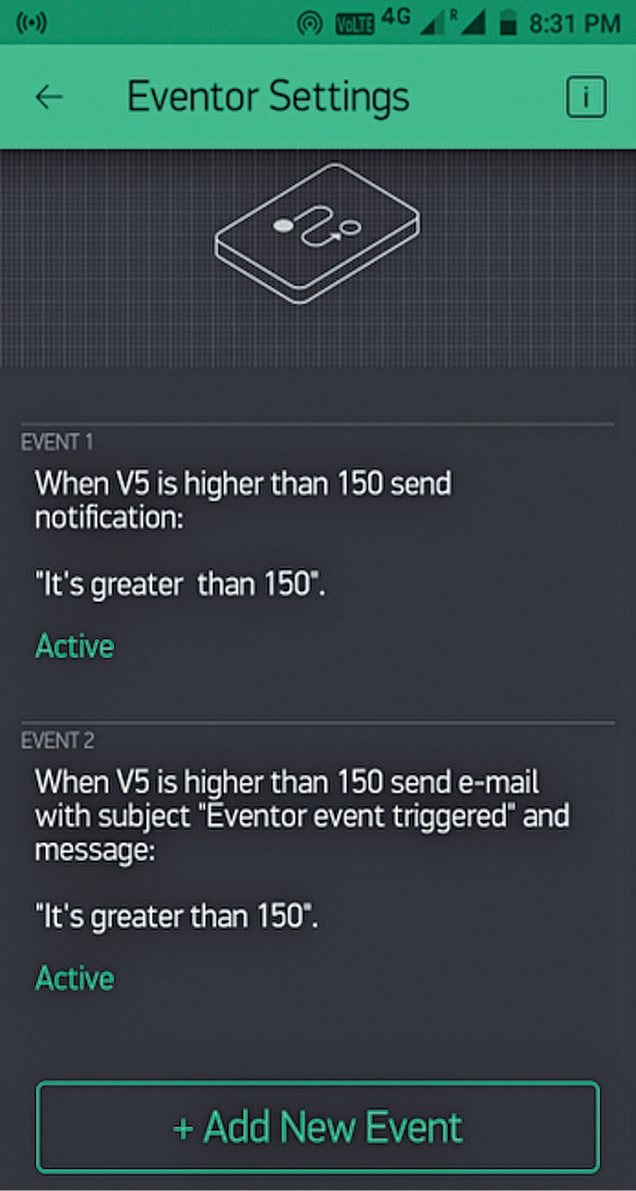
5. To get the notification through email, click ‘+ Add New Event’ and repeat steps 3 and 4. In step 4, choose action as ‘send e-mail’ and type the message you wish to see, and click on ‘OK.’ Now Eventor Settings will show two events (Event 1 and Event 2), as shown in Fig. 4. Go back to the project space and click on play button -> to run the app.
Interfacing WeMos D1 board with Arduino IDE
To use WeMos D1 board in Arduino IDE, it is necessary to follow the steps below. If you have already used WeMos D1 board with Arduino IDE, you may start directly from step 11.
6. Open Arduino IDE and go to File->Preferences. In Additional Board Manager URL field add the following address:
http://arduino.esp8266.com/stable/package_esp8266com_index.json
7. Go to Tools->Board Manager, select ‘esp8266 by ESP8266 Community’ option, and click on ‘Install’ button.
8. After installation, close the Board Manager, go to ToolsBoard, and select WeMos D1, R2, and mini.
9. For USB-to-serial chip, install the driver from following URL address:
http://github.com/nodemcu/nodemcu-devkit/tree/master/Drivers
10. Go to Toolsto upload speed and select 115200.
11. Download Blynk library from the following URL and in Arduino IDE go to SketchInclude LibraryAdd Zip Library and select the downloaded zip file: https://github.com/blynkkk/blynk-library/releases/tag/v0.5.2
12. Change the token number, Wi-Fi username, and password in the following line of given program (blynk_gas.ino).
char auth[] = “4042a240e2ea48bea5ffeeadb
13eb715”; // Your token number
char ssid[] = “your wifi user name”;
// Wi- Fi User name
char pass[] = “your password”; // Wi-Fi
password
13. Ensure that Wi-Fi and the Internet connections in your PC and smartphone are working properly.
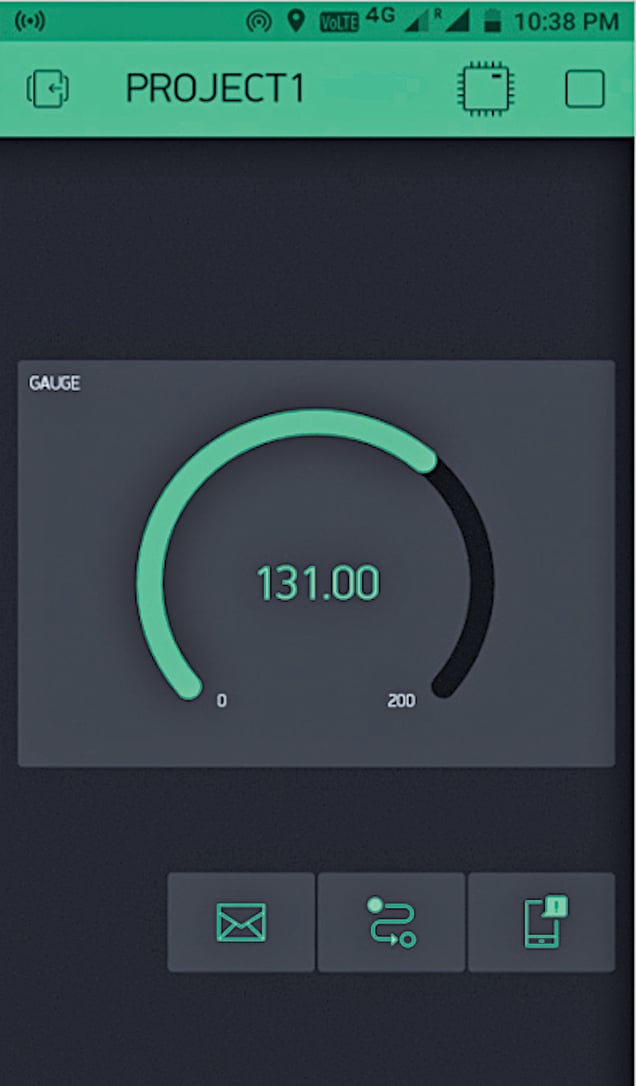
14. Finally, upload the program (blynk_gas.ino) to WeMos D1 board using Arduino IDE. You will get the sensor value in gauge, as shown in Fig. 5. If the sensor value is greater than 150, you will get notifications on your smartphone and email, as shown in Fig. 6 and Fig. 7, respectively.


Download Source Code
Related Air Quality Monitoring Projects
D. Citharthan is assistant professor at Christ The King Engineering College, Coimbatore, Tamil Nadu