


 You might have seen and used badges with various logos and smiles. But have you ever seen any electronic badge?
In this project, we are going to make a Programable OLED Display based badge that shows your logo and message on it. What is amazing about this badge is that you can change the logo and message on it anytime you want by programming it.
To start this project, first we need to collect these components


Main Components:
- Digi Spark AT Tiny 85
- SSD 1306 OLED Display
- 3 V Battery
- Wires
- Any Badge for Modification (Plastic Badge is best for it)
Bill of Materials
![]()
Setting Arduino
http://digistump.com/package_digistump_index.json
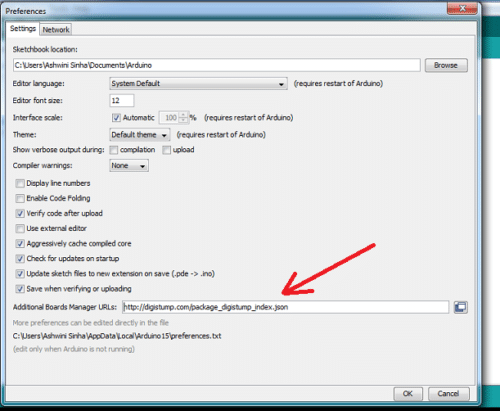
First open Arduino IDE and go to preference menu located in the file as you can see in (Fig.2). Then add the given link and click “OK” – refer (Fig 3).
Now, go to Boards Manager and search “DIGISPARK”. Then install that board as in (Fig. 4).

Converting Pics Into Code
First get the pics and logo you want to preview in OLED and resize it to 128*64 size. Then use the link below to convert your pic into code. Now, copy the code. Then open Arduino IDE and Code as follow-
Coding:-
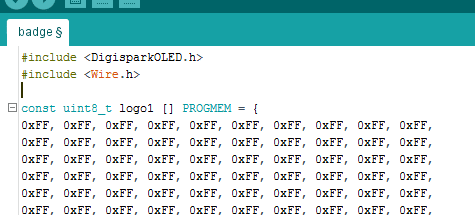
First include “Wire” and “OLED“ library as in snippet, after that paste the logo program we have copied previously as in (Fig .5)
Then in setup function we add oled.begin(); After that we create a loop and add the following code as in (Fig .6) to show our logo/animation on the display. You can add a message, logo, quote or poem to display on it.

Now, we need to connect the following parts: –
Connecting: –
Digispark AT Tiny 85 OLED Display
VCC VCC
GND GND
SDA(P0) SDA
SCL(P2) SCL
VIN Battery +ve
GND Battery Ground.
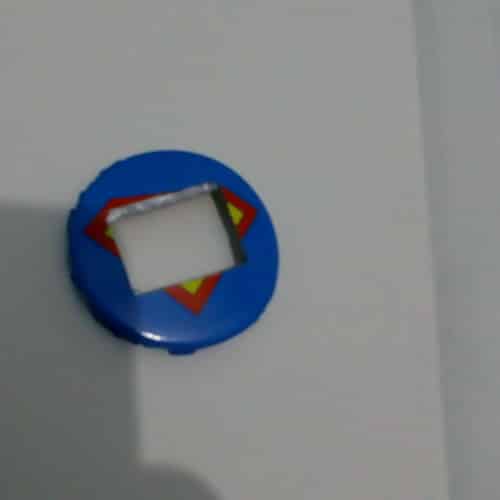
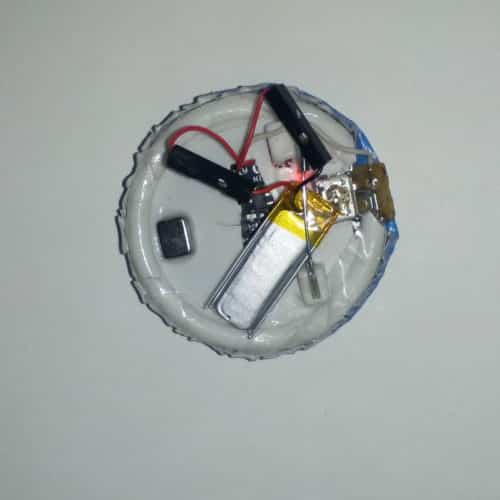
Putting Things in Badge: –
Our badge is now almost ready. You can make your own custom enclosure for your badge and put these components in it, or you can buy any plastic badge from the market and fix these components in that enclosure. Follow the steps illustrated in pic below for setting the components in the badge.
To begin the process, first open the badge enclosure and carefully cut its front face as per the size of the OLED display using a knife. Then fix the OLED display in that space as in (Fig. 7 ). Next, fix all the electronics components in the enclosure as illustrated in pics below. Refer (Fig. 8,9,10).
Congrats!!! Our Programable Smart OLED Display Badge is finally ready for use.