


 Presented here is an LED lantern that also functions as an emergency light or a tent light. The design has all required functions, including on/off switch, maintenance-free rechargeable battery, integrated battery charger and more. The built-in battery can be recharged using any 500mA external DC input voltage ranging from 9V to 18V using its onboard voltage regulator.
Circuit and working for Unique LED Lantern
The circuit diagram of the unique LED lantern is shown in Fig. 1. It has only a few inexpensive and discrete components. Front-end of the circuit is a pre-regulator, wired around popular 3-pin fixed-voltage regulator 7806 (IC1) for converting 9V DC – 18V DC supply to a stable 6V DC output. Here, the battery charger is realised without using a dedicated SMD chip, such as TP4056. Instead, two small signal transistors S8550 and S8050 (T1 and T2) and one precision adjustable shunt regulator chip TL431 (IC2) are used.
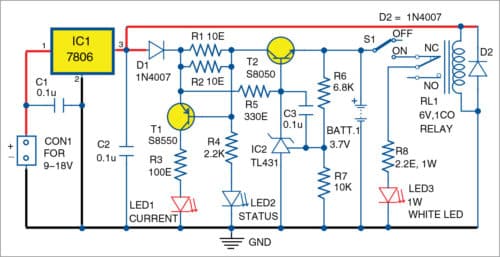
The 6V relay (RL1) functions as an automatic light switch. When no external DC supply is available at connector CON1, RL1 is de-energised and its common pole is connected to NC contact. When switch S1 is closed, LED3 gets 3.7V supply from back-up battery BATT.1 through a resistor (R8), which sets the current within safe limits. Close S1 to turn on LED3.
When external DC supply is available at CON1, RL1 is energised and its pole is connected to NO terminal. During this time, LED3 will be off, irrespective of S1’s position. Charging voltage is available across BATT.1.
BATT.1 is a single-cell (1S) lithium-ion type with 3.7V nominal voltage and 4.2V maximum voltage. Any compact cellphone battery can be used here, which has integrated protection features. For example, you can use Nokia BL-5C (3.7V/1020mAh), BL-5J (3.7V/1320mAh) or 18650-type lithium-ion battery with an inbuilt protection board.
The circuit safely charges the battery up to 4.20V through T2 and IC2, together with charge current-limiter resistors R1 and R2. LED1 lights up when charging current is >120mA, while LED2 glows to indicate charger/battery status. Usually, LED2 lights up if battery level is >3.3V, but it may remain in dim condition if LED1 is in on state. However, sometimes both these indicators do not work due to uncertain electrical characteristics and tolerances of components. Note, rest assured, charger circuitry will work in the background.
Construction and testing
An actual-size PCB layout for the unique LED lantern is shown in Fig. 3 and its components layout in Fig. 4. After assembling the circuit on the PCB, connect external DC supply across CON1.
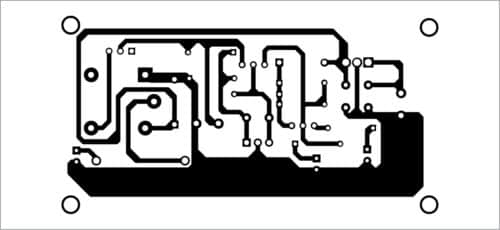

Download PCB and component layout PDFs: click here
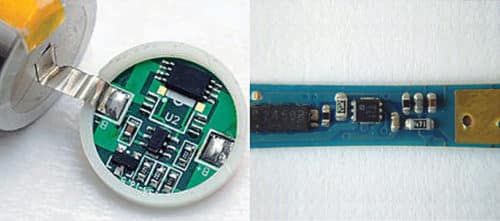
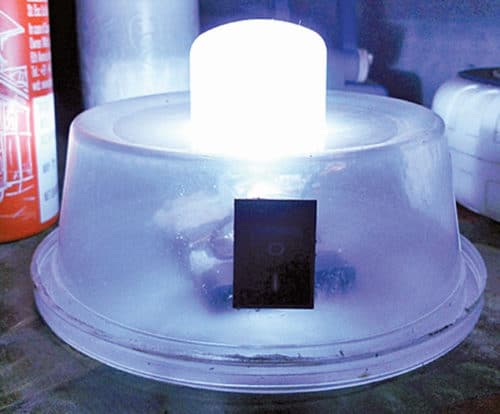
For the enclosure, use a small acrylic homemade box, or a 3D-printed one. Once the board is populated and tested, put the circuit (with battery) in the enclosure. The author used a translucent biscuit tin as an enclosure (Fig. 5).
T.K. Hareendran is founder and promoter of TechNode Protolabz