Mistakes are an integral part of human life. Some mistakes can have a larger impact than the others, and this calls for an application to be tested, inspected and certified before handing it over for usage. This has led to a lot of standards and regulations to come up. Electrotechnical Assessment Scheme (EAS), for example, governs the requirements of a suitable system to ensure consistency of instruments.
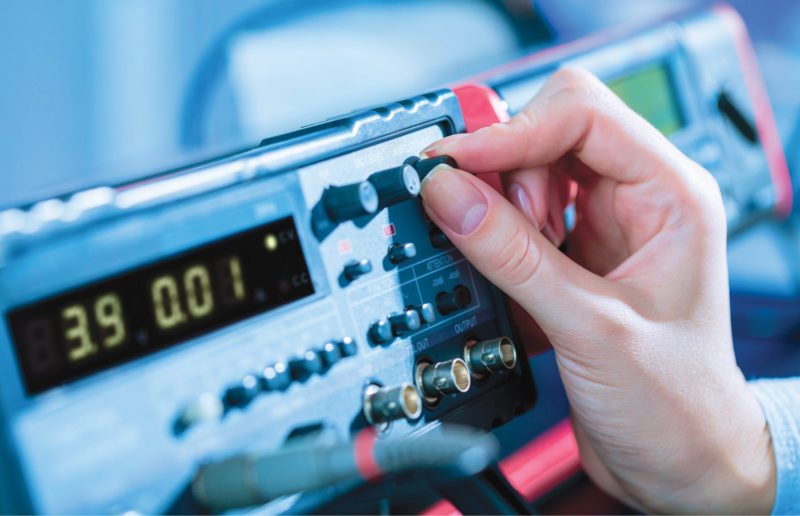
Since most test instruments involve electronics, a lot can go wrong due to the sensitive components involved. This requires regular calibration of equipment to keep these up to date. However, the bigger issue is the compromise of performance in handheld equipment over benchtop ones.
Handheld vs benchtop equipment
“There are certain challenges in reducing the form factor while providing better performance and specifications,” says V. Mahadevan, managing director, VigVen Tech Mark Pvt Ltd. Reducing the form factor means removing certain components and compromising in certain areas.

Handheld equipment minimise board design and hence, avoid components that generate too much heat. This allows removal of heat-sinks and helps the equipment in field usage. Field equipment go through much worse conditions than benchtop ones and therefore ruggedising these is necessary. From performance perspective, these are equally efficient, generally.

Calibrating the equipment is important.
“While on a mission to planet Mars, you do not want to accidently land up on the Moon,” says Mahadevan. Often, calibration is either hyped or completely ignored as a technical jargon by government departments to dissuade new suppliers.
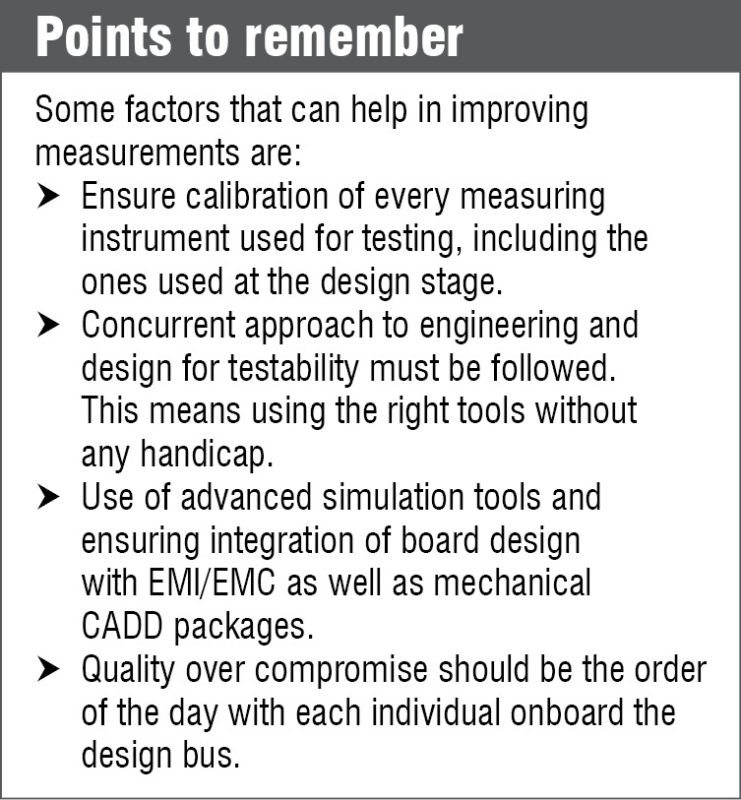
Calibration is important as equipment begin to develop marginal errors over time. Establishing an effective method to define the accuracy of test equipment becomes paramount when an incorrect measurement could lead to drastic results down the line.
Post calibration, a certificate is provided that mentions the next calibration due date. However, the equipment can start having accuracy issues earlier, depending on usage.
Prioritizing ISO certifications over calibration.
ISO certifications are often given importance over calibration, according to Mahadevan. The role of calibration is of prime importance when you consider long-term usage of the equipment. It is only natural for the test equipment to deviate from accurate measurements over time.
With improved access to calibration facilities there can be reduction in return on investment period for the equipment. However, a lot of focus still needs to be given to improving calibration standards.

Points to consider.
Calibration labs are the Mecca for test and measurement. These are supposed to be decked with the best and brightest to ensure reliability. The calibration equipment must be of top quality and maintained regularly. However, there is little to no information available on calibration facilities.
Need for regular calibration arises out of various phases that the equipment goes through. A certificate of calibration is usually valid for a period of 12 months, but the instrument may require regular assessments in between calibrations as well. On the other hand, faults develop over time due to rough usage, too. This process is especially fast in field test equipment.
Some faults develop over time.
Fused test leads are an interesting solution to look at in terms of safety and usage. Besides ease of handling, fused leads have the advantage of allowing standard connecting clips, probes and adaptors to be used for measurements. Fuses within the test leads operate in the event of a fault between the test leads external to the instrument or between a test lead and earth, both of which are faults that could have very serious consequences.
Additionally, leads could go faulty due to the various pressures put on these over the course of time, namely, coiling, twisting and squeezing into boxes. Faulty leads play a major role in inaccurate measurements. Hence, it is advisable to change cables at regular intervals.
Fuses in test equipment are also an area to be looked at. High breaking capacity fuses, usually not exceeding 500mA, are more prevalent in test leads. Fuses in test equipment are commonly rated at 440V, 10kA. Together, these act as dual protectors for the equipment so that more sensitive parts of the device stay unharmed.
However, high power is not the only cause for unreliable measurements. Low-powered devices like handheld equipment often work on batteries. Even with the best of test equipment, if batteries are insufficiently powering the device, unreliable measurements are bound to occur. A low battery symbol usually gives the warning. It always helps to use fresh batteries in such cases.
Improving performance for tomorrow
For improving equipment quality and improving measurements, “Unlearning what we did yesterday to transition for what we need tomorrow is important,” says Mahadevan. The needs are changing and the equipment need to be designed keeping in mind the current requirements.
Demolition of cross-functional silos that exist between the software and hardware teams is critical to achieve relevance.
Calibration standards must also improve in India. For this, huge impetus in the form of government investments in standards labs is a must to have a reliable community for the test and measurement industry.
Feel interested? Check out other test and measurement stories.


