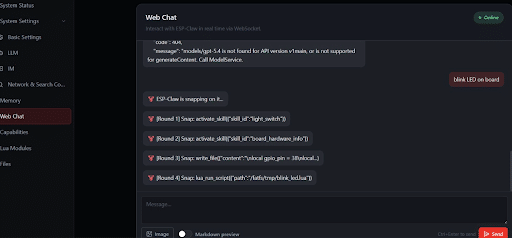
This tutorial explains how to install ESP-Claw, configure the firmware and LLM, and test the system with a practical ESP32 example. ESP-Claw Turns an ESP32 Into a Self-Programming AI Microcontroller.
What if a smart MCU or development board could program itself, eliminating the need to write code or debug it manually? A system smart enough to generate its own code and flash its own firmware based only on a description of the required task may sound like science fiction, but it is now becoming possible. It could schedule notifications on a smartphone, update its firmware to add new functions, and add features as needed. Simply specifying where an LED, servo, or sensor is connected and describing what the MCU should do with it could be enough for the system to programme itself and deliver the required functionality, without hours of coding or debugging.
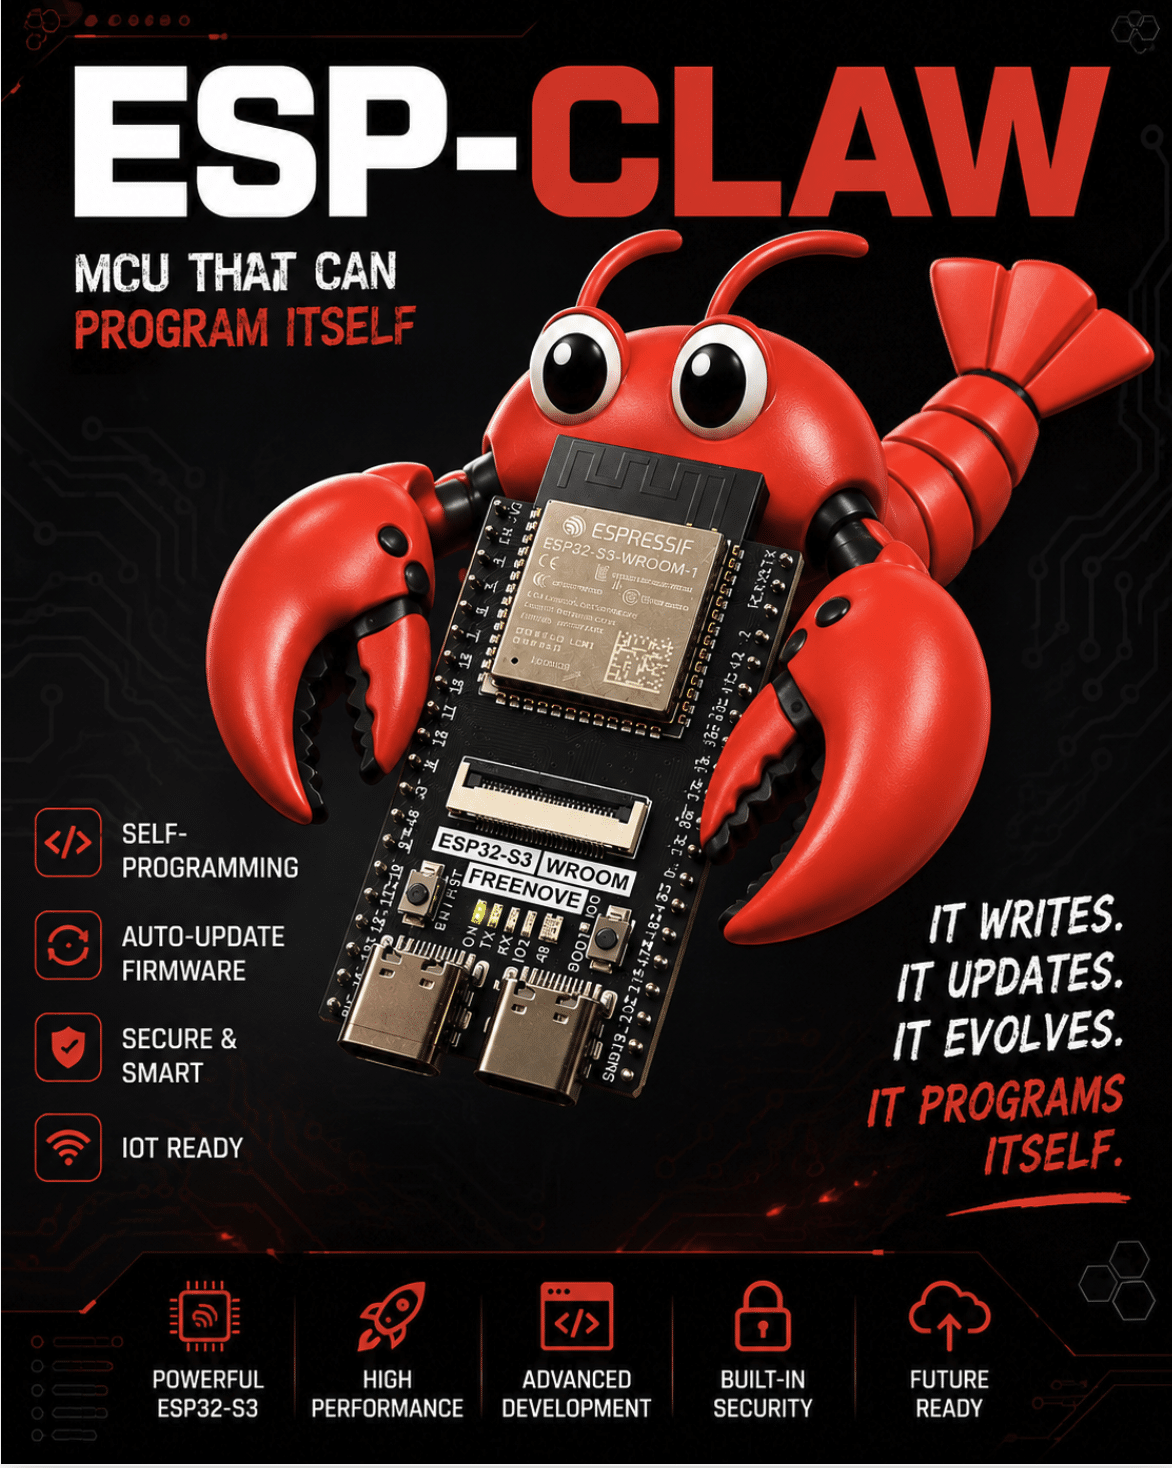
ESP-Claw is an AI agent for MCUs that aims to make microcontrollers more intelligent and capable of handling tasks such as coding, firmware updates, and other functions through natural-language instructions. The ESP-Claw agent can be instructed to update firmware, create an IoT dashboard, send sensor data, control devices, schedule sleep and wake cycles, save battery power, and optimize system performance. It can also schedule sensors or lights to turn ON or OFF on specific days and times. Other information, such as Wi-Fi location and signal strength, can also be accessed through the system. With web search capabilities, ESP-Claw can even search for information and provide answers to queries.
By combining AI capabilities with the processing power and connectivity of an ESP32, ESP-Claw aims to turn a conventional microcontroller into a more intelligent embedded system capable of performing tasks with minimal manual programming. This represents a new approach to embedded development, where AI agents can take on much of the coding, configuration, and maintenance traditionally handled by developers.
ESP-Claw is not just another development tool. It is positioned as an AI agent for microcontrollers, transforming ESP32-based systems into self-programming, self-updating, and self-optimising intelligent embedded systems.
Bill of Materials
The ESP chip should have at least 8 MB of PSRAM and 8 MB of Flash memory to support firmware flashing. Additional sensors and a display can also be connected to test more functionalities. However, for basic testing, the complete list of required components is provided in Table 1.
| Component | Description | Quantity |
| ESP32S3 | 8MB FLASH + 8MB PSRAM MCU | 1 |
| USB C Cable | For Programming | 1 |
| RGB LED | Common Anode RGB | 1 |
Firmware Flashing
First, the firmware for ESP-Claw needs to be flashed onto the ESP board. Open the official ESP-Claw website, select the required board, and click on “Flash Online”.
Next, configure the Edge Agent version. The default version can be retained unless a different version is required. Select the MCU being used. For example, if an ESP32-S3 is being used, select the ESP32-S3 option and then choose the appropriate board version.
Finally, configure the console output to view debugging information and other system data. In this case, UART0 is selected for console output.
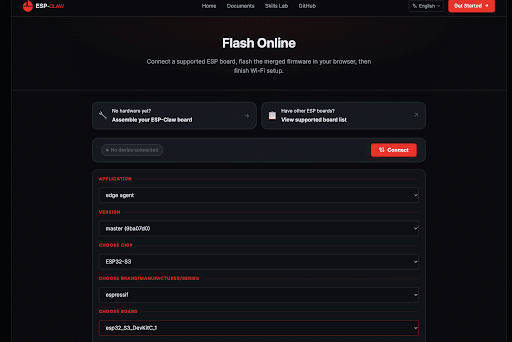
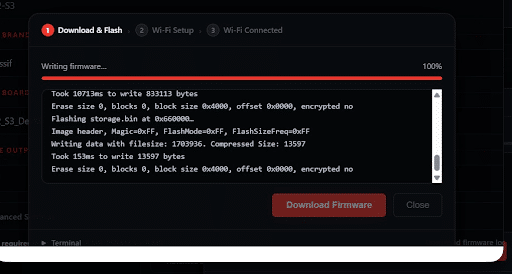
Connect the board to the laptop using a USB cable and click on “Connect”. Once the board is detected, click on “Download Firmware”. The firmware will be downloaded and then flashed onto the board automatically.
Configuring the LLM
After the firmware has been flashed, the system will prompt for Wi-Fi configuration. Enter the SSID and password of the required Wi-Fi network.
Note: ESP32-S3 and similar MCUs generally support 2.4 GHz Wi-Fi. Therefore, the laptop and the ESP board should be connected to the same 2.4 GHz Wi-Fi network.
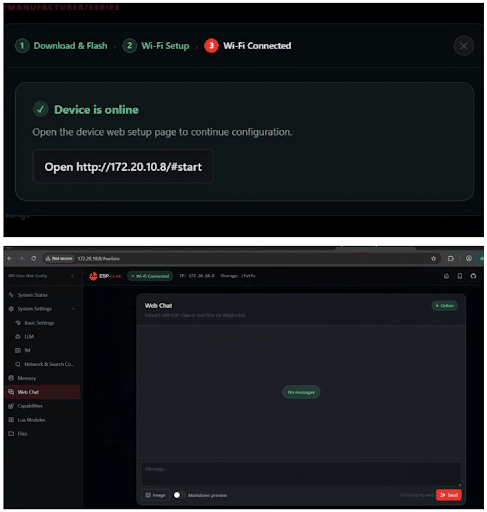
Once the Wi-Fi configuration is complete, the system will provide the URL of the console. Open this URL in a web browser to access the chat interface, which can be used to send commands and ask questions.
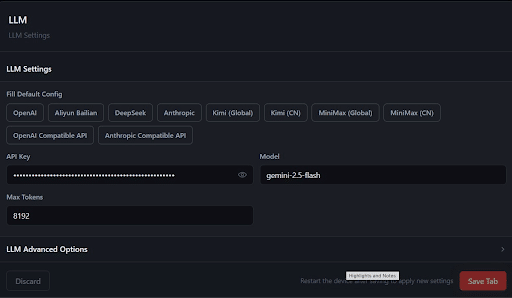
However, the AI agent will not function until an API key has been configured. To configure the AI agent, open LLM Settings and select the required LLM agent and operating mode. Enter the API key associated with the selected LLM agent and click Save to apply the settings.
Testing ESP-Claw
Open the console and enter a command describing the task that the MCU needs to perform. For example, to obtain humidity sensor data, provide details such as the sensor connected to the MCU, the GPIO pin used, and the required output. The AI agent can then generate the required code, flash it onto the MCU, and display the sensor data on an IoT dashboard.
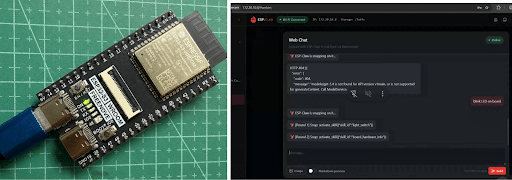
For basic testing, a simple command can be used to blink an LED connected to GPIO pin 4. The AI agent will generate and flash the required code, after which the LED will start blinking on the specified pin.