


The IndusBoard can be managed and powered wirelessly, allowing for firmware updates and programming without the need for physical connections. The board can be programmed using the Arduino IDE wirelessly, similar to other ESP chips.
OTA (Over-The-Air) programming is a convenient method for updating and managing firmware on devices without the need for physical connections.
This is particularly useful when deploying devices in remote locations such as bridges, high towers, roofs, gardens, labs, etc.
Using the OTA system, you can update, debug, and manage devices and firmware wirelessly. The IndusBoard supports various OTA methods, including Wi-Fi, AP, and cloud connectivity.
Here, we will discuss using the WiFi network for OTA updates.
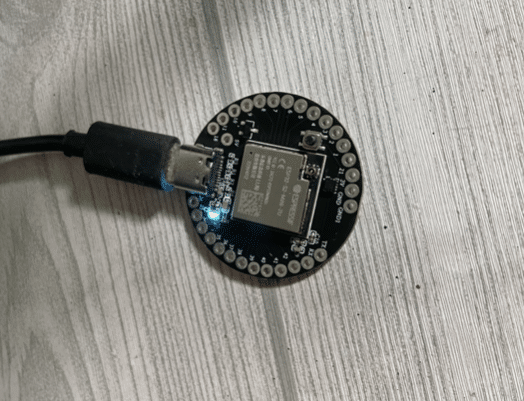
Components needed: IndusBoard only.
Wireless Firmware Updates with OTA
To create an OTA firmware using the Arduino IDE, various libraries and methods are available.
In this example, we use the Arduino OTA library for ESP32.
Install the Arduino OTA library, open the OTA basic example code, configure the Wi-Fi networks in the code, select the board as IndusBoard or ESP32s2, and upload the firmware to the IndusBoard.
Reboot the board, and after a few seconds, it will connect to the configured Wi-Fi network.
The serial port in the Arduino IDE becomes visible if your laptop is connected to the same network.
Now, you can deploy the device, power it with a battery or 5V power adapter, and update the firmware wirelessly from a distance.
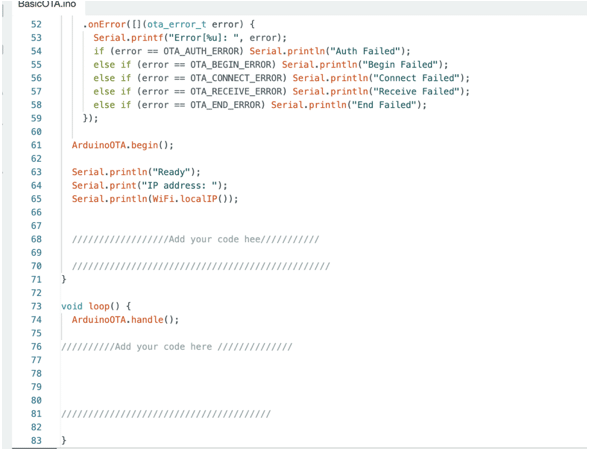
To add additional functionality or code to the OTA firmware, keep the OTA firmware intact and add your code along with the OTA code.
For example, if you want to blink an LED, define the pin and add libraries in the upper part of the OTA firmware. In the setup function, add your code after OTA settings, and in the loop, include your codes and functions along with the OTA handle function.

Also Check: Wireless OTA Firmware Update via Telegram Bot
Testing
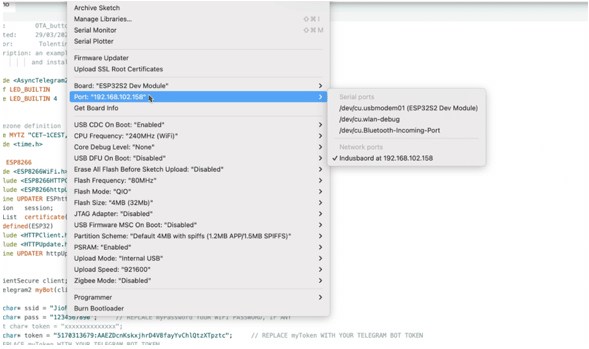
To update the firmware OTA, select the Wi-Fi serial port in the Arduino IDE (refer to Fig 3).
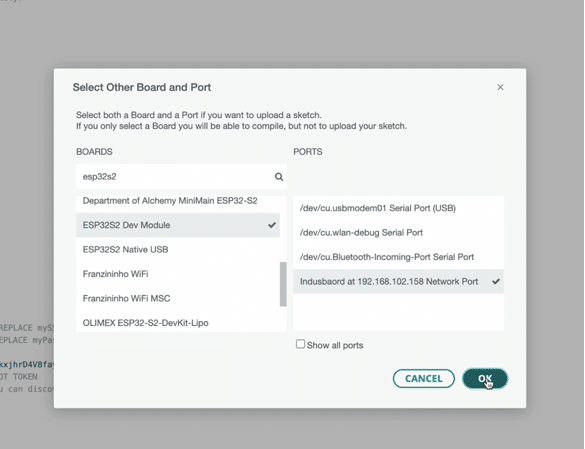
The Wi-Fi serial port will appear in the port section along with other ports (Fig 4).
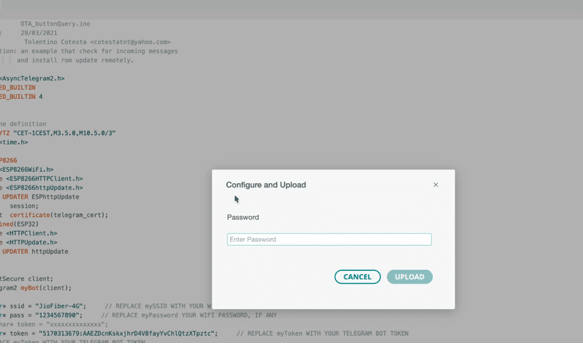
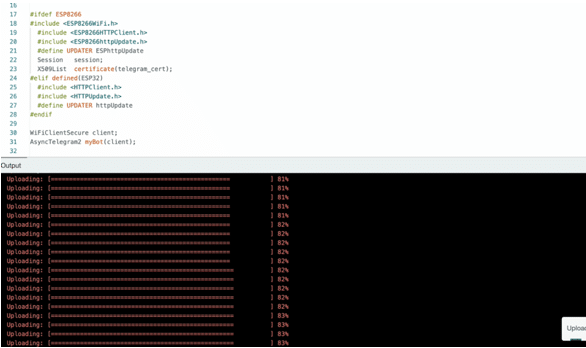
Choose INDUSBOARD as the Wi-Fi port in the board and ports manager. Select it and upload the code; it will prompt you to enter a password.
If you set a password for firmware updates in previous OTA firmware, enter that password.
If not, you can enter any random password, and the new firmware will be updated on the board.
Download Source Code