This DIY focuses on exploring the virtual world. Note that this is a basic design that combines the Metaverse and IoT system, where we can not only visit the virtual world, but also control things in it. Bringing out a very different side of both IoT and Metaverse, this project helps access appliances in other locations while sitting in your living room.
Metaverse, a term heard everywhere combines both the real and virtual world. As the latter is advancing, it is interesting to find out what this really is. As the name suggests, the virtual world is a concept of co-existing in a virtual body (some may call it a robot) while physically existing at another place. Coexisting does not only mean viewing another world but also having an access to control and feel the virtual world, which does not have any geographical limitations.
Also Read: Is Metaverse Just a Game?

Bill of Materials

Coding
Firstly along with the latest Raspbian OS, the PHP and Apache web server need to be installed onto the Raspberry Pi board. This enables hosting the user interface(UI) for the virtual reality(VR) box to turn the lights on and off. Next the Wiring-Pi needs to be installed to control the GPIO using the web page UI. For this, run the following commands in the terminal.
sudo apt-get install
apache2 -y
sudo apt-get install php libapache2-mod-php -y
Making the UI for the IOT device is the next step. Combining PHP, HTML and CSS, the UI and web page are created. The GPIO pin of Raspberry Pi using PHP and Wiring-Pi is controlled .
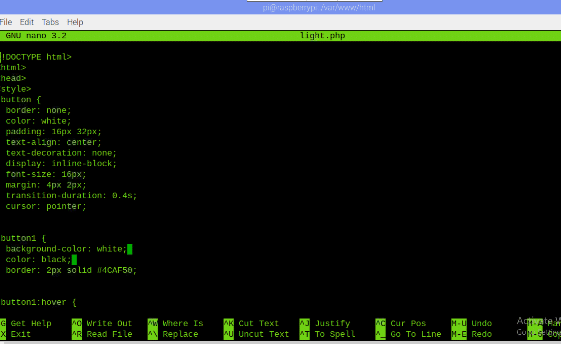
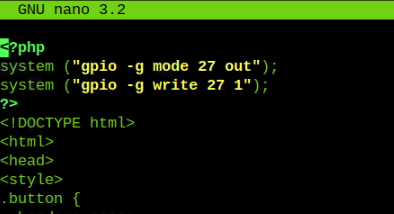
To make the UI, a PHP page in root /var/www/html/ is created. On opening the folder and running the following command on the terminal, a code is created using nano editor.
sudo nano led.php
The name of the PHP file may vary. “Led.php ” is the name given since the LED is being controlled. The file is saved after a UI button is created in HTML and CSS.
In another PHP file, the code from figure 6 is added to control the GPIO using UI .

Connections
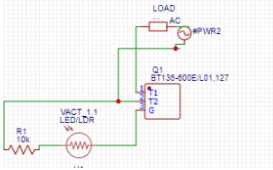
The solid state relay has to be connected with an alternating current bulb and an LED to the GPIO Pin 27 of the Raspberry Pi board, which is coupled with the solid state relay LDR. More information about the relay can be found at the link given.
Preparing The VIrtual Wrold

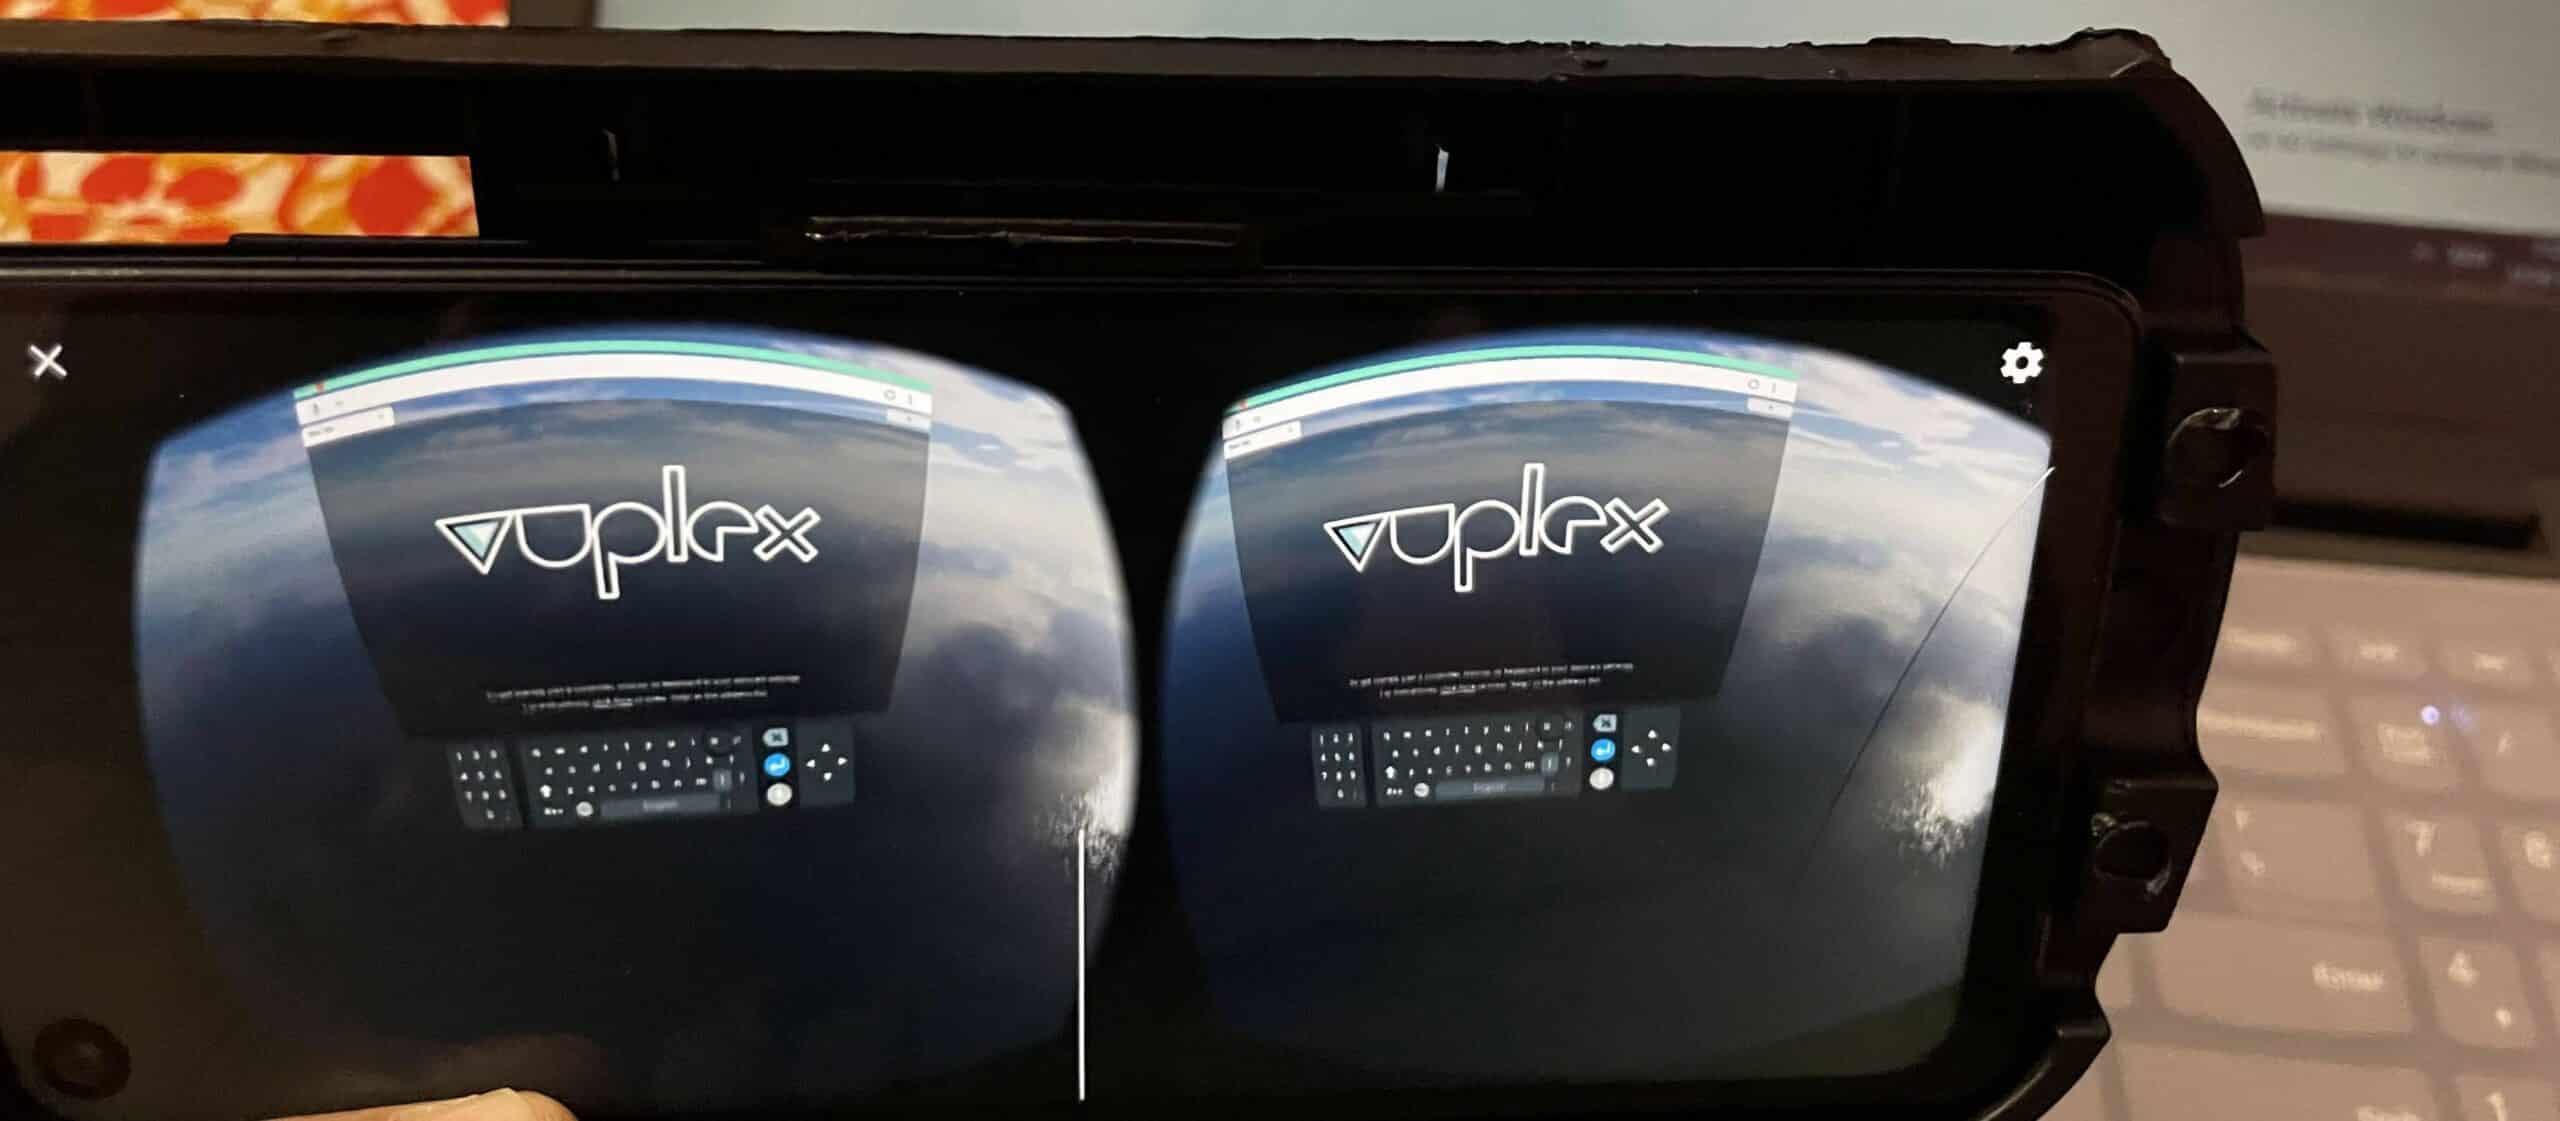
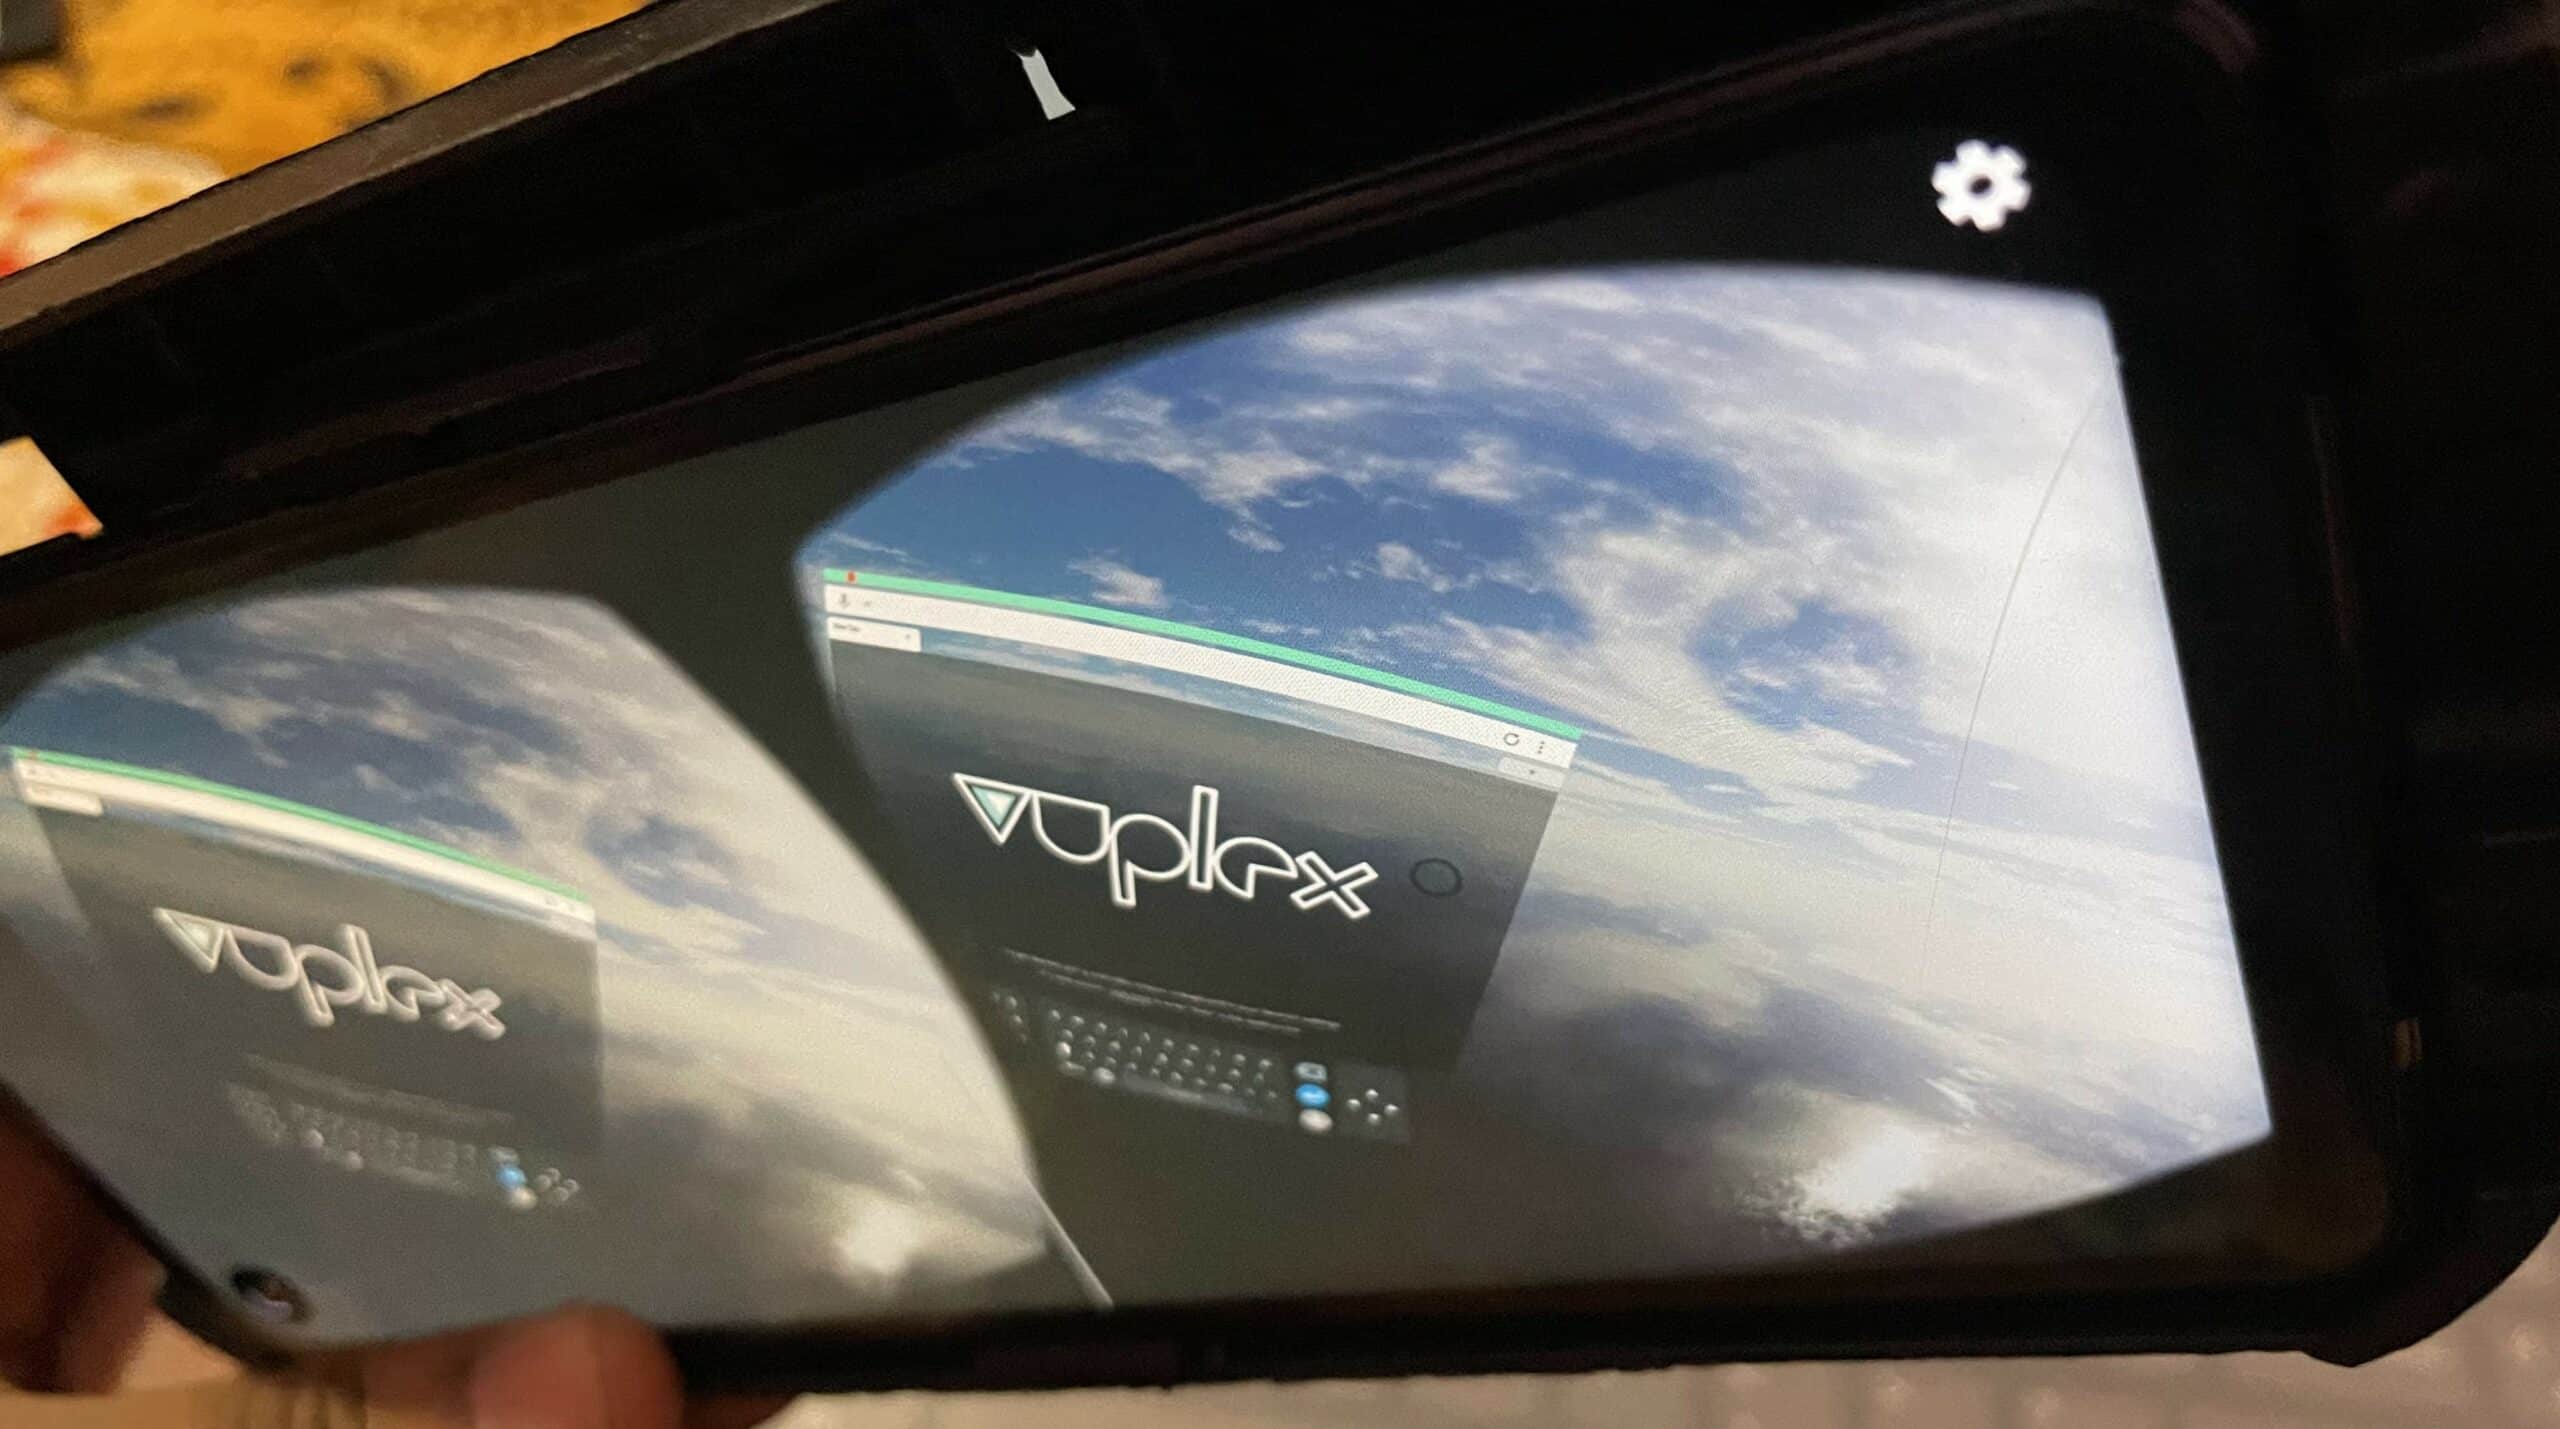
As real world appliances are controlled, accessing our UI in the virtual world is possible now. First the required app that takes us to the virtual world is needed. This can be downloaded from any VR browser or VR VNC, along with the Google Cardboard App on Android phones. The URL of a web page is usually the IP address with PHP file name. In this case, it is 192.168.129.21/led.php..
Testing
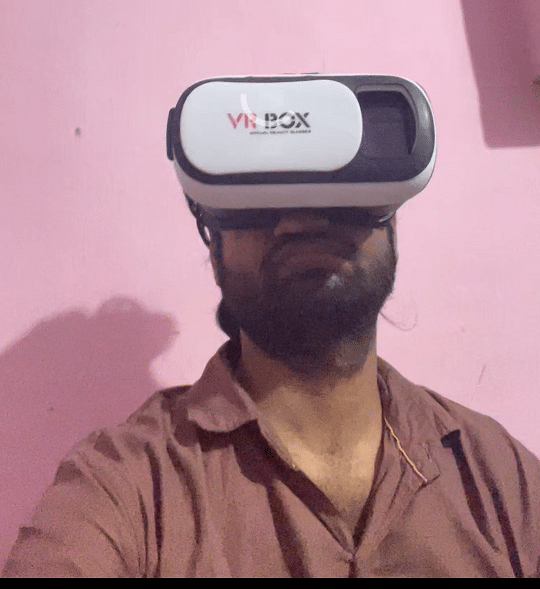
Once the device is switched on and the VR browser is opened, a virtual scene has to be selected. As seen in figure 9, fasten the virtual box to your eyes. Tilt your head or use the VR controller to access the URL. GUI is now obtained in the virtual world to control real world appliances like lights and IoT devices.
Both your real and virtual worlds are now combined. The Metaverse of IoT focuses on controlling appliances in the real world via the virtual world.
NOTE:- This is the first project in the series METAVERSE. This project focuses on an introduction to the metaverse. More exciting projects such as controlling a robot on the other side of the world, from your home and experiencing different parts of the world from your living room await.


