Firmware updates play a pivotal role in the efficient functioning of IoT, IIoT, and embedded electronic systems. However, the conventional method of updating firmware by connecting microcontroller chips to laptops poses significant challenges during mass deployments, maintenance, and global updates.
These challenges are further compounded when dealing with remote or inaccessible locations, leading to increased costs and downtime.
In response to these challenges, an innovative approach emerges – leveraging Telegram bots for remote device monitoring and firmware updates. This revolutionary solution enables remote firmware updates from anywhere in the world, as long as there’s an active internet connection.

By harnessing Over-The-Air (OTA) firmware updates, the need for physical access to devices is eliminated, streamlining the update process and reducing complexities.
OTA firmware updates have gained prominence due to their ability to enhance operational efficiency. By incorporating Telegram bots into this process, the entire firmware management landscape changes.

This transformative solution holds particular significance for devices located in hard-to-reach places like mines, towers, high pillars, and subway pillars.
Also Read: Interesting Mini Projects
In summary, the integration of modern communication technologies with OTA firmware updates offers a breakthrough solution to the challenges of firmware management. This approach ensures global accessibility, reduced costs, and streamlined operations for firmware updates across diverse industries, ushering in a new era of remote efficiency.
Bill of Material
| Components | Description | Quantity | Price Approx -INR |
| ESP CHIP (Buttonboard/ ESP 8266) | WiFi MCU | 1 | 900 |
| FTDI USB | USB to TTL converter | 1 | 60 |
| Wires | Thin connecting wire | 5 | 10 |
| Total | 970 |
OTA Firmware Update – Coding
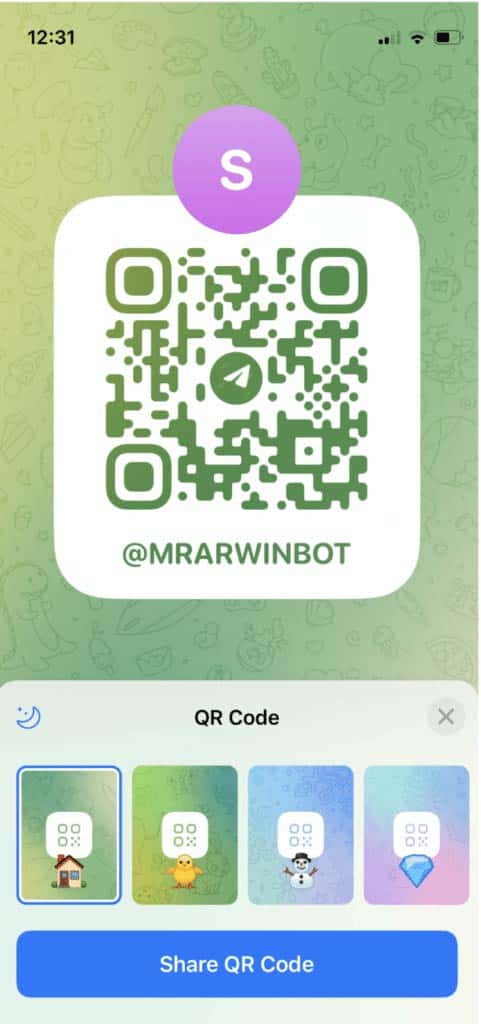
First, we need to create the telegram account and then we need to create the telegram bot that can be made easily in the telegram app. You can check the previous DIY to learn how to make Telegram BoT.
Next, we’re diving into the coding part. We want our device to chat with Telegram and update its firmware when needed. To start, we’ll install a helpful tool called the AsyncTelegram library. Just follow the installation steps to get it set up.
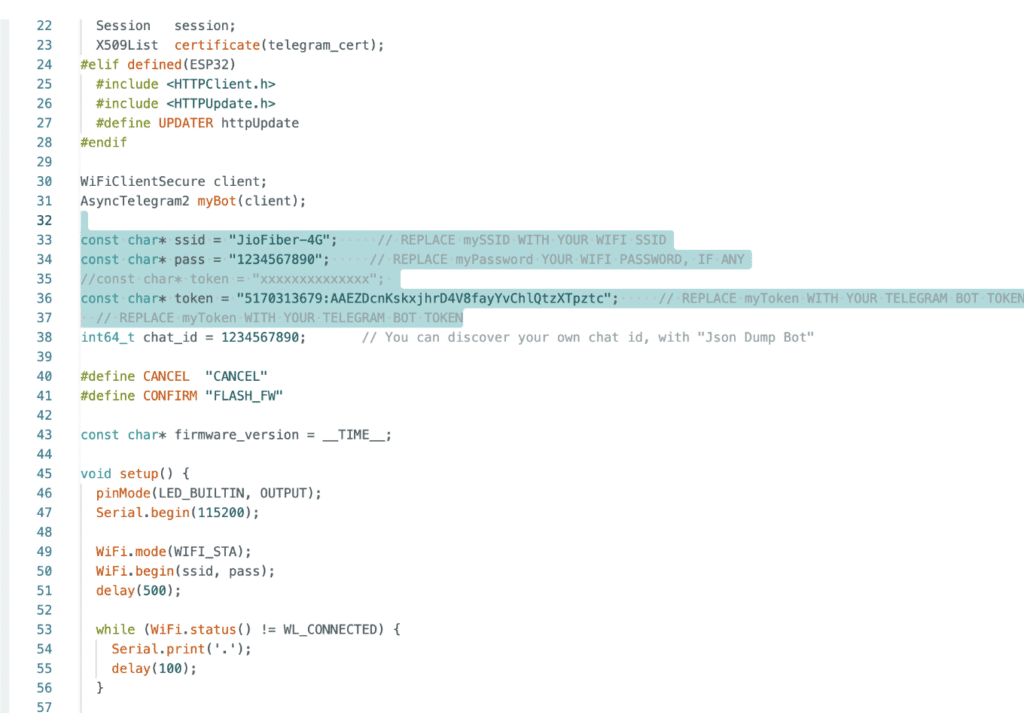
Now, open up a new digital canvas, like a blank sheet of paper, to write our code. The first thing we do is bring in the Telegram library to help us communicate. Then, we enter the details of your WiFi network, kind of like connecting your device to the internet at home.
After that, we add the particular key for our created Telegram bot. This key acts like a secret password for the device to talk to Telegram.
Our code needs to do a few things. It needs to connect with the Telegram bot and keep an eye out for any new firmware updates that the bot might send. We’ve made a special part in the code that handles these updates.
When new firmware comes in, the device takes a look at it, replaces the old stuff with the new stuff, and then restarts itself to work with the updated firmware.
For your magic touch, you can add your unique functions and software to the parts of the code we’ve marked as “add your code here” (you’ll see this in the code). This is where you can get creative and make the device do precisely what you want.
In a nutshell, we’re making sure that your device and Telegram can chat smoothly, and if new firmware comes along, the device can update itself. Plus, you’ve got plenty of room to add your special features to make your device even cooler.

Connection
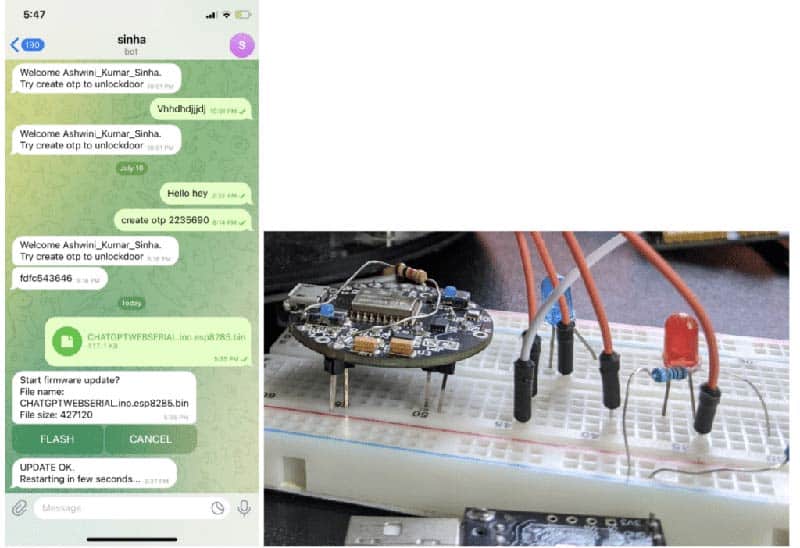
If you have another CHIP equipped with FTDI, you can easily connect it directly to a USB port. If that’s not an option, you can still make a connection using FTDI.
Alternatively, if you have a button board available, you can connect the FTDI pins in the following manner. It’s important to note that we’re utilizing an ESP chip in our case.
| Board Pin | FTDI |
| RX | TX |
| TX | RX |
| VCC/3V | 3V |
| GND | GND |
In the Arduino IDE, proceed by selecting the appropriate CHIP version name and port name. If you’re using a button board, opt for the CHIP type as “Generic esp8285” and then choose the corresponding port associated with the FTDI connection. This step will help configure your environment correctly for the intended device.
Testing
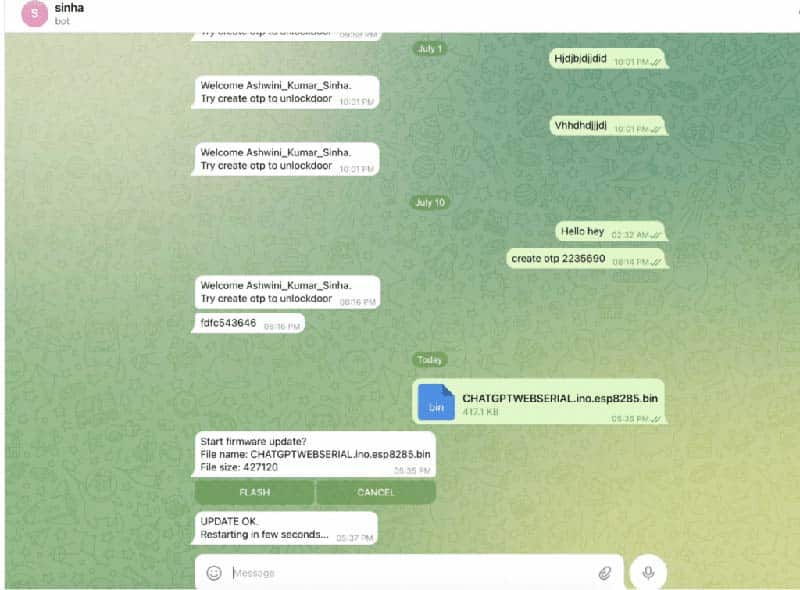
Now, move ahead by compiling the desired code using the Arduino IDE. Once the compilation is complete, export the compiled binary file. Now, access the Telegram bot and proceed to upload this firmware binary file. The bot will prompt you to perform a flash operation. Simply tap the “flash” option, and the firmware update process will initiate.
Wait patiently for a few moments, and you’ll receive a message on Telegram notifying you that the new firmware has been successfully updated.
Congratulations! At this point, your chip is up and running with the new firmware, and the remarkable part is that you accomplished this update without requiring any physical wire connections. This method provides a wire-free solution for firmware updates from now onwards.