


“More intelligent than you think.”
A first-of-its-kind dreaming robot that can recognize faces and see dreams – like a human.
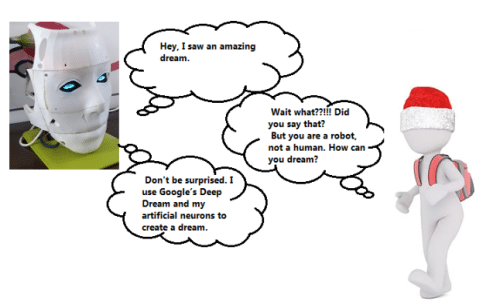

Humans have the capability to speak, recognize feelings and emotions, and even see dreams, which makes us different from machines. But does it make us more intelligent than them? Can machines like robots also acquire this capability? If yes, then this can blur the line between how humans and robots think.
How can these Intelligent Robots be used?
As artificial assistants in the workplace, as companions for the elderly and children, and for welcoming guests in hotels – these intelligent robots can have multiple uses.
Very few present-day robots are emotionally intelligent. The already available ones are quite expensive, costing up to several lakhs of INR.
Keeping this in mind, I have decided to make an intelligent robot using several open-source tools and libraries. And so can you. I have used an InMoov robot face mask. You can also use this robotic face or any other of your choice.
How Does this Dreaming Robot Work?
Using Google’s open-source Deep Dream library, a camera takes a picture and then creates dreams based on it.

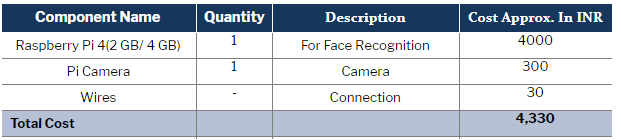
Now, let’s start our project by collecting the following components:
Bill of Material
Prerequisite
Our project includes two different features, for which we need to create a basic setup of deep dream and Face recognition.
Face Recognition Requirements/setup
For emotion recognition, we need to set up the following libraries in Raspberry Pi.
- Keras
- OpenCV
- eSpeak
- Dlib
- Face Recognition
To install the above library, open the terminal window in Raspberry Pi and then run
sudo  apt-get update
sudo apt-get upgrade
sudo apt-get install build-essential cmake pkg-config
sudo apt-get install libjpeg-dev libtiff5-dev libjasper-dev libpng12-dev
sudo apt-get install libavcodec-dev libavformat-dev libswscale-dev libv4l-dev
sudo apt-get install libxvidcore-dev libx264-dev
sudo apt-get install libgtk2.0-dev libgtk-3-dev
sudo apt-get install libatlas-base-dev gfortran
After this, we need to swap the file size. To do so, run the following command:
sudo nano /etc/dphys-swapfile
Then change the line CONF_SWAPSIZE=100 to CONF_SWAPSIZE=1024
sudo /etc/init.d/dphys-swapfile stop
sudo /etc/init.d/dphys-swapfile start
sudo pip3 install opencvsudo pip3 install numpy
wget https://bootstrap.pypa.io/get-pip.py
pip install dlib

Now, we will install the Face recognition library. To do so, run the following command in the terminal:
sudo pip3 install face recoginition
Run the sudo apt-get update command again. Now, our basic setup for emotion recognition is done.
Deep Dream Requirements/setup
For deep dreams, we need to install the following modules in Python.
- Caffe
- Protobuf (also known as Protocol Buffers)
- PsyCam
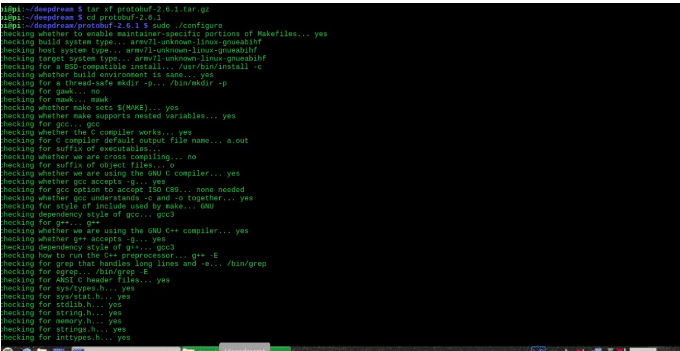
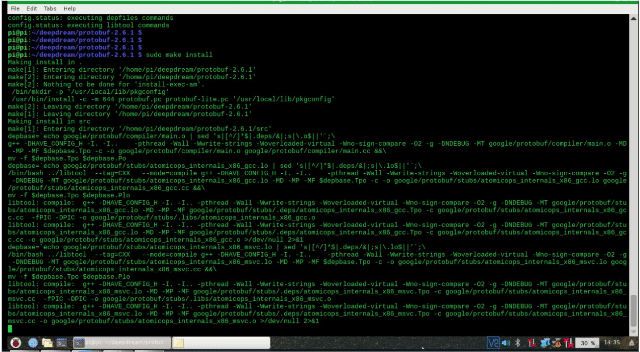
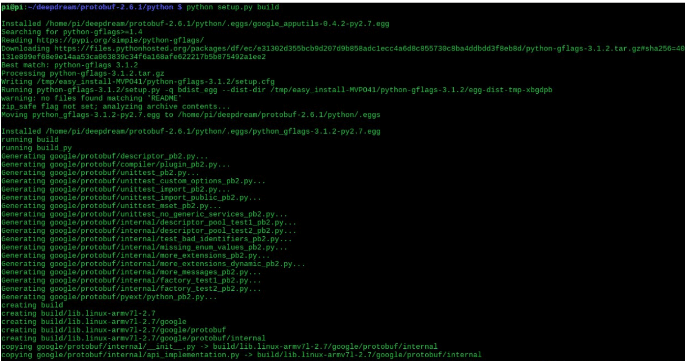
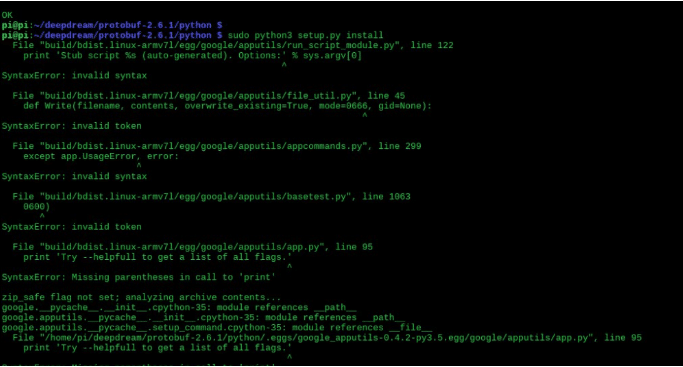
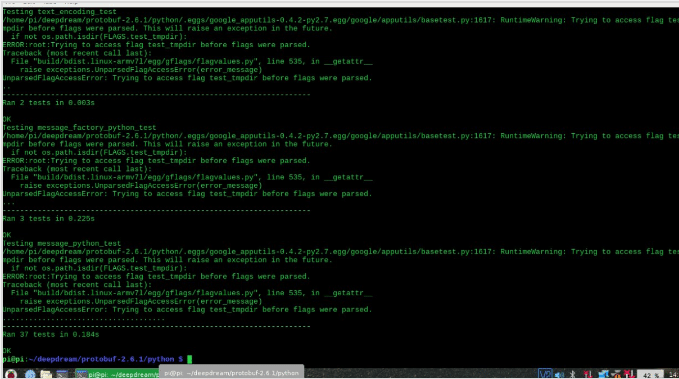
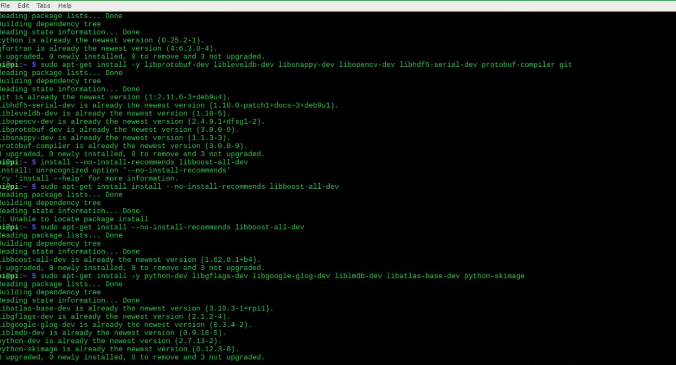
Open your Linux terminal and then run the above commands to install the modules (Refer to Fig 5, Fig 6, Fig 7, Fig 8, Fig 9, Fig 10, Fig 11).
You can also follow this link for deep dream installation on Raspberry Pi.


We have now completed the basic setup of the libraries so now, let’s write the code for real-time Face recognition.
Dreaming Robot Coding
First, we need to download OpenCV, OpenCV contribution, and the Face recognition library folder. To do so, open the terminal window and then run the following commands in the terminal:
git colone https://github.com/opencv/opencv
git colone https://github.com/opencv/opencv_contrib
This is to recognize the person in front of the robot (known or unknown). In this code, we will import 3 modules: face recognition, cv2, and numpy. We will create different arrays for recognizing faces and names. Make sure to write the image file name of that member for correct face recognition.
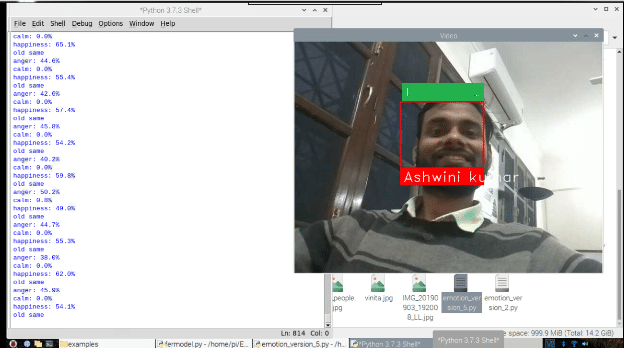
In the next part of the code, we will try to match the face that the camera has captured with the array of known faces. If the face matches, then the code will run the espeak synthesizer to speak the person’s name using the syntax ‘espeak.synth ()’ as in the pic below (See Fig.12)
You can refer to the Face Recognition Robot project link given above to setup the robot head and understand the face recognition system in a better way.
Preparing Dreaming Code
Now, let’s do a deep dream code setting.
Download the deep dream pycsam library using the following command:
git clone https://github.com/JoBergs/PsyCam
Then open the PsyCam folder and change the file path for dream creating an image in utlities.py to the same path where we save the captured frame of the emotionrecog.py image. Now in the PsyCam folder, create a new Python file and then create a script that runs the testpsycam.py file in certain intervals of time and then makes it go on sleep mode ie off/on.
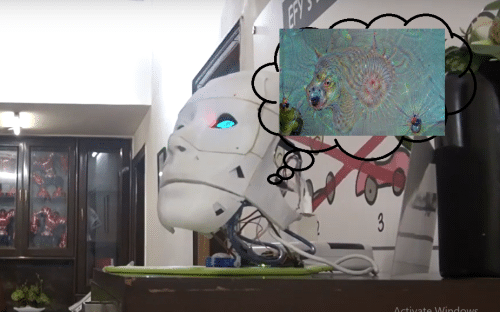
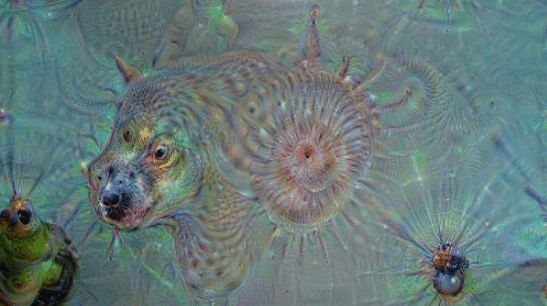
To see the dream image created by the robot, open the dream folder that is situated in the psycam folder.
Our coding is now done.
Connect the camera to Raspberry Pi and the OLED display with Arduino for eye motion, as given in Part 1 of this project.
Dreaming Robot Connection
Connect the Raspberry Pi Type-C USB port with a 5V cable. After that, connect the Raspberry Pi camera using a ribbon cable to the Raspberry Pi camera port.

Testing
After setting and saving all the codes, it’s time now to test the features of our robot. Run the face.py and run.py scripts, and wait for after a few seconds. The screen will then start showing the face and the robot will start talking according to the face it will detect (Refer to Fig 14).
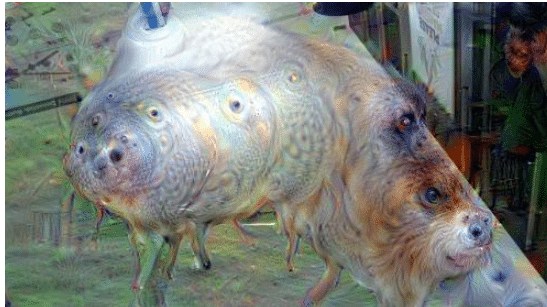
Testing Dreams
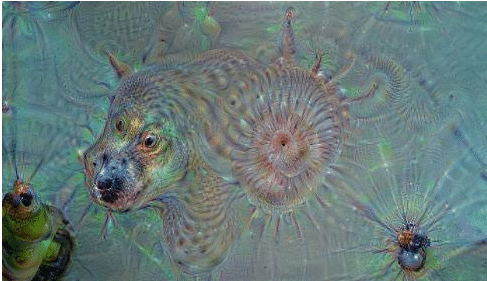
To check what our robot has dreamt of, open the dreams folder and see the saved picture of the robot’s dream (See Fig 15, 16, 17, 18, 19, 20, 21).


Recommended: Top 13 Engineering Projects using AI.
