


Here is a simple project of mono audio amplifier using a single IC KIA6278P. IC1 has 8-pin legs. This mono audio amplifier will give an output power of 1 Watt on a power supply of 6 Volts on a 4 Ohms loudspeaker. IC1 KA6278P can be easily purchase in a market and also costs not expensive.
Circuit and working
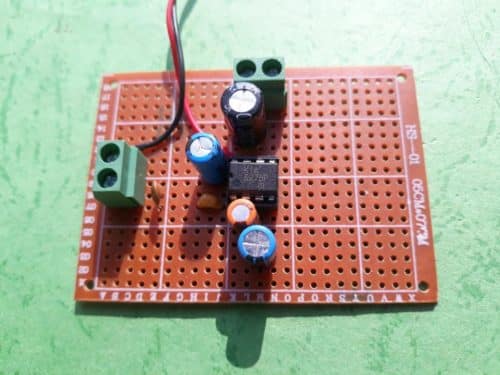
The prototype of this amplifier is shown in photo. Also a circuit diagram is shown on figure.
As shown in the circuit diagram Pin 1 of IC1 (KIA 6278P) is connected to an input terminal through a ceramic capacitor C1 (104). Capacitor C2 (.04uF) is connected to an input terminal and ground. Capacitor C2 will filters a noise signal presented in an audio input signal.
- Electrolytic capacitor C3 (100uF/25V) is connected to pin 3 and ground facing positive (+) terminal of C3 to pin 3 and negative terminal to ground.
- Another electrolytic capacitor C4 (47uF/25V) is connected to pin 2 o IC1 with facing positive terminal (+) facing to pin2 of IC1 and negative to ground.
- Pins 5, 6 are grounded. Pin 7 is connected an electrolytic capacitor C6 (470uF/25V) and to a 1 Watt/4 Ohms speaker through a 2-pin connector.
- Pin 8 of IC1 is connected to + 6Volts DC. An electrolytic capacitor C6 (100uF/25V) is connected to pin 8 of IC1 and ground. Capacitor C5 will filter a DC voltage.


Construction and testing
- You can assemble this amplifier on a 5cm*6.5 cm veroboard or a circuit board given in an article.
- At first take a veroboard and put an 8-pin IC socket in a middle of a 5cm*6.5cm veroboard.
- Take a low watt soldering around and gently solder an 8-pin IC socket on a veroboard.
- Take two 2-pin connectors and solder both of them on a right and left side of your veroboard. Lastly put all the ceramic capacitors C1, C2 and electrolytic capacitors C3, C4, C5 and C6 on your veroboard as shown in a circuit diagram.
- After assembling the circuits connect a 1 Watt/4 Ohms speaker to a 2-pin connector 2.
- Connect a 6 volts power supply of 4*1.5 V battery or AC/DC power supply to your amplifier.
Calibration and adjusting
You may use a signal generator for calibration and adjustment. If you do not have a signal generator, you may use a small metal screwdriver for testing.
Switch on a power supply to your circuit. Pick up the screwdriver and touch it gently on an AF input terminal (connector2). You should hear a humming sound coming from a speaker.
Now connect audio input from your source (MP3 player, computer, mobile, laptop e.t.c.). Enjoy listening music.
Components-List
Semiconductor:
IC1: KIA6278P (8-pins)
Electrolytic capacitor:
- C3:100uF/25V
- C4:47uF/25V
- C5:100uF/25V
- C6:470uF/25V
Ceramic capacitor:
- C1: 104
- C2: .04uF
Miscellaneous:
- 8-pin IC socket
- 5cm*6.5cm veroboard
- Two 2-pin Connectors
- Colour wires, small metal screwdriver, and 4*1.5 Volts battery, signal generator e.t.c.
Thanks for the simple amplifier. Easy to make using a breadboard.
You are most welcome.