


 Inspecting and controlling the quality of a product is a tedious task when done manually. It requires proper hand-eye coordination, which can get tiring after long durations, leading to serious errors and thus affecting the accuracy of the process.
So to solve this issue and make the process more reliable, today you will learn to make an AI-based Quality Control Camera with which you can create an ML model to detect the fault in parts/product manufacturing defects in a factory assembly line. The camera uses an SBC board that runs the pre-trained model for monitoring purposes.

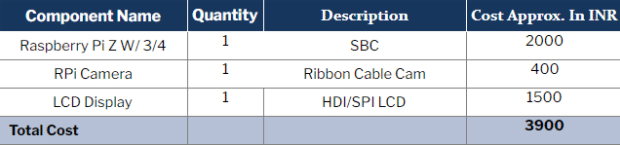
Bill of Materials
Begin with shopping of the following components.

Feeding Datasets
To create the ML model, you can use various platforms like TensorFlow, Google’s Teachable Machine, Lobe, Edge Impulse, etc. Because Edge Impulse is used here, below are the commands for installing it:
curl -sL https://deb.nodesource.com/setup_12.x | sudo bash -
sudo apt install -y gcc g++ make build-essential nodejs sox gstreamer1.0-tools gstreamer1.0-plugins-good gstreamer1.0-plugins-base gstreamer1.0-plugins-base-apps
npm config set user root && sudo npm install edge-impulse-linux -g --unsafe-perm
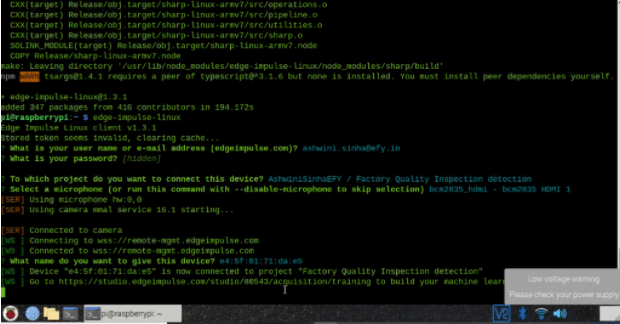
After installation, run the Edge Impulse using the following command in the terminal:
Edge-impulse-linux
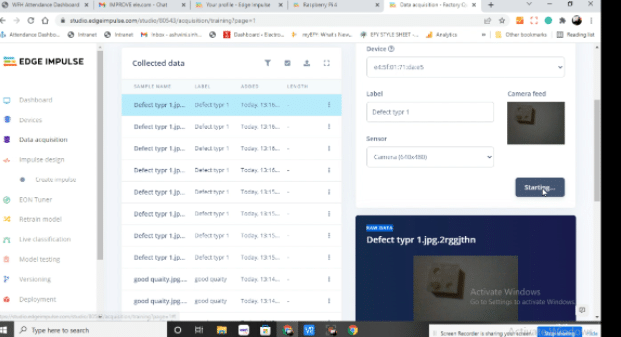
You will then see a login screen to start Edge Impulse from the web GUI. Upon login, you will be asked to select the project to connect with. The project name and its URL is then given so that you can start feeding the dataset for training and testing the ML model.
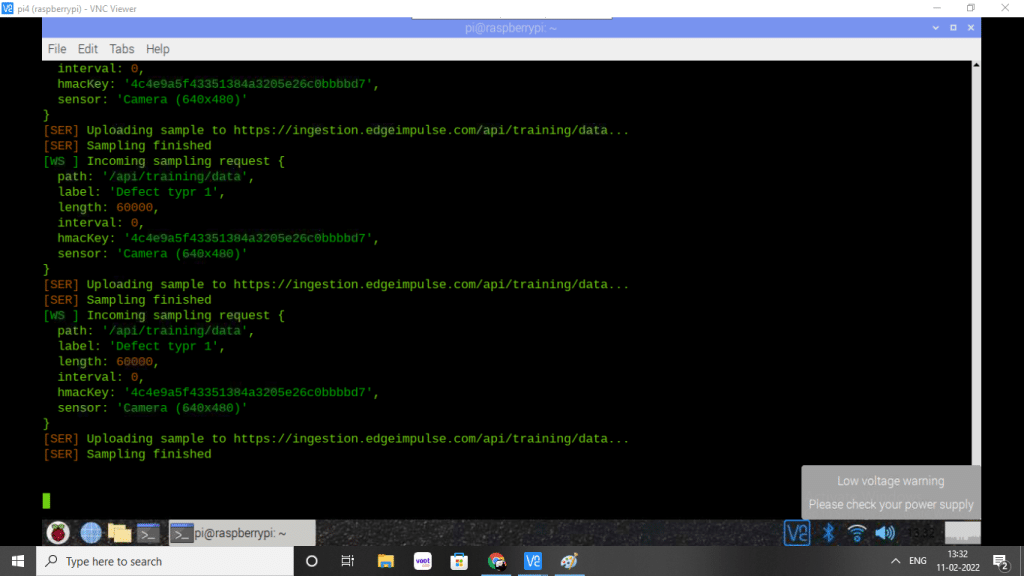
If you have connected the RPi camera to the Raspberry Pi board, then you can view the camera video output upon opening the link. Now assemble the correct objects or parts in front of the camera and label them. Make sure to feed the dataset.
Repeat the same process and feed the images of parts with manufacturing defects. Here I have used Lego parts to train and test.
Training ML Model
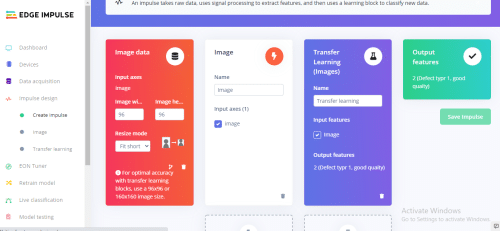
Next, go to the Train menu. Select the image for processing and Keras for learning.
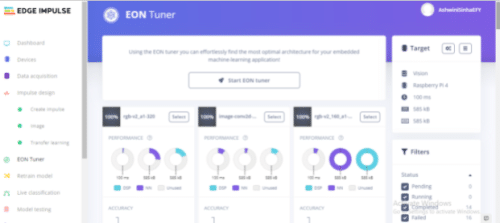
Then create the feature and parameter for the ML model to learn. After getting the option to add layers for neutral networks and SSD mobile net model, use the SSD mobile net v2 model to train and test the ML model. After getting the option to tune the model, we select the board; here i.e. RPI 4, and use the model.

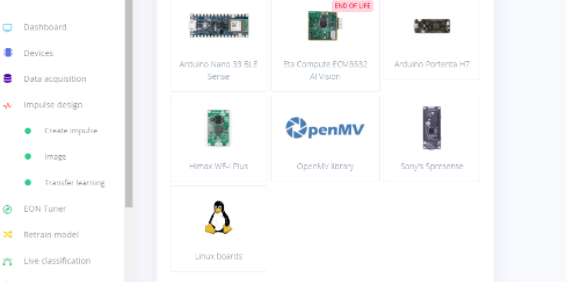
Deploying
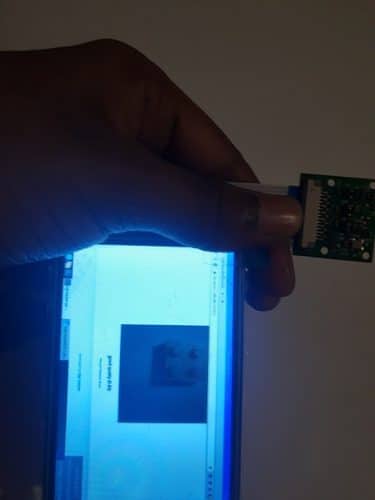
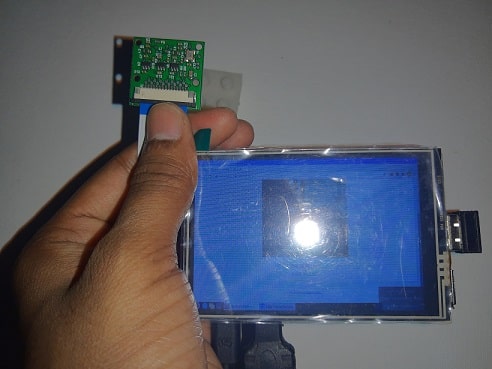
After testing the model, deploy it by going to the deploy menu and selecting the board. Since the RPi board is being used here, select the Linux board. Our model will then be ready to get deployed. You can also connect the HDMI LCD or SPI LCD display to RPI. To see the output, run the following command:
edge-impulse-linux-runner
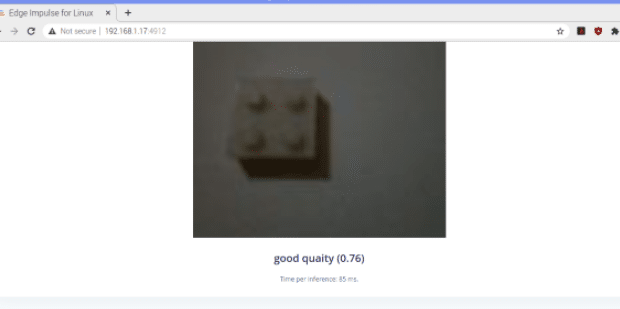
Now a new GUI will appear that will show the results with a camera video feed.
Recommended: AI Engineering Projects.
Testing
When you run Impulse, you will get a URL. When it is opened in the RPi web browser, the live camera video feed is seen on the LCD screen. Point the camera in the assembly line for inspection of the manufacturing defect.


Ashiwin kumar Sinha, Where this camara avilable ?? Bill of material – i want to purchase, pl send the address and contact No to [email protected], my contact no is 9850441438
Guddimath P I
P G Consulting
Pune
9850441438
contact [email protected]