


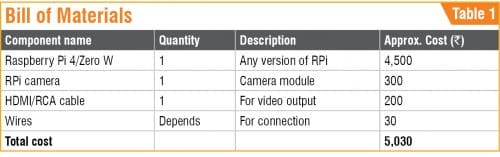
 Hunting continues to make many animal species extinct, and the governments are unable to do much except introducing some laws and conducting regular surveys. But conducting a survey is not an easy task, especially without the help of technology.
The smart camera in this project uses Python code that has pre-trained TensorFlow models for forest monitoring and survey. The models help us in matching and mapping the image in frame with the model’s trained data and thus in identifying those animals.
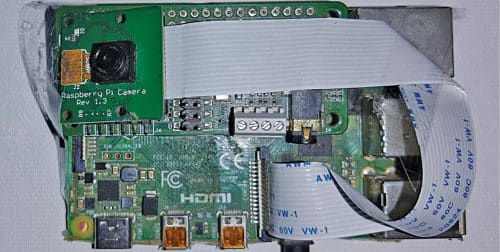
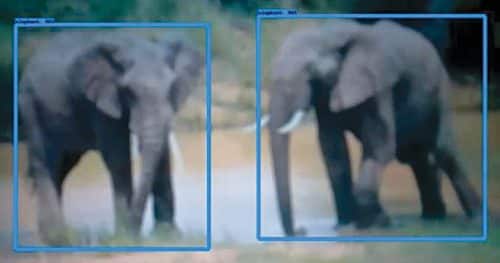
The images of elephants being detected with the help of author’s prototype is shown in Fig. 1. The author’s prototype that uses a Raspberry Pi (or RPi) with a camera module is shown in Fig. 2.


The Raspberry Pi captures a video image using the camera, then using the OpenCV module it cuts the video into frames. Next, using OpenCV and other modules, it processes the image of detected species and maps it with a category and pre-trained detection model. If the detected animal species is not there in the category list, it gives the output as ‘none’ and saves that image with data and timestamp in database folder so that it can be studied later.
If the detected animal species matches with any of the animals listed in new.pbtxt database, it identifies the name of the animal and saves it in text file forestdb.txt with time and date. It also saves the image of that animal with a time stamp in another folder for future reference.
In this way the smart camera keeps track and creates a database with pictures of animals present in a forest. It can also help in studying animal behaviour and the presence and growth of flora and fauna in the forest.
Coding
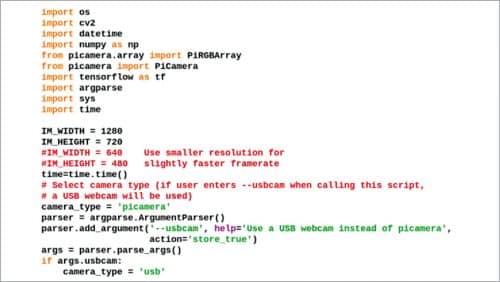
It is assumed that you have Raspberry Pi (RPi) ready with Raspbian OS and Python IDE and have access to the RPi desktop either with VNC or HDMI based display. (Note. We are using Python3 Environment and the code is compatible with Python3 and above versions only.) So, we may start with the installation of modules and libraries for this project.
Open the Linux terminal on your Raspberry Pi and install the required libraries using following commands:
sudo apt-get update
sudo apt-get upgrade
sudo nano /etc/dphys-swapfile
Change the line CONF_SWAPSIZE=100
to CONF_SWAPSIZE=1024
Continue with the following commands:
sudo /etc/init.d/dphys-swapfile stop
sudo /etc/init.d/dphys-swapfile start
sudo pip3 install opencv
sudo pip3 install numpy
wget https://bootstrap.pypa.io/get-pip.py
pip3 install dlib
pip3 install tensorflow
After installation of the libraries using above-mentioned commands, you can proceed with the cloning of TF modules, examples, and files using the following commands:
git clone https://github.com/tensorflow/
tensorflow.git
git clone https://github.com/tensorflow/
models
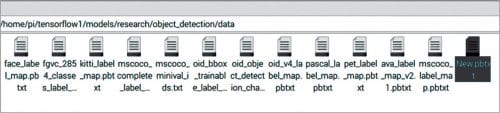
After successfully cloning, go to the directory->research->object_detection->detect.py file in Python IDE (see Fig. 3). Now understand and change the code.

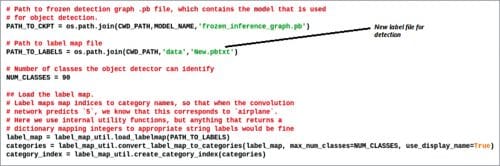
The first part of the code has the required library and modules, as shown in Fig. 4. We have to set the path of the text file that has the category names of species/animals for detection. Here we have set the category labels in New.pbtx file, as shown in Fig. 5. The next part of the code stores the output of detection result in a string variable called ‘NAME.’ Then we have the code that marks the detected image name with date and time.
Next, we have a conditional statement that checks the output result of detection. If the condition of the result of detection is not ‘[ ]’ then it saves the result with date and time in a text file. The next part of the code saves the detected image in ‘databasefolder’ folder. Here you can change the path for image storage as per your choice (see Fig. 6) and then save the code.

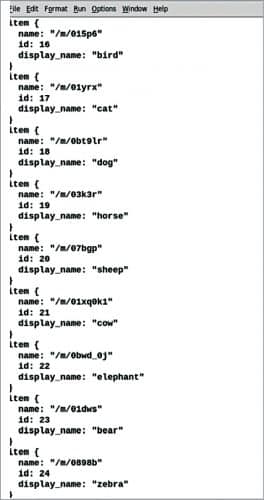
Go to the data folder and create a file named New.pbtxt (see Fig. 7) and label with IDs for different animal species for detection and display (see Fig. 8).
Download Source Code: click here
Testing
After finishing the coding part, connect the camera module to Raspberry Pi camera port using a ribbon cable, as shown in the prototype. Open the code in Python IDLE and run the script forestsurvayfinal2.py and wait for a few minutes so that it can load all the tensor flow modules. This will open a new window with the camera video output.
Bring the camera in front of the animal such as a cow, sheep, etc to be identified. Whenever an animal appears in the camera frame, the detected image will be processed by the computer and saved in a text file. It will save that frame in the databasefolder with date and timestamp. Animals captured by the camera in photo frame are shown in Fig. 9.
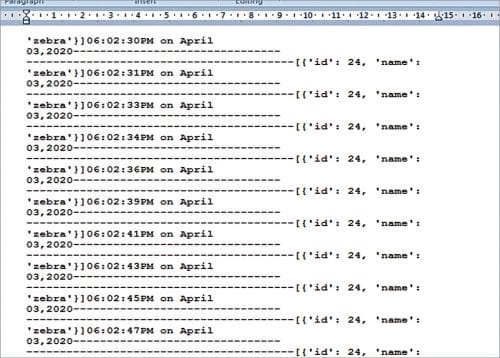
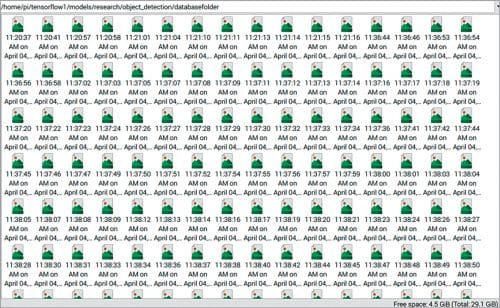
Open the forestdb.txt file to see the list of species/animals detected along with time and date (see Fig. 10). If you want to see the images/pictures of those detected animals, open databasefolder and click on each image file having the date and time of capture (see Fig. 11).
Ashwini Kumar Sinha is an electronics hobbyist and tech journalist at EFYi
