


Welcome to our DIY project guide for creating an accurate time display using ESP32 RTC. In this tutorial, we will show you how to build your own millisecond clock that guarantees precise timekeeping. By utilizing the ESP32 RTC (Real-Time Clock) module, you’ll be able to achieve millisecond precision, ensuring that your clock displays the most accurate time possible.
Whether you have a specific need for precise timekeeping or simply enjoy tinkering with electronics, this project is perfect for anyone interested in creating their own time display system. Join us as we take you through a step-by-step guide, providing all the information you need to bring this DIY millisecond clock to life using the versatile ESP32 RTC.
Proof Of Concept Video Tutorial In English:

Proof Of Concept Video Tutorial In Hindi:
Get ready to embark on a rewarding journey of timekeeping accuracy!

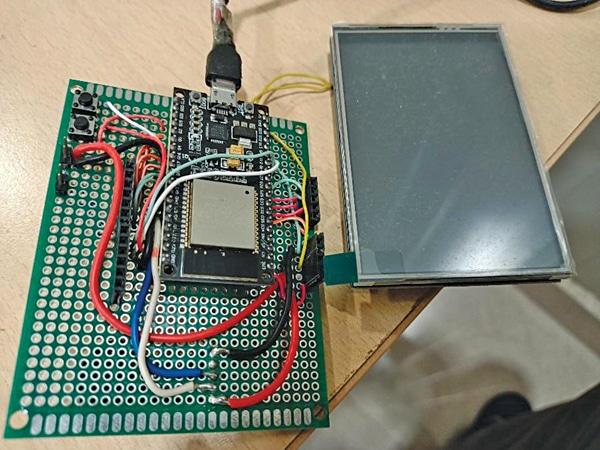
We are fascinated by clocks and have made clocks of several types, but never with a millisecond display due to the huge processing power required for it. We were delighted when we could successfully run the 8.9cm (3.5-inch) ILI9488 TFT display in 8-bit mode with an ESP32 microcontroller. In 8-bit mode, it needs 12 GPIO pins for the display and it is very fast, and there lies the success of this millisecond display clock.
The 8.9cm TFT LCD touchscreen display shield for Arduino Uno is available in the market. Although the TFT display fits very easily on Arduino Uno, a millisecond display is not feasible on Arduino Uno as it lacks computing power. So, the ESP32 and DS RTC modules are used to help the device in calculating down to milliseconds and display it in real-time.
So, unlike other smart clocks, you may have in your home, this clock will help you get an accurate time up to milliseconds. You can use it as a stopwatch as well.
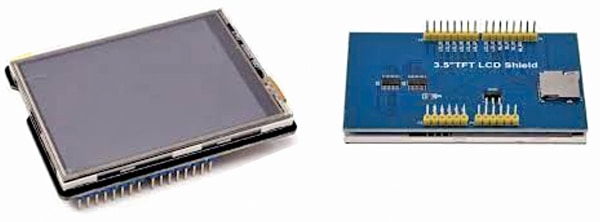
The prototype is shown in Fig. 1, while Fig. 2 shows the TFT display used in the project.
Components Required to Build Millisecond Clock
The components required to build it are mentioned in the Bill of Material table below.
| Table 1: Bill of Material | |
| Components | Quantity |
| ILI9488 TFT display (MOD3) | 1 |
| ESP32S (MOD1) | 1 |
| RTC DS3231 module (MOD2) | 1 |
| Micro USB cable | 1 |
| Coin cell | 1 |
DIY Millisecond Clock – Code


Sir, Thank you for the useful clock with millisecond accuracy! What is the size of coin cell? CR2032 3V Lithium Button Battery?