


A low-cost drone equipped with a camera opens up many new possibilities with respect to its applications, such as crop monitoring, video surveillance and recording, and many more.
However, such drones come at a very high cost (5 to 10 times more expensive) and also have limited functionalities concerning AI, ML, or image processing.
So today, we will use a ready-to-use drone kit to make a simple drone, which will be equipped with a camera, allowing it to do live video streaming and recording. It can also be programmed to perform face and person detection, and many other things.

Table of Contents
If you have a drone that does not have a recording facility, then through this project, you can add a camera.
Bill of Materials
Let’s begin our project by shopping for the following components.
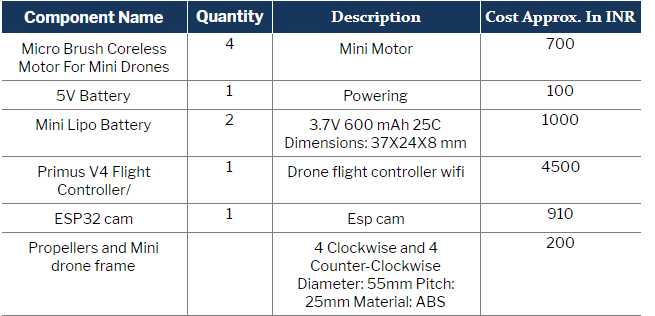
Note: If you already have a mini or full-sized drone or drone kit, then you can just buy an ESP32 CAM; no need not buy the rest of the components.

Assembling and Construction of the Drone
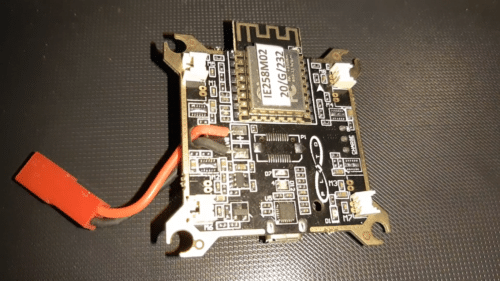
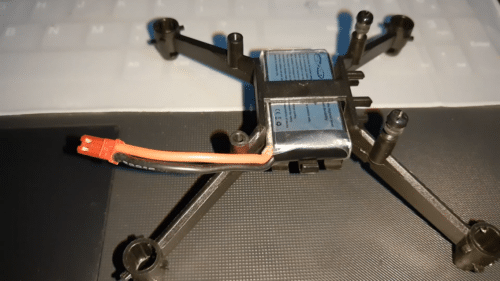
First, insert the battery into the drone frame and the motors into the motor section. Then, carefully place the flight controller on top and plug it into the motors M1, M2, M3 and M4.
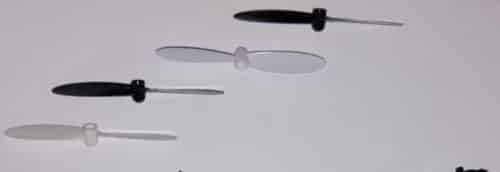
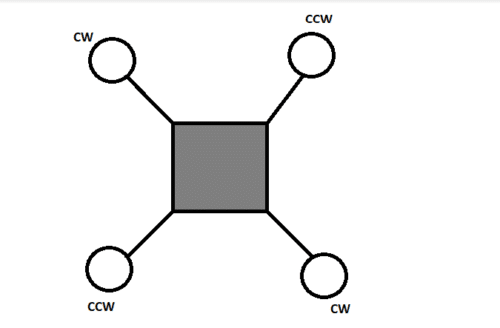
Now, after connecting the motors with the flight controller, set the propellers on top of the motors in clockwise and counterclockwise directions.

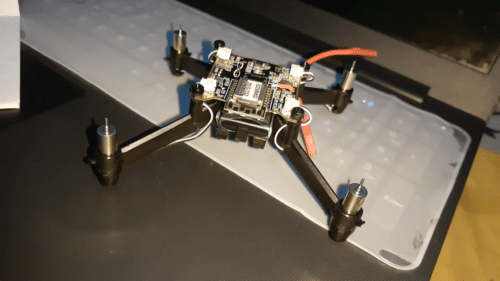
Now our drone is ready to fly. Connect the battery jumper and then turn it ON through a switch. Install the Pluto Controller app on your phone and use it to control the drone to take off and land.
Preparing the Live Stream Camera For Drone
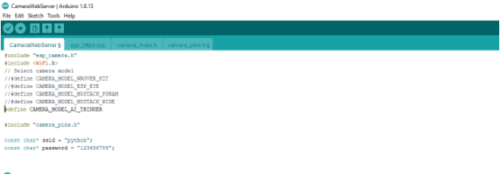
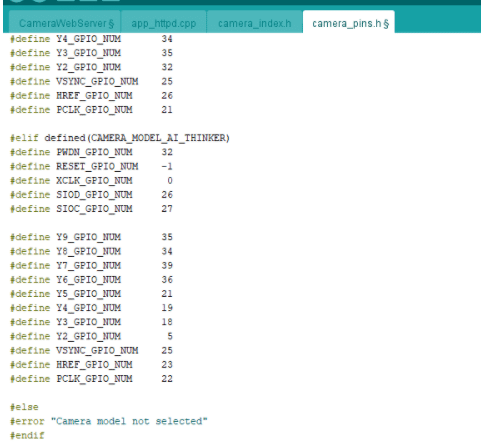
First, we have to program the ESP32 CAM to perform live video streaming. To do so, go to Arduino IDE and add the ESP32 board to it using the following steps:
- Open Arduino IDE, go to Preferences and then paste the given link:
https://dl.espressif.com/dl/package_esp32_index.json, http://arduino.esp8266.com/stable/package_esp8266com_index.json
- Then go to the Board Manager and install the ESP32 CAM board in it.
After carrying out the above steps, enter the SSID name and password of your WiFi router in the code. Now you are ready to upload the code to the ESP32 CAM.
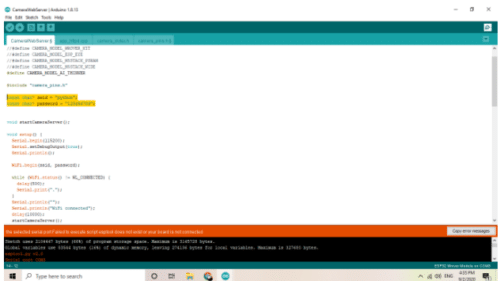
Connect the ESP32 board with a separate lightweight battery that can provide an output of 4 to 5 V for the drone to easily lift off. Test the ESP32 CAM stream on a browser by searching for its IP address.
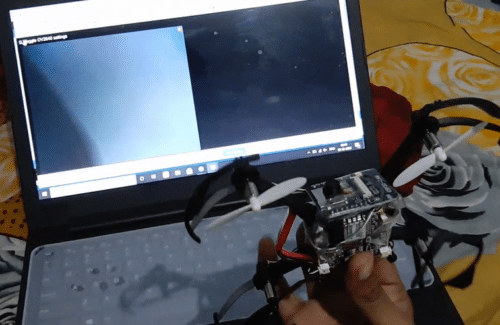
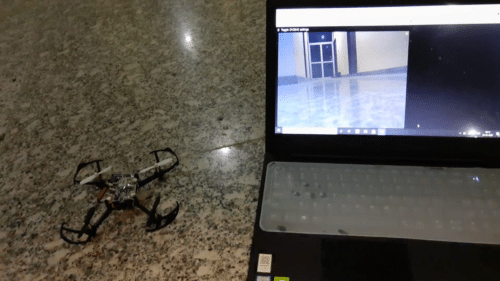
Testing DIY Low-Cost Drone
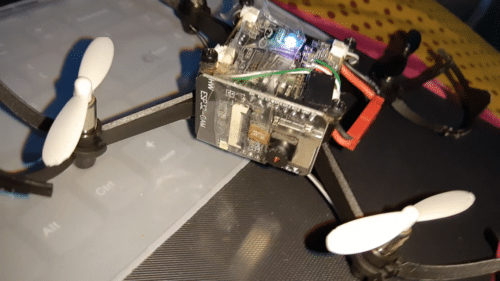
After setting all the things and attaching the ESP32 CAM onto the drone, it is ready to fly and at the same time, capture videos, do live stream, face detection and other recognition tasks.
Can you please upload a demo video of the esp32 cam with this drone, since I don’t think it would be able to lift off with the weight of the cam
Can you please share what you used to power up the esp32 cam?
You can either use the same on flight controller to to power esp32 cam but if got bad performance after lift off you can add a light weight small 3.6V battery that drone can lift