Whether for quenching your thirst with water or for simply having fun while consuming soft drinks, daily liquid consumption is an essential part of our lives.To obtain a bottle of water or soft drink, you would normally visit a shop and purchase it from the seller. But in this time of the pandemic, you have to be cautious regarding people you come in contact with; you don’t want to contract the virus or spread it. So should you stop consuming liquid from outdoors altogether? No. There is a solution to this problem.
Today you will learn how to make a smart vending machine that offers your desired drink such as a soft drink, coffee, water etc. And since there isn’t any human involvement, you are at no risk of contracting the virus.For operating the vending machine, you will use a coin acceptor and solenoid valve connected with an Arduino. While the coin acceptor will check the value of the inserted coin, the Arduino will process the entered data and perform the relevant liquid dispensing.


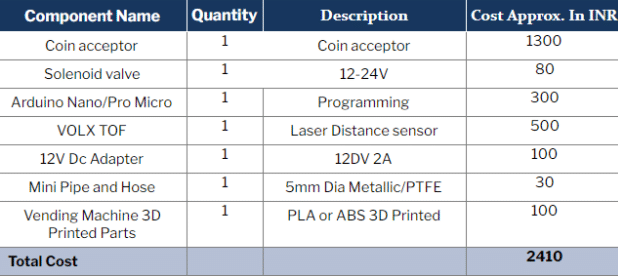
So let’s build this project by collecting the following components.
Bill Of Materials
Teaching The Coin Acceptor
Before proceeding with the vending machine’s operating details, the coin acceptor needs to recognise the difference between a duplicate and a valid coin so that it can correctly provide the drink of your choice.
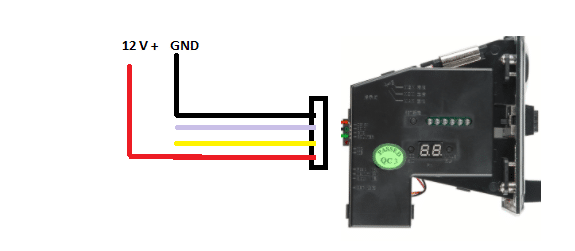
Attached to the coin acceptor are 4 wires: red (12V), black (GND) yellow (coin data) and white (counter data). Press the button on top of the coin acceptor for supplying 12V, until the red LED turns on. Insert a Rs 5 coin to turn off the red LED. The coin acceptor will recognise its validity and accept it.

Designing
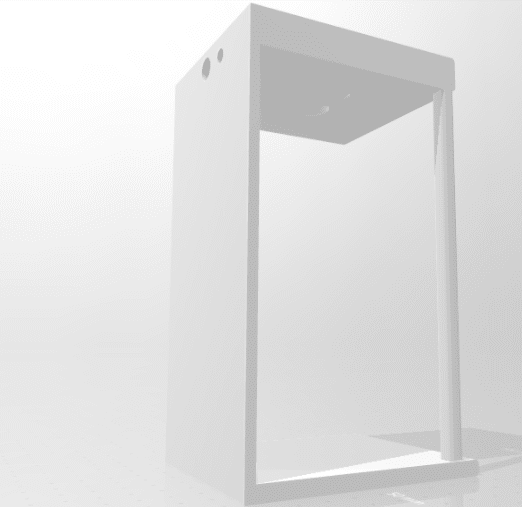
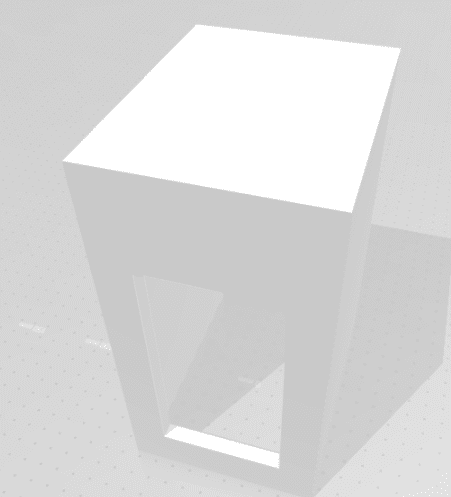
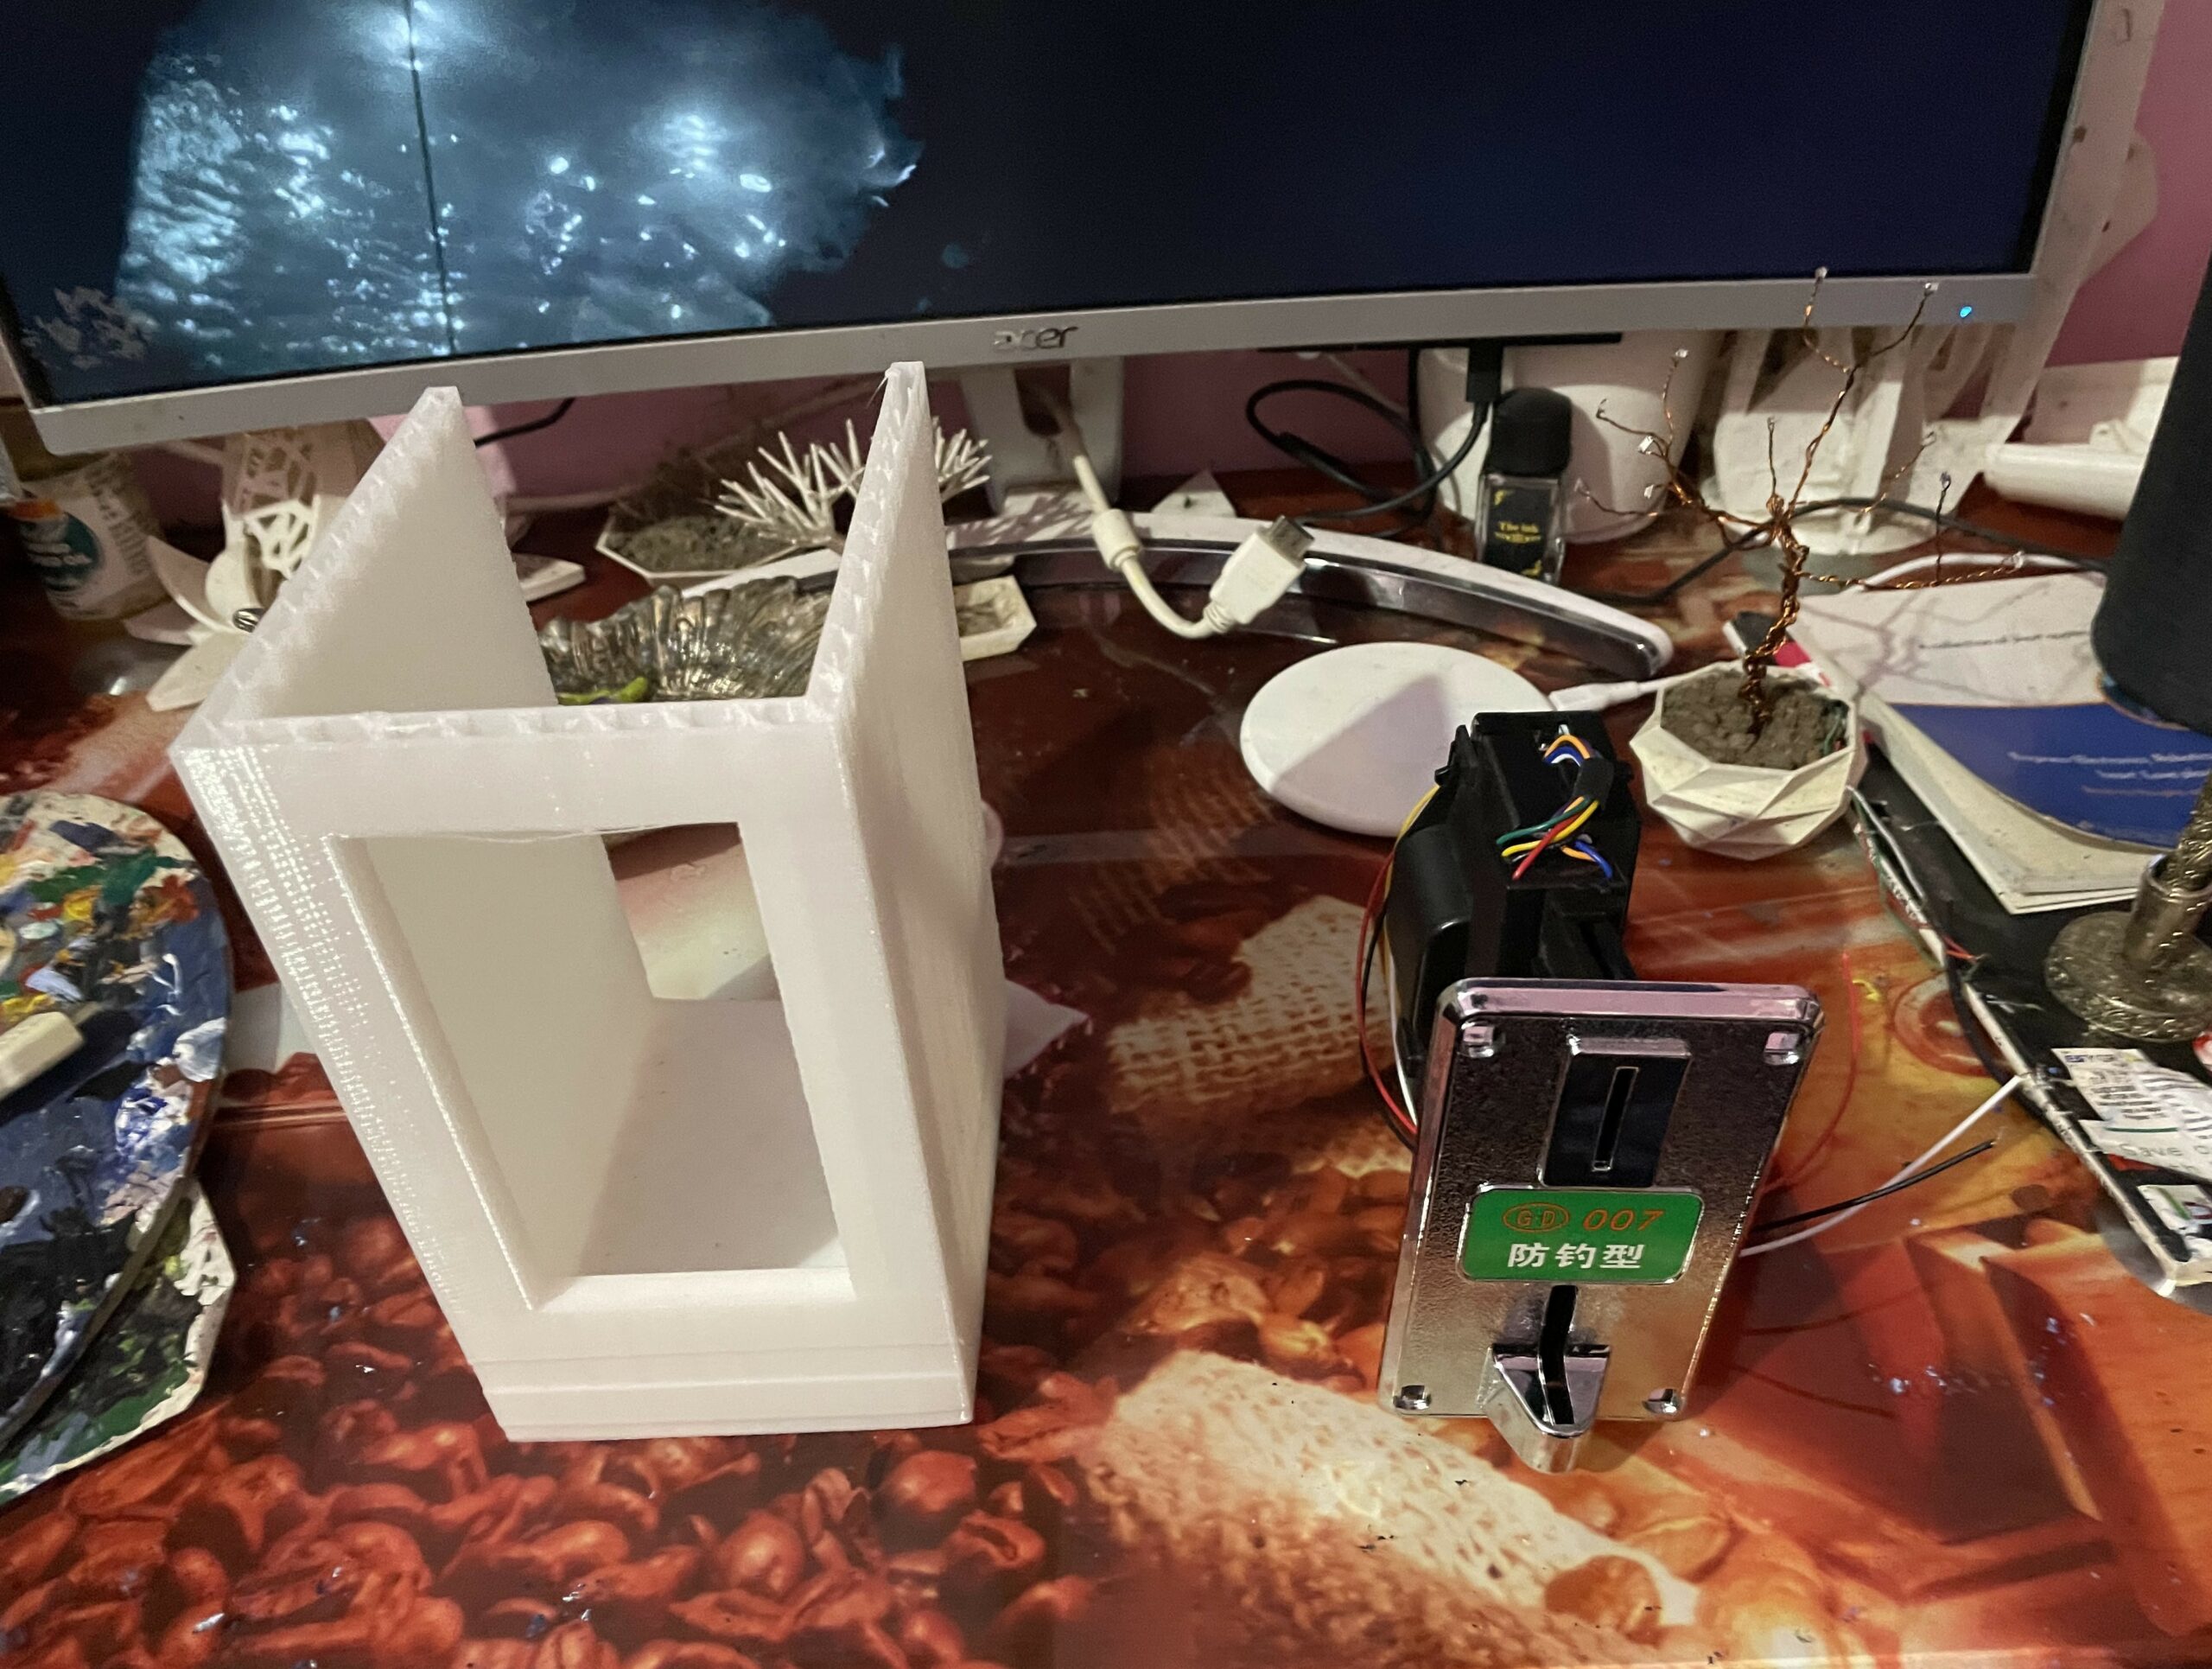
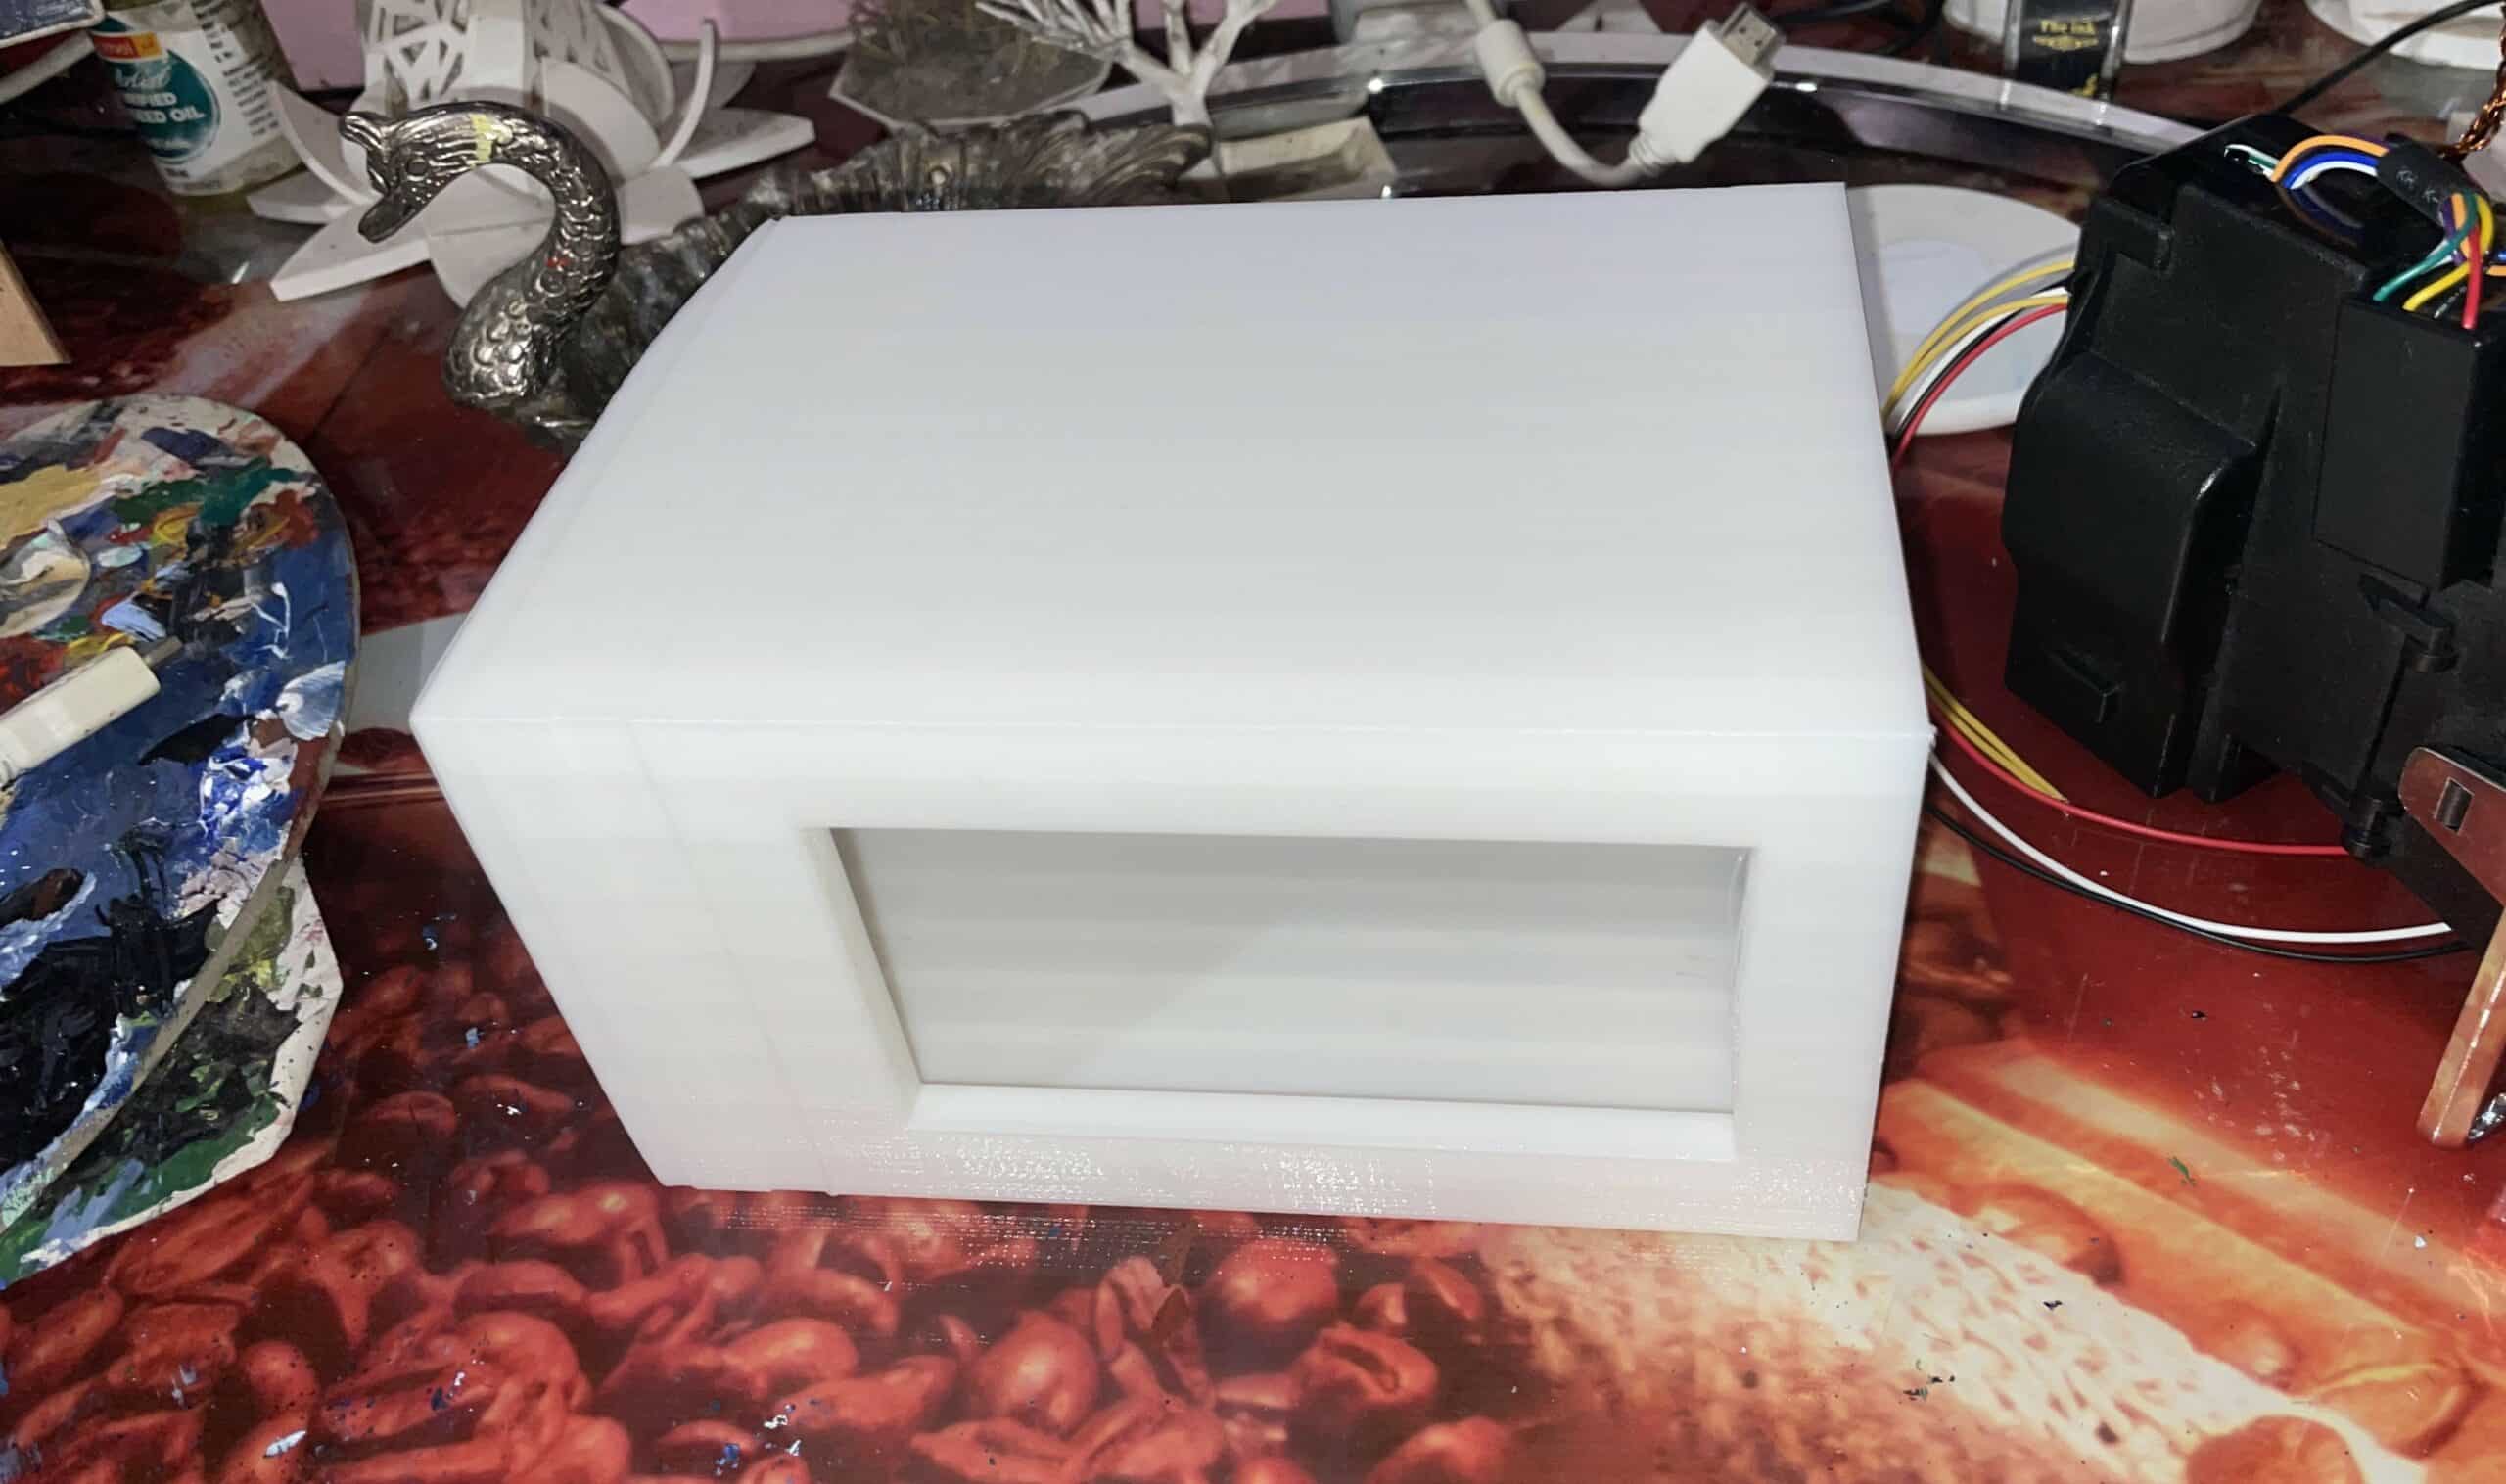
You can 3D print or order from any online 3D printing service to have a vending machine as per your design preferences. Here, the vending machine has been designed in two parts: one for accepting the coin and another for offering the liquid. There are two holes at the side for passing the pipe and TOF sensor wires (to check the level of water poured into the drinking glass).
Coding
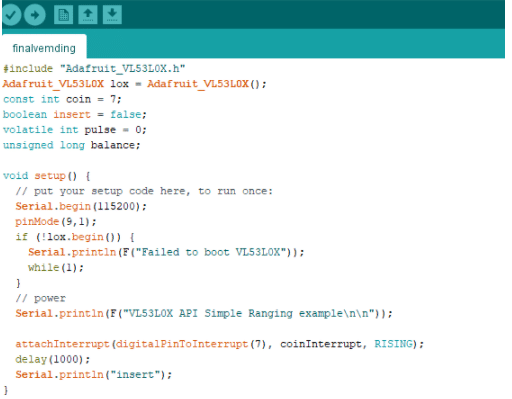
The programming code required for the vending machine will process the signal from the coin acceptor and send it to the relay module for turning ON the solenoid valve for dispensing the liquid. At the same time, the feedback from the TOF sensor will help estimate the level at which a drinking glass gets filled. The solenoid valve stops when the glass is full.
Define the pin for the interrupt of the coin pulse and create a setup function that checks the connection with the TOF sensor and starts the serial port for debugging. Next, create a loop for the solenoid valve when the correct coin is detected. It will check the liquid level in the glass and stop the valve when the required level gets achieved.

Connection
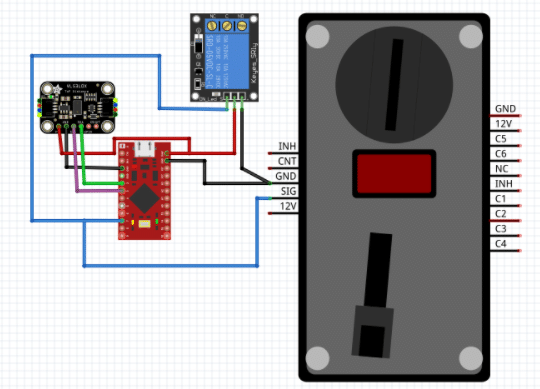
Now, upload the code and connect the components as shown in the circuit diagrams.
Preparing The Vending Machine
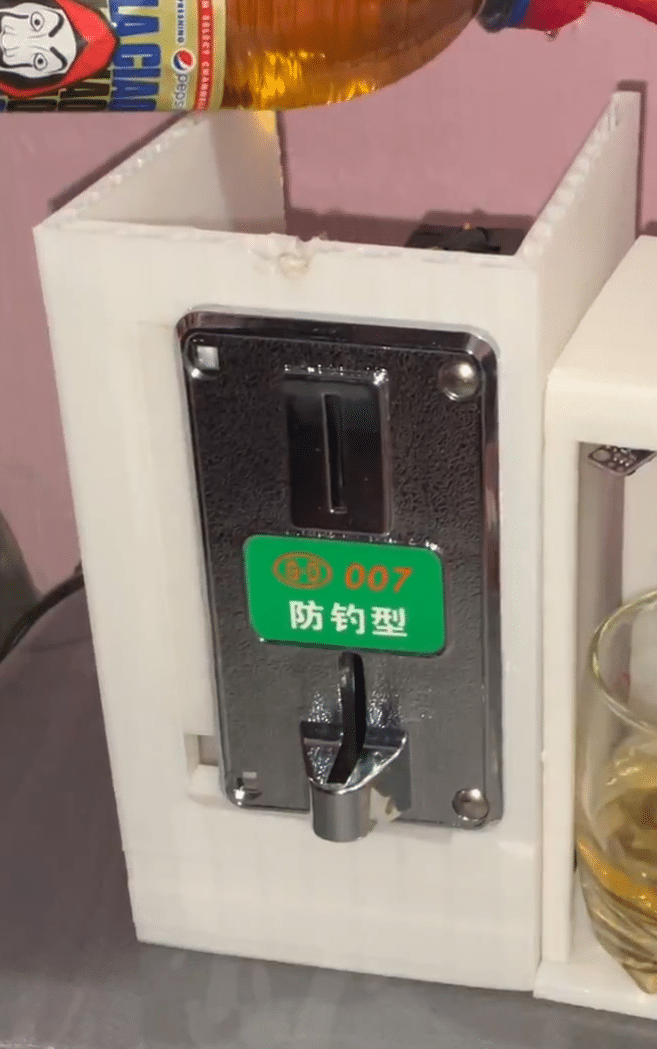
First, place the coin acceptor machine in the coin acceptor case and tighten it with screws.
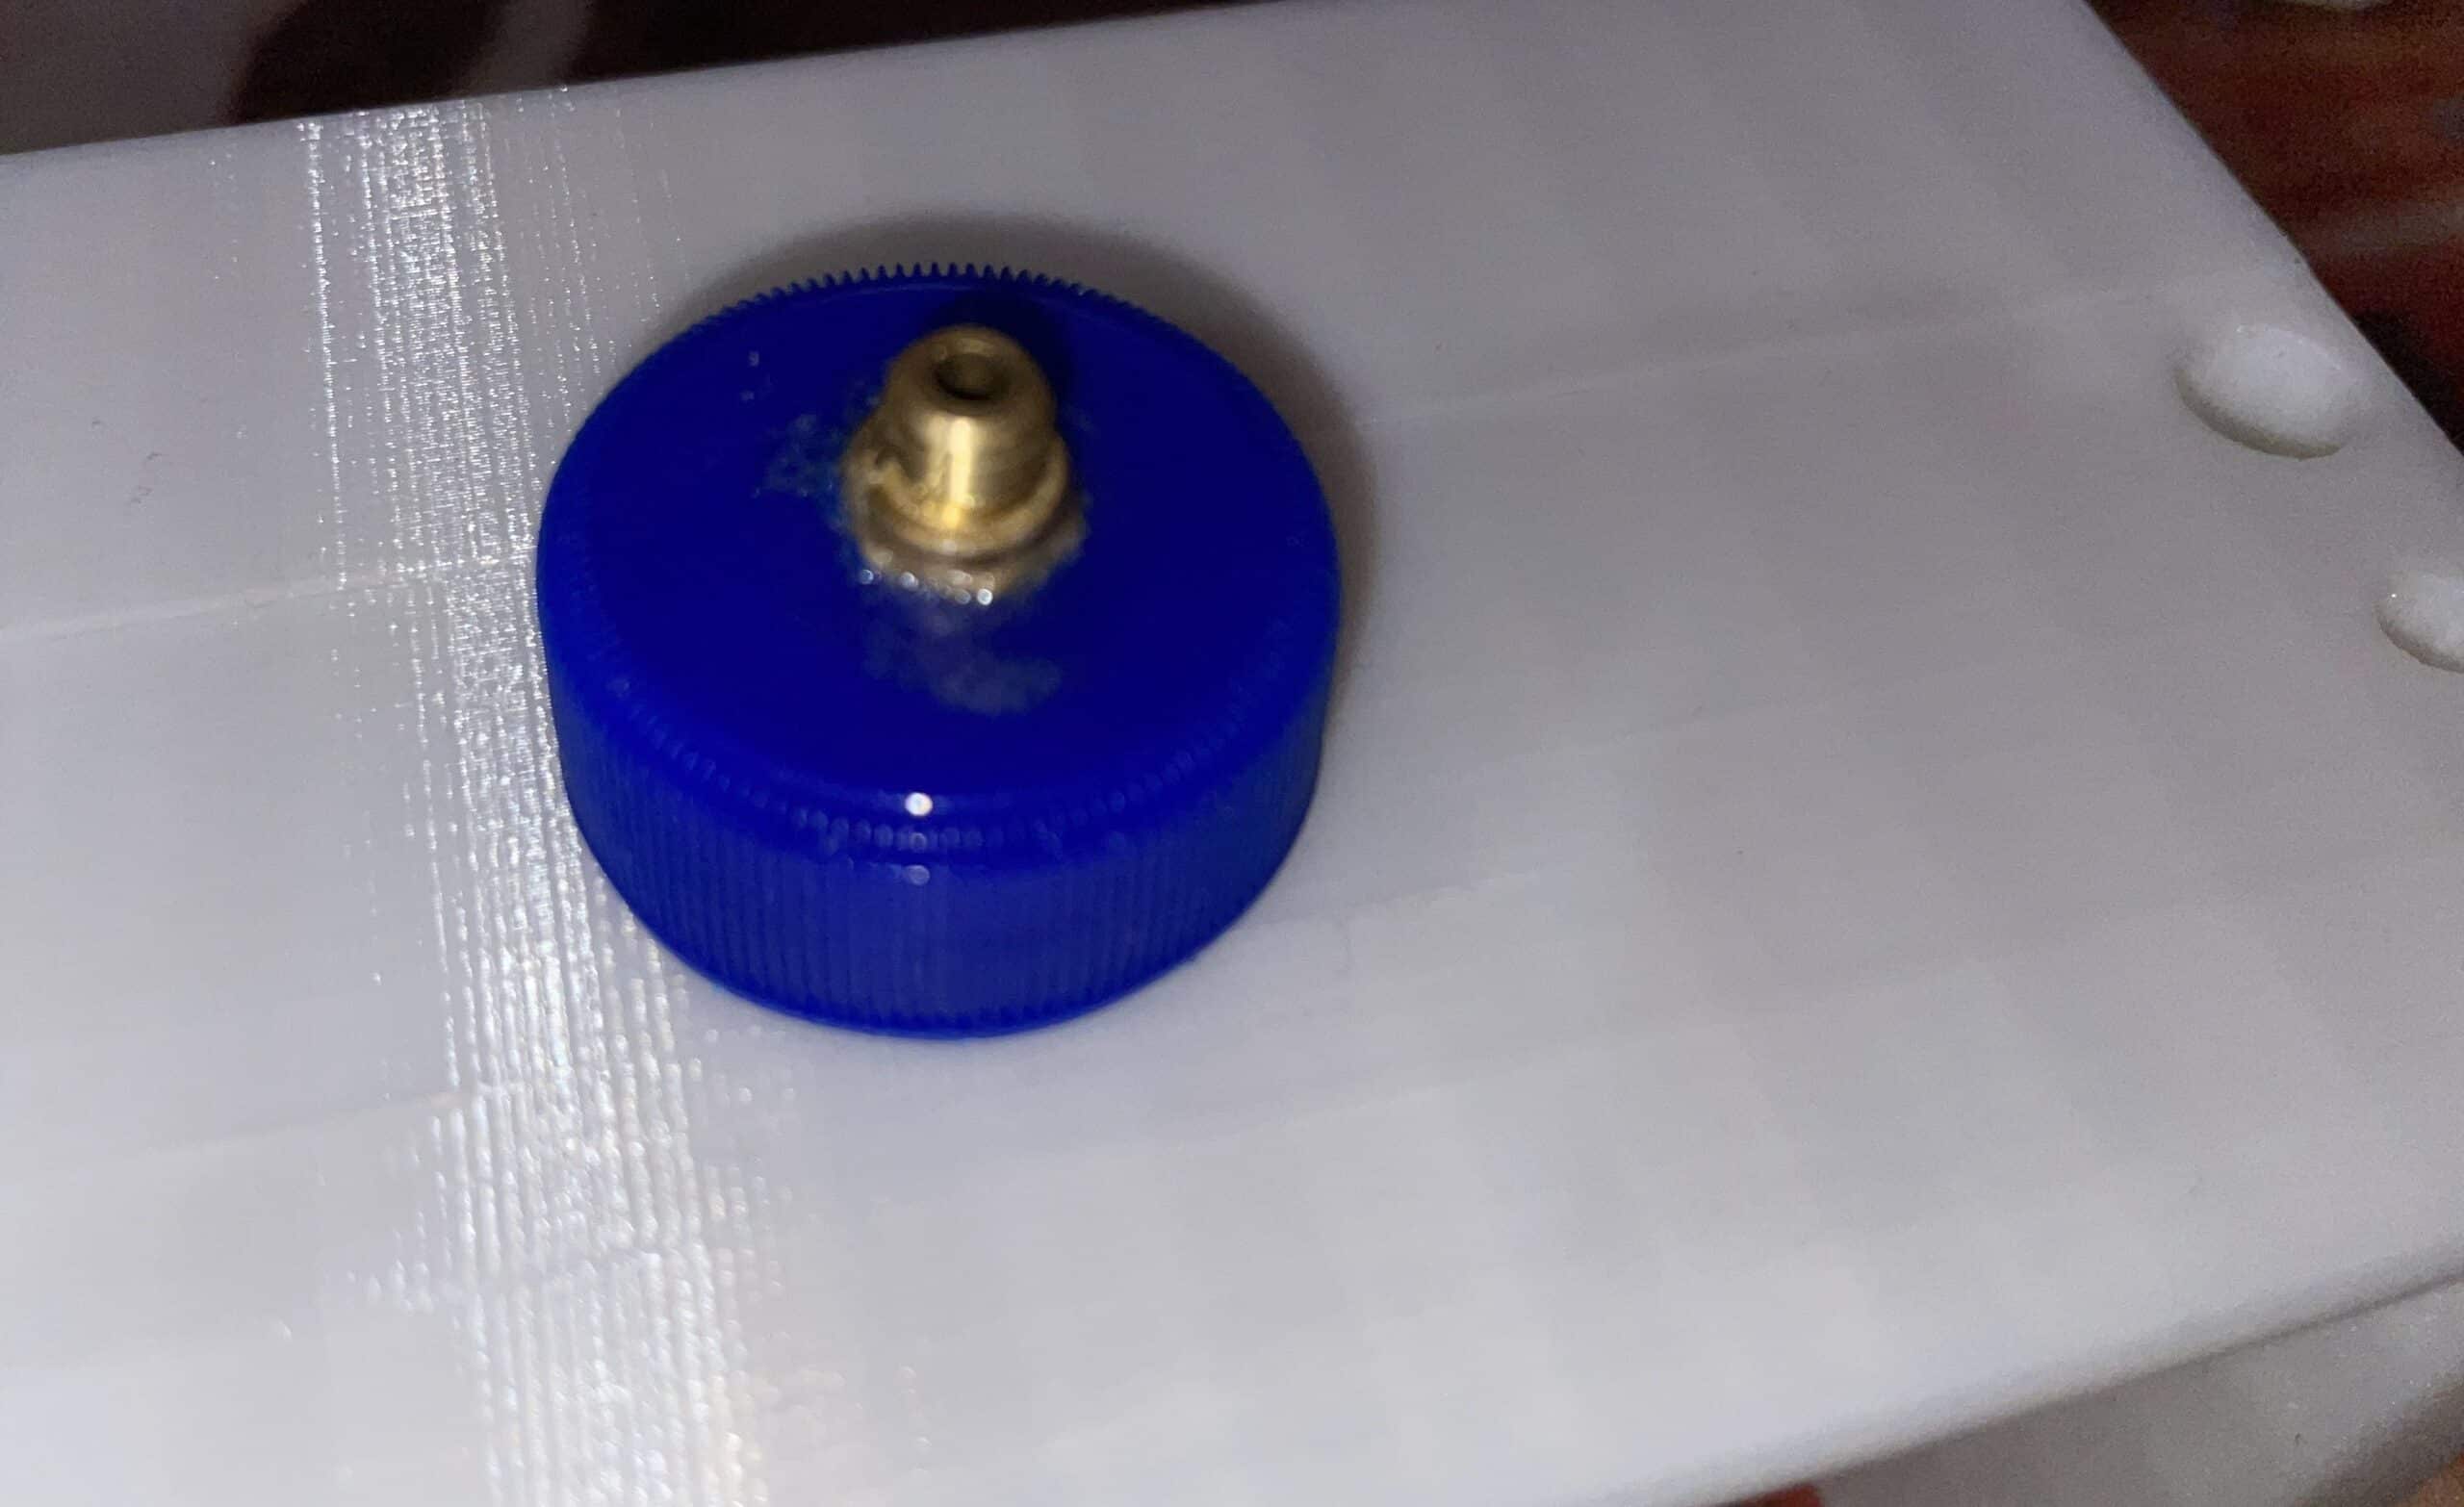
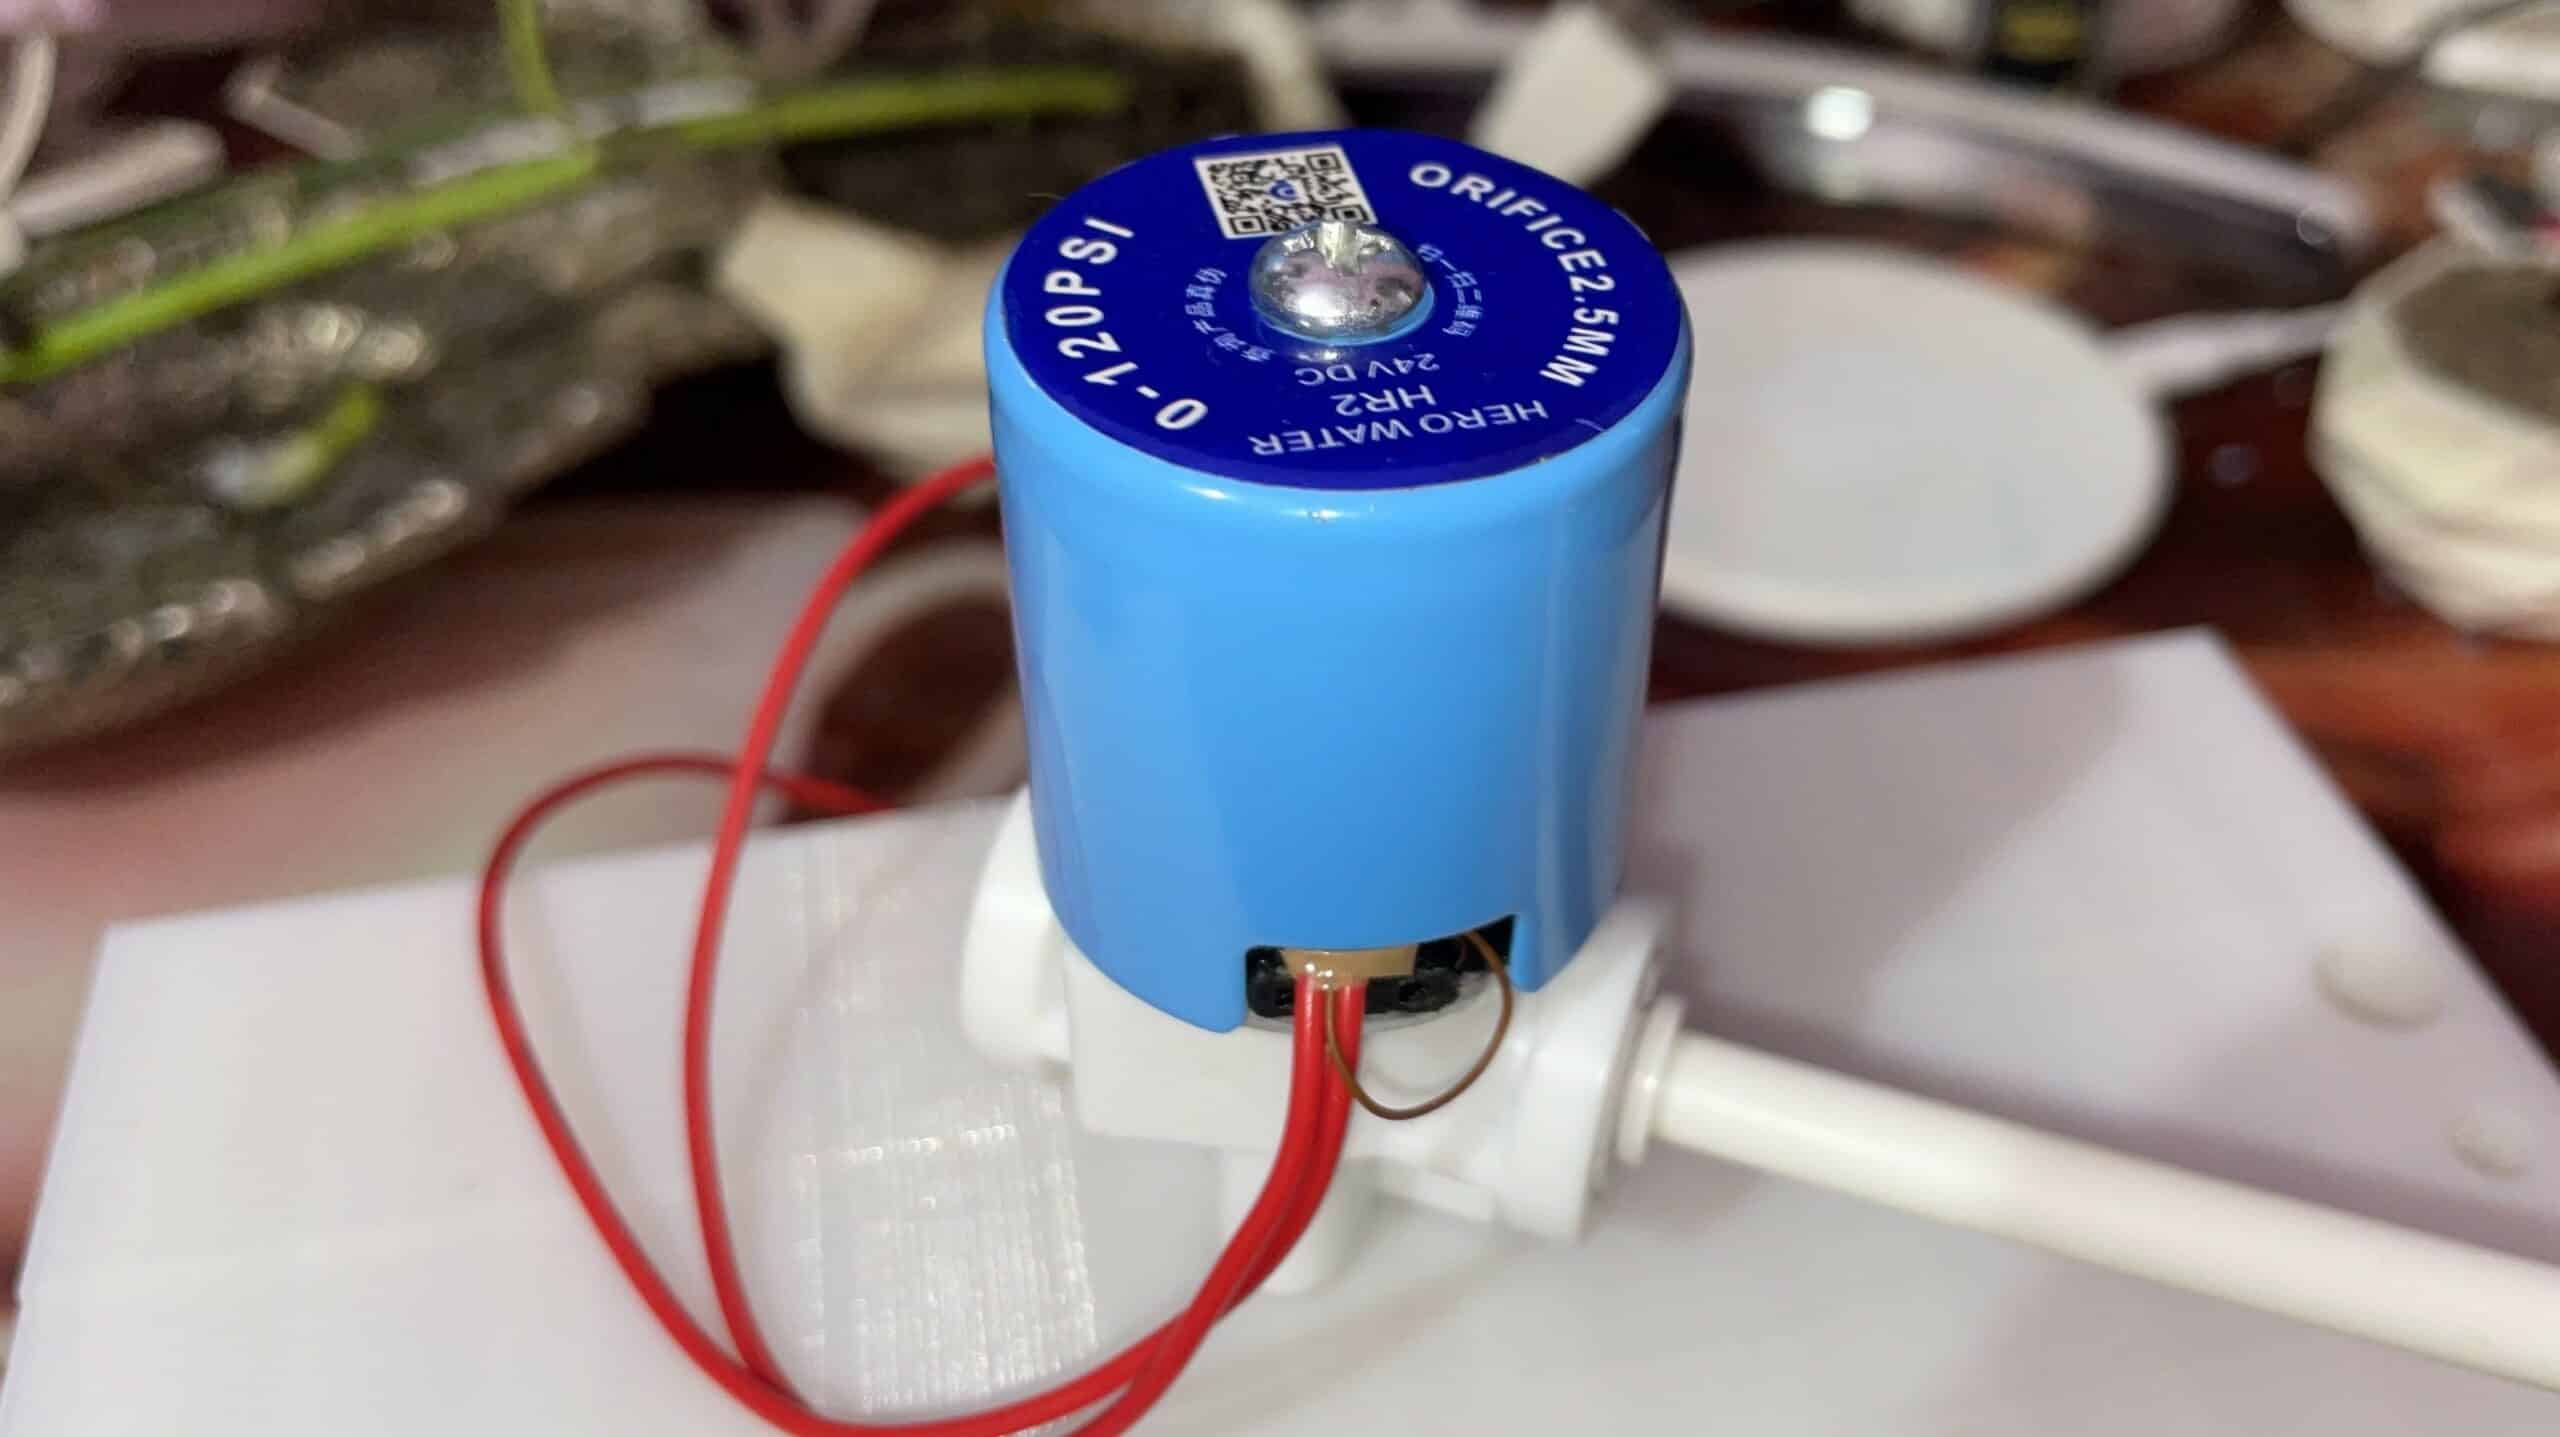
Next, prepare the liquid vending mechanism for which you need to cut the pipe and insert it in the inlets and outlets of the solenoid valve. Then insert one end of the pipe in the bottle through the hole or container holding the liquid and waterproof it to avoid any leakages. Here, I have used a bottle cap through which the pipe needs to be inserted.

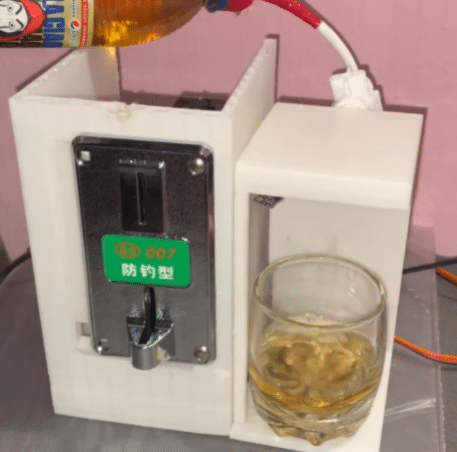
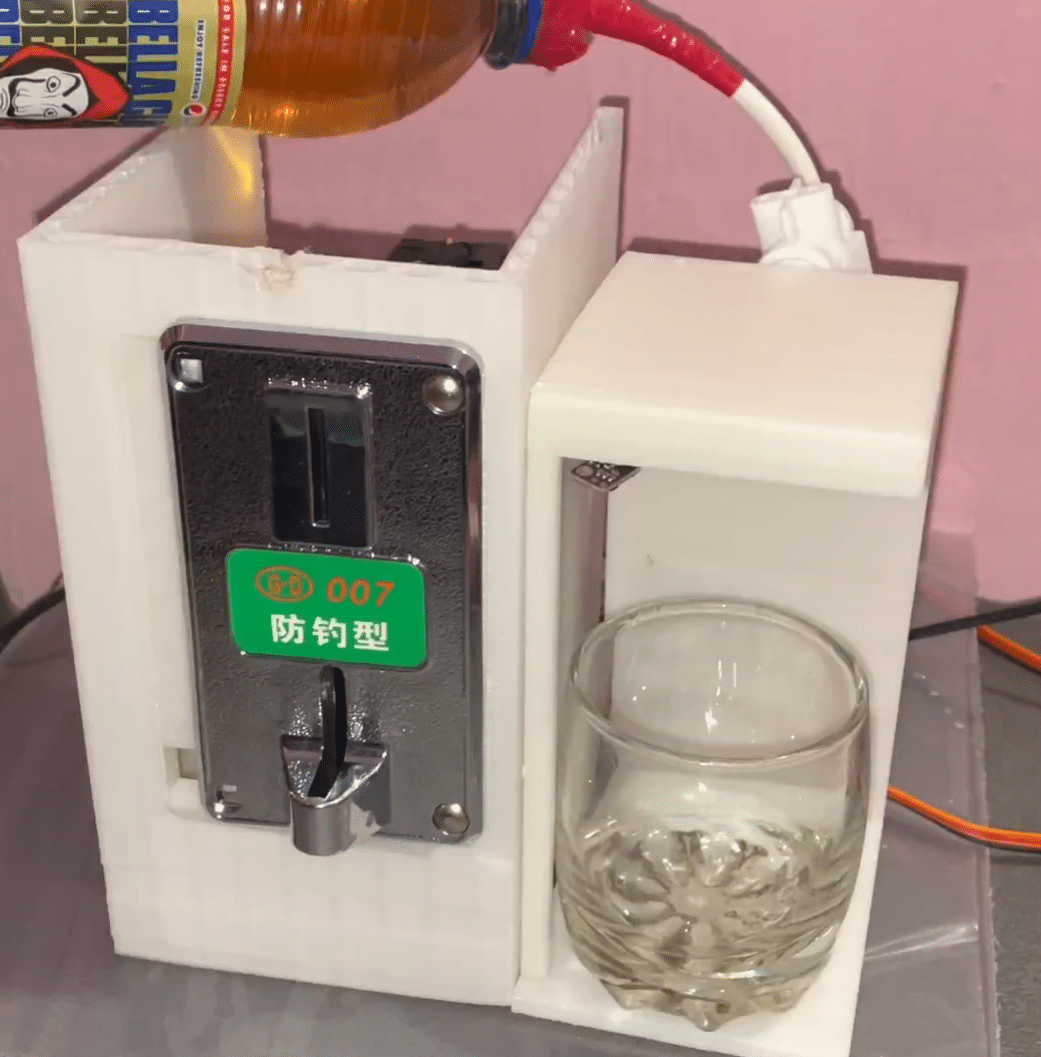
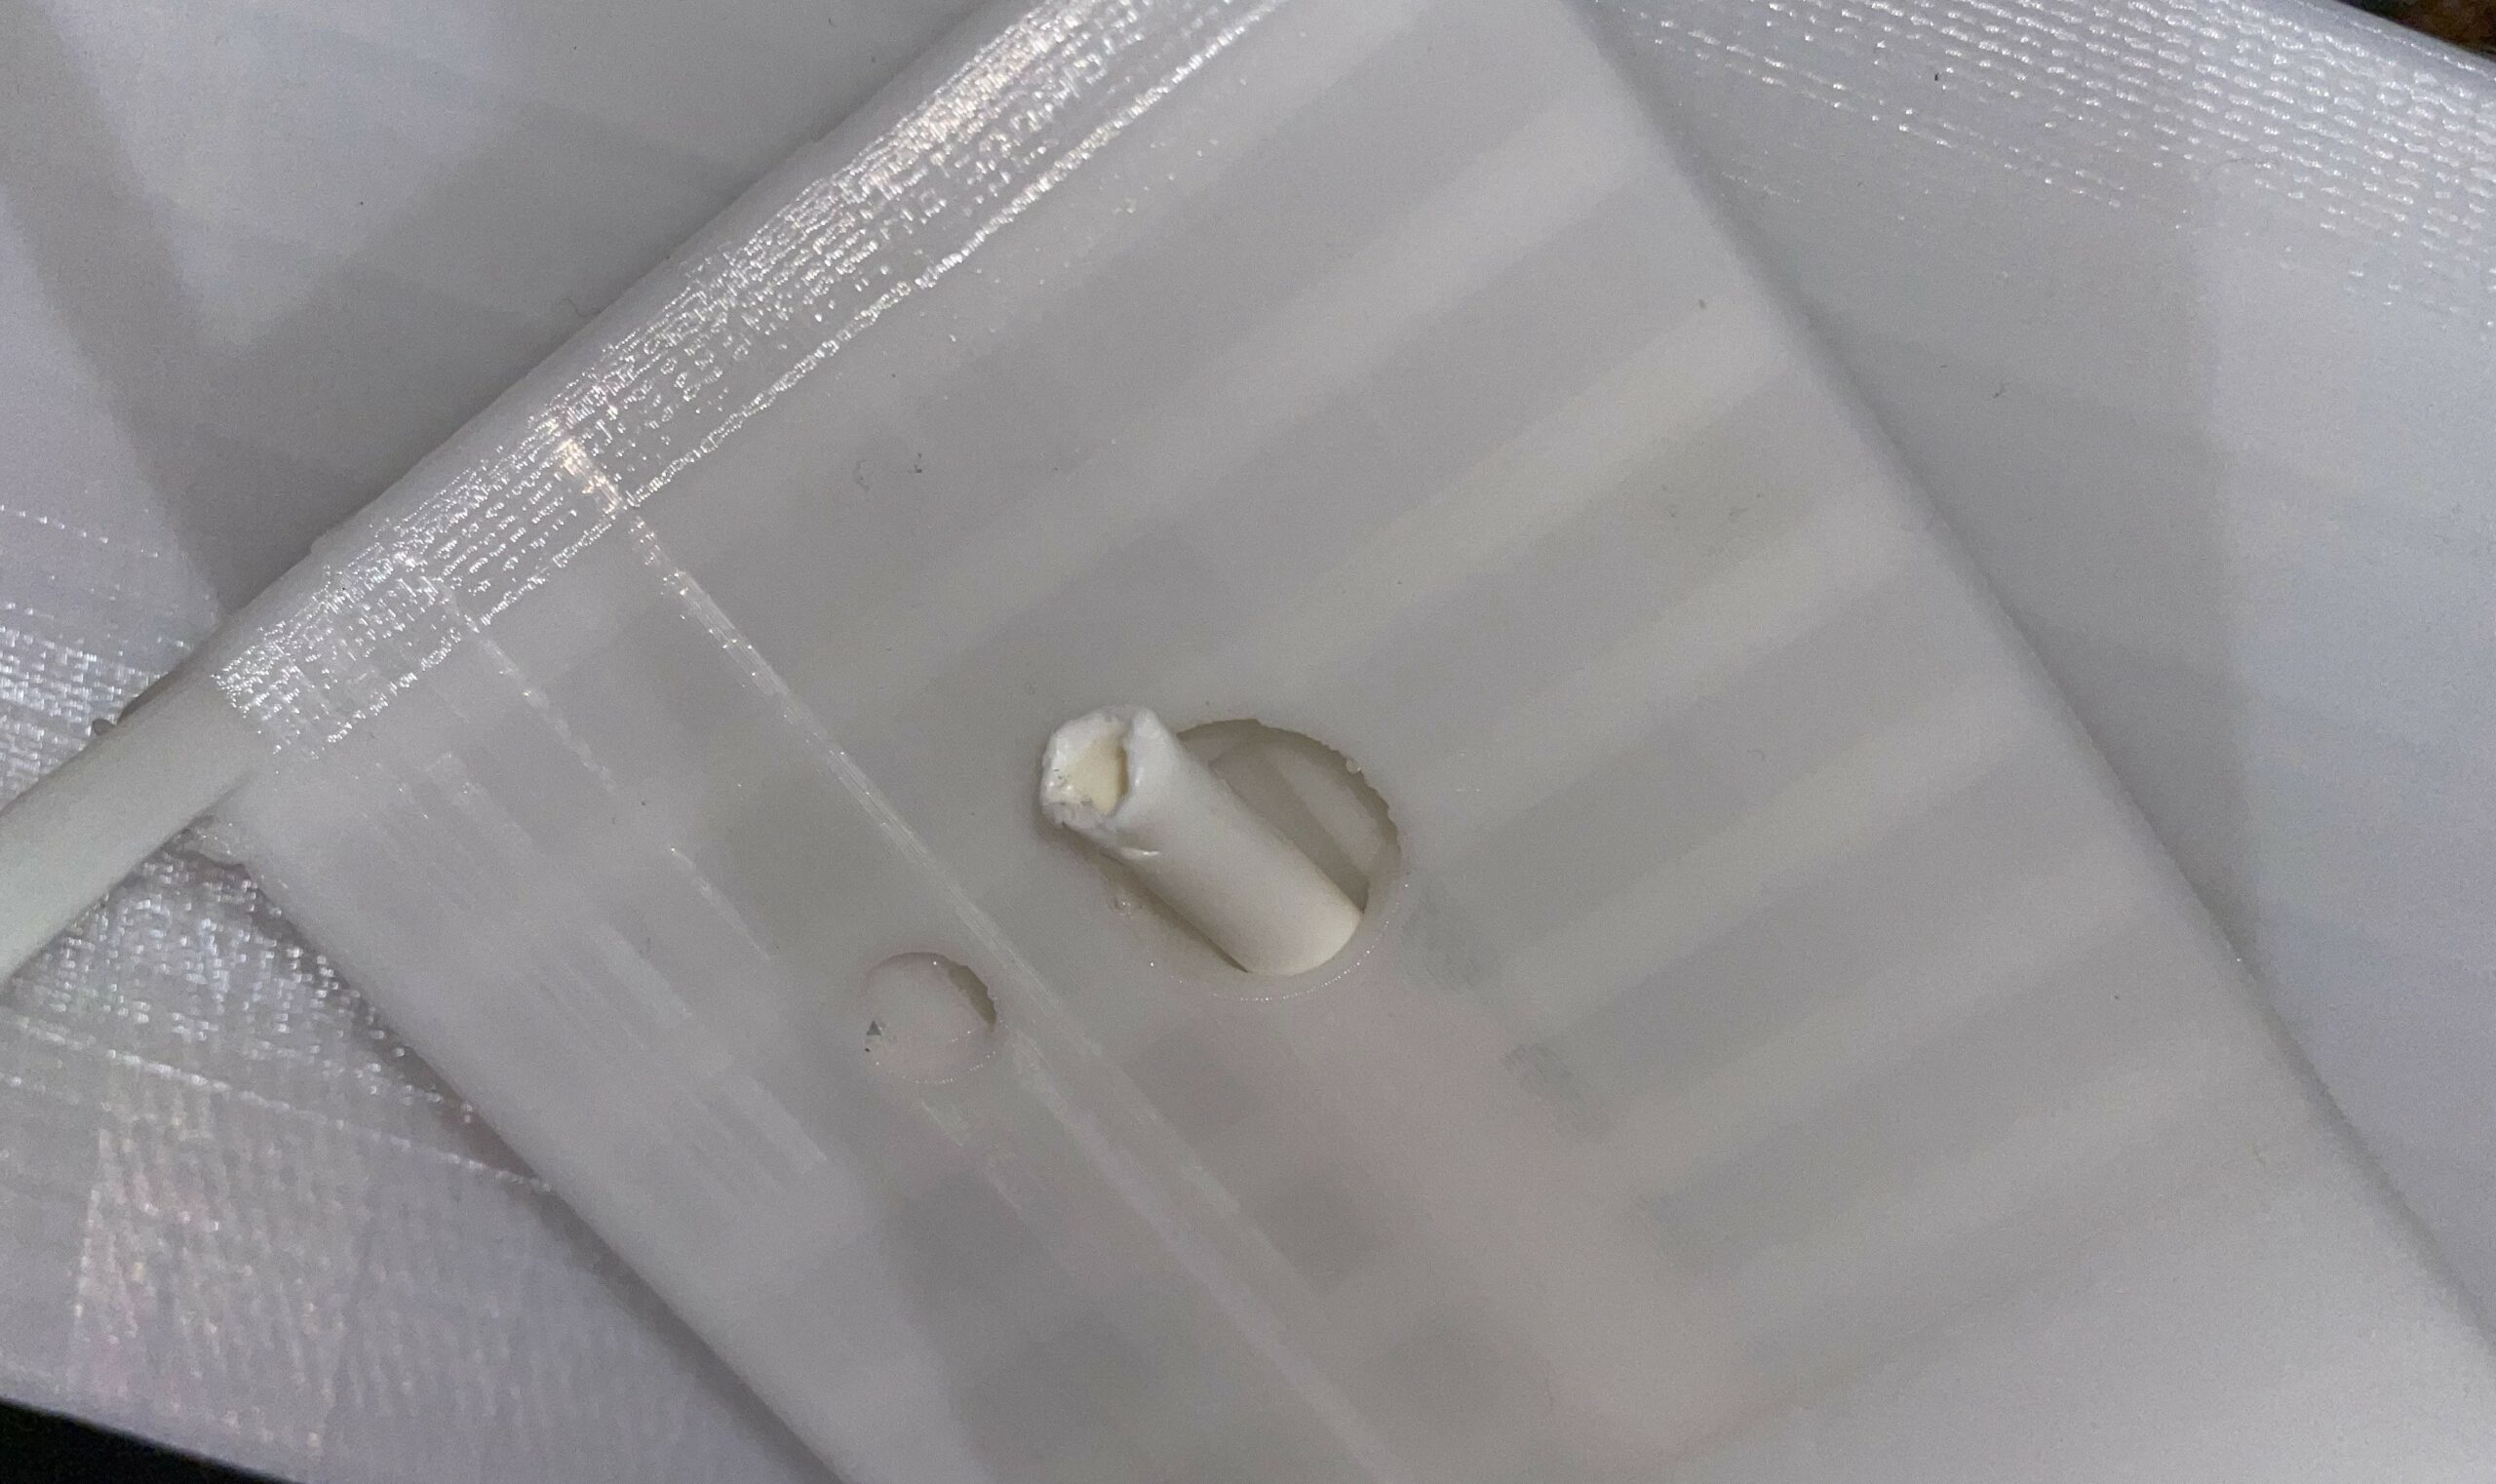
Next, pass the pipe connected to the container through the 3D printed part of the vending machine. This end will allow the liquid to flow into the drinking glass kept underneath (see below pictures).


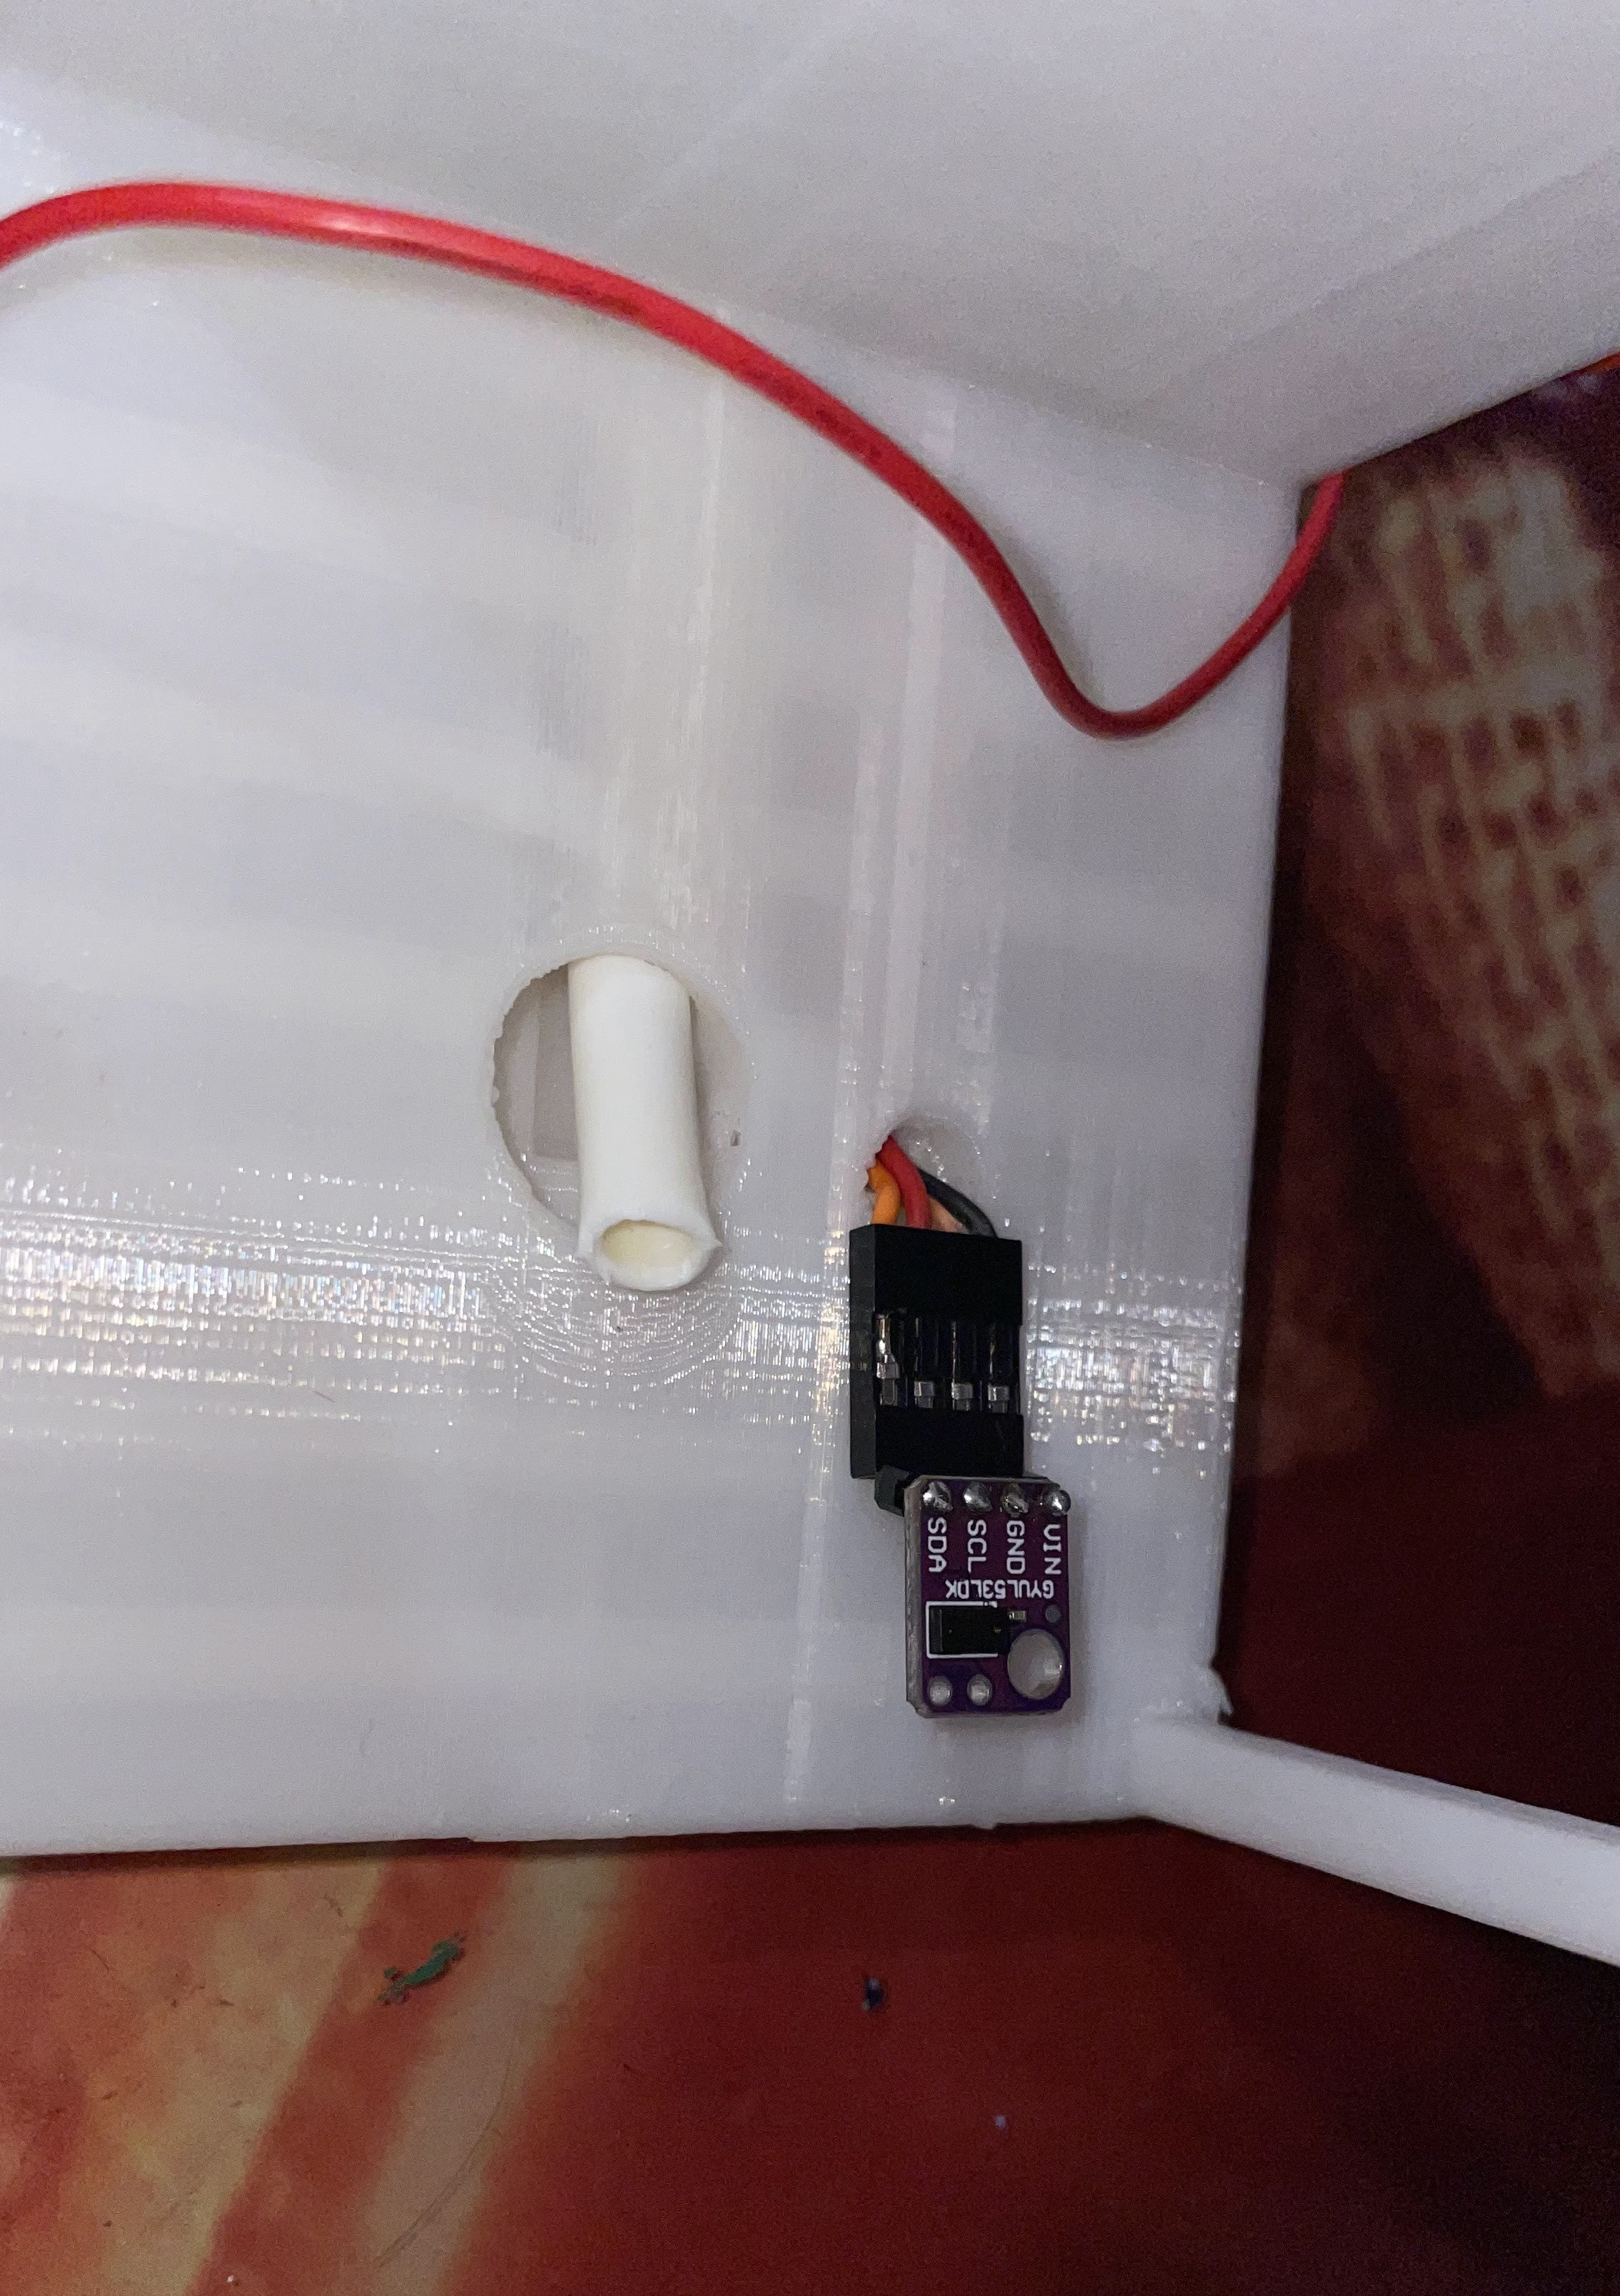
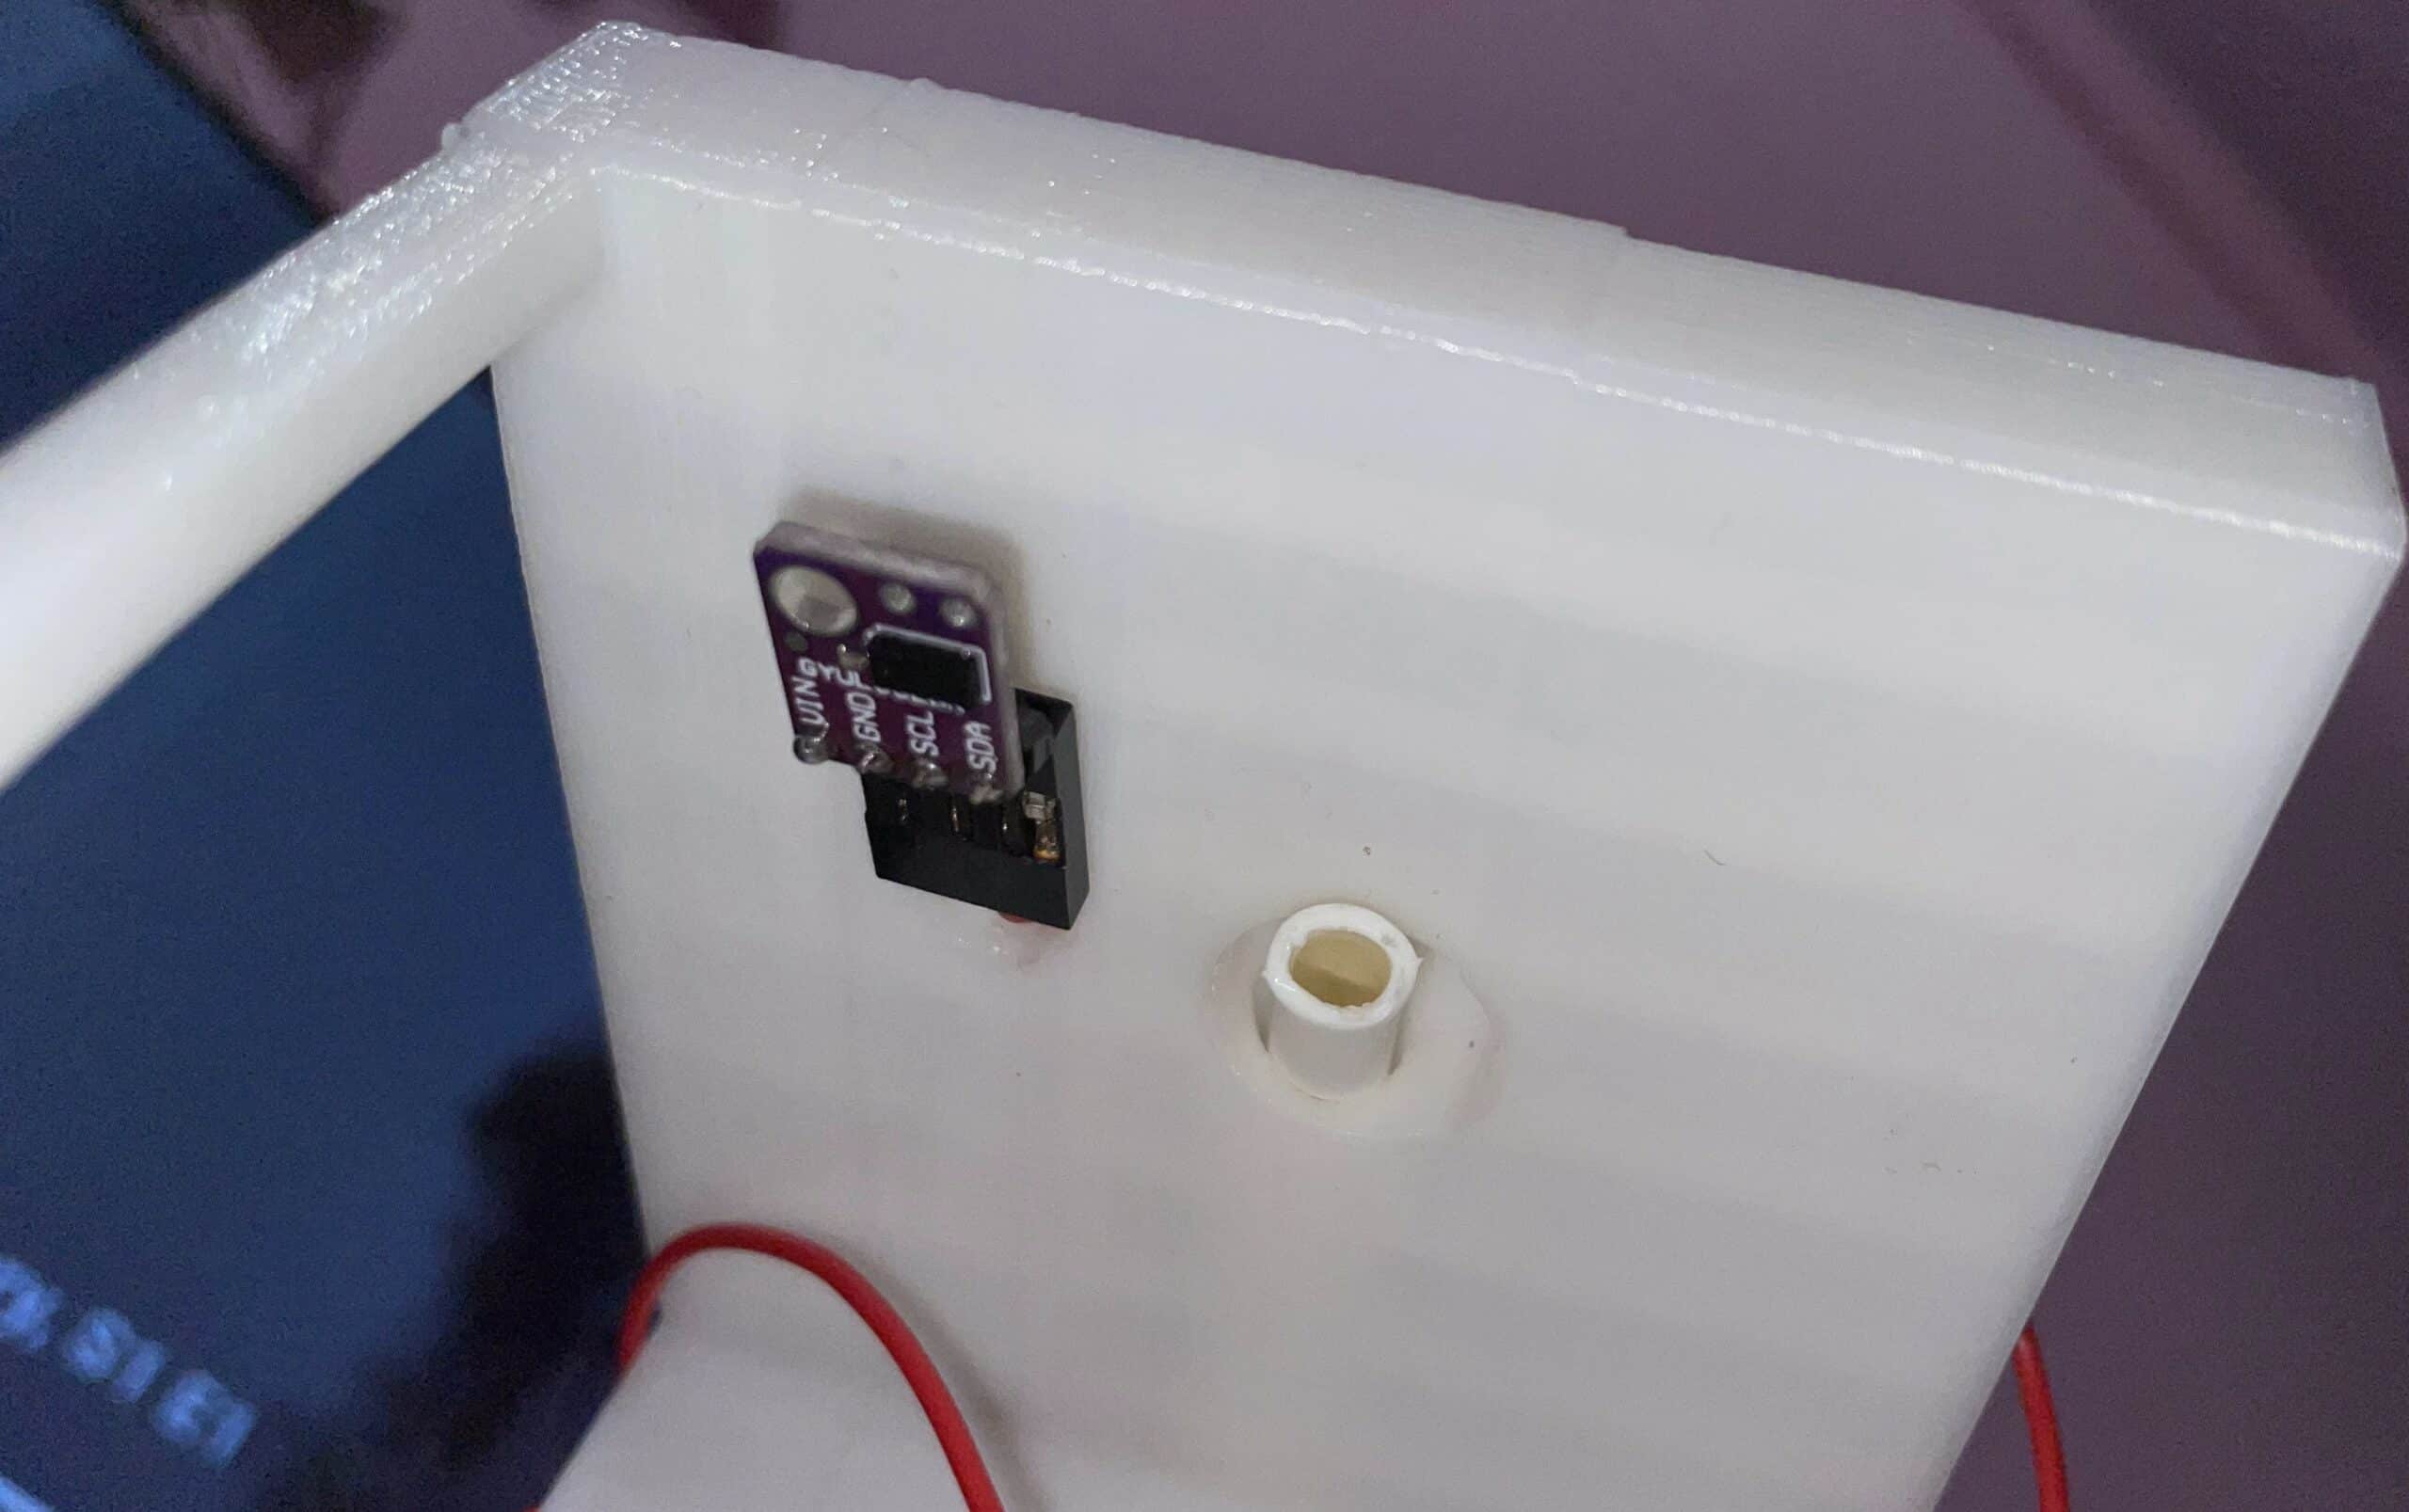
Now, pass the TOF sensor wires through the second hole (see pic below) and place it on top of the dispenser such that it remains straight and only allows the required amount of liquid to fill the drinking glass.

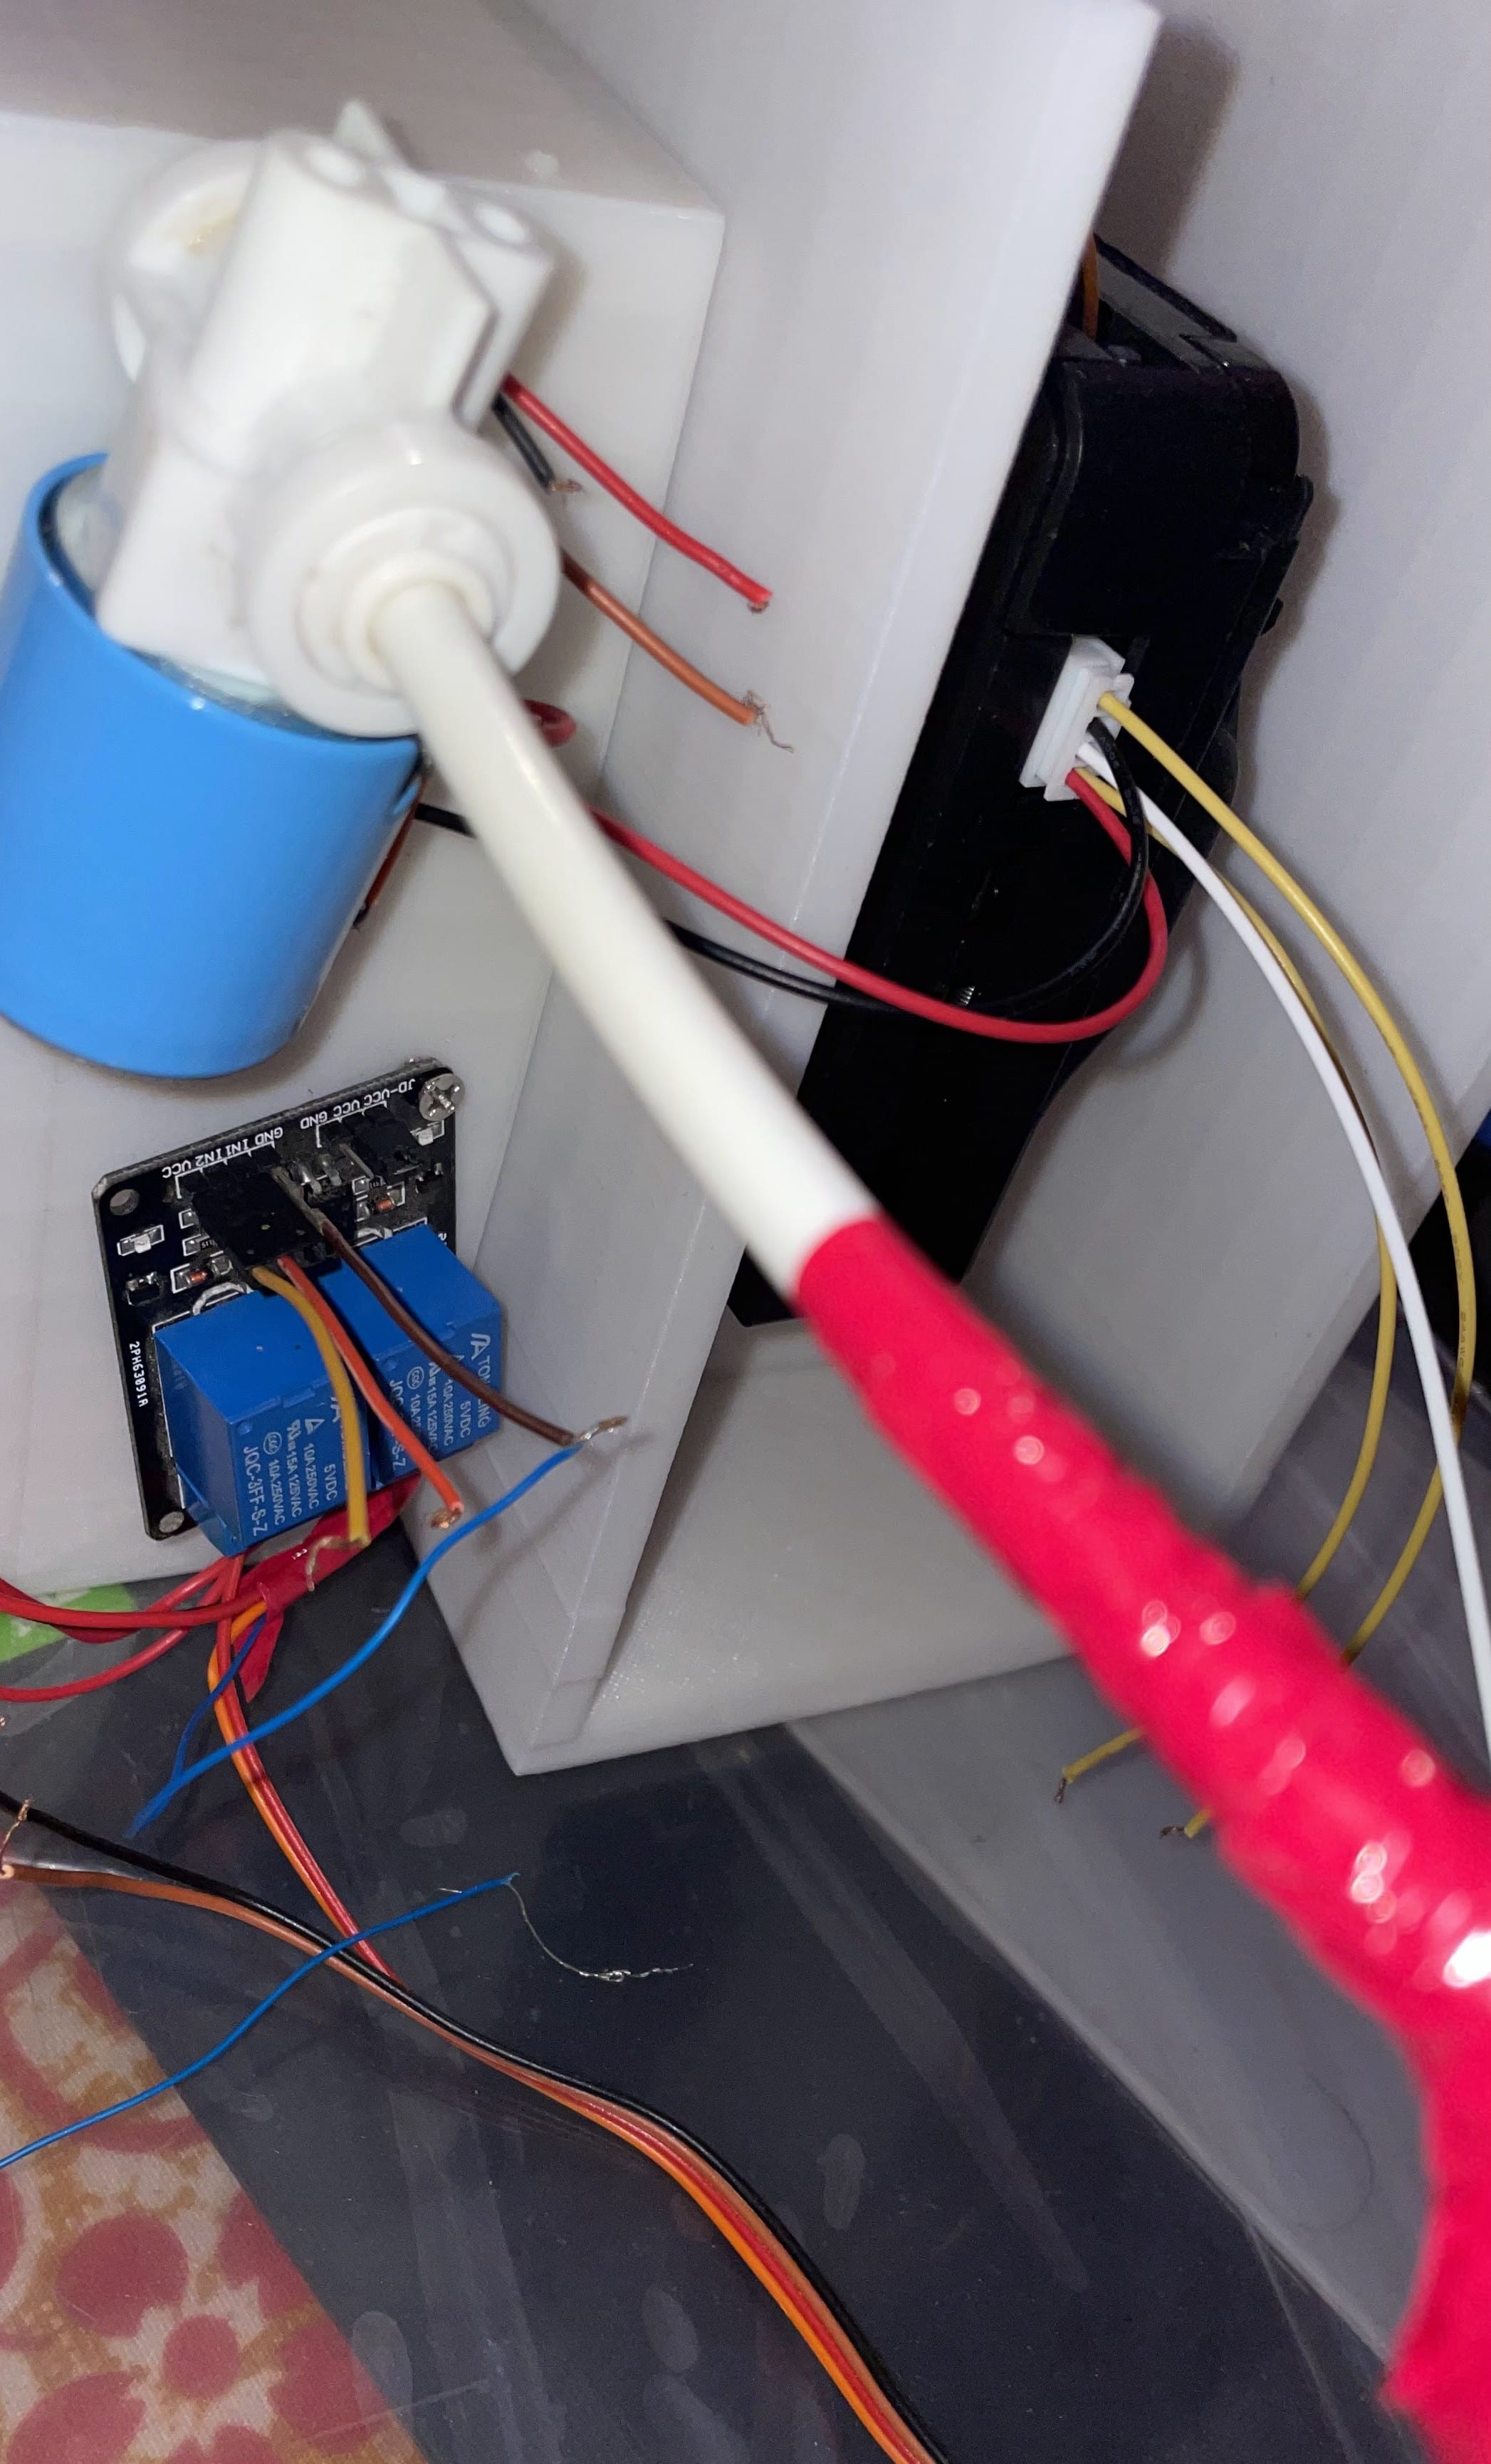
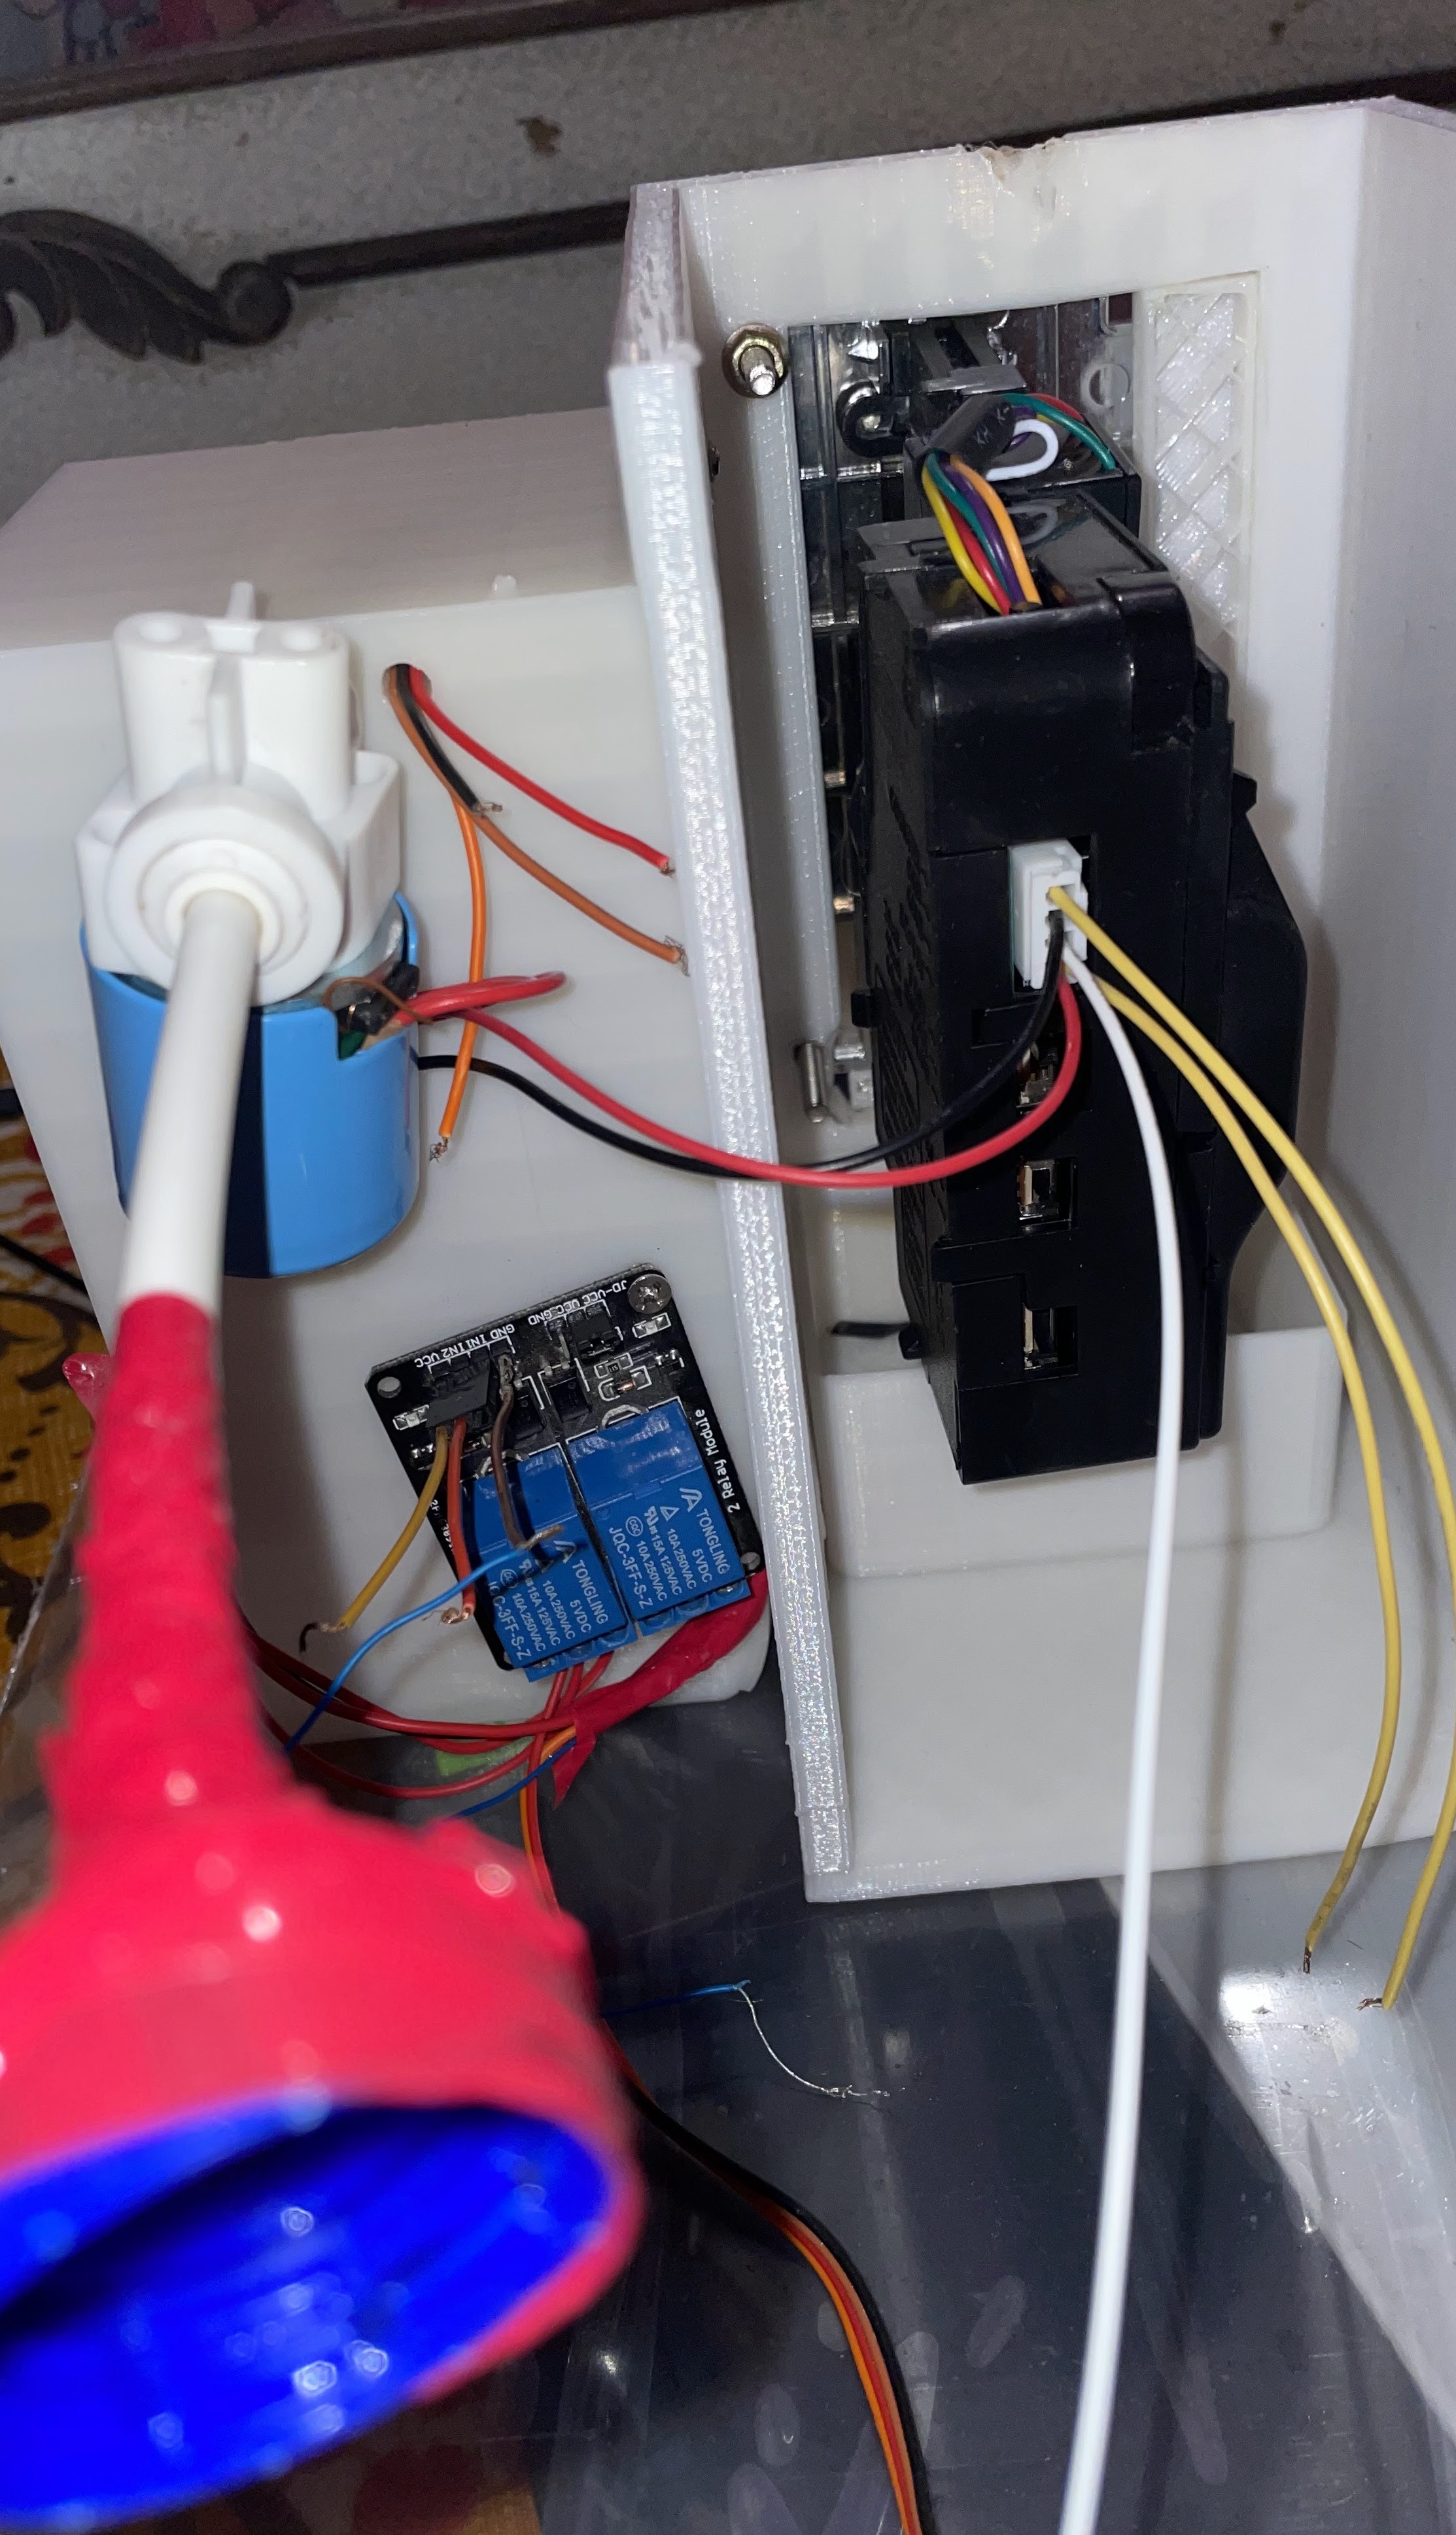
Place the rest of the components behind the dispenser and connect them accordingly.
Testing
Insert a Rs 5 coin. Upon recognising it, the vending machine will immediately serve you the drink of your choice. If you insert a wrong or fake coin, the machine will reject it.
Congrats!! Your vending machine for water and beverages is now ready for use. You can deploy it in any public place.