 Making public announcements in a quick, time-bound manner while covering large areas sometimes becomes costly. Due to the limitations related to travelling, it is hard to reach all the places within less time. To address this issue, I have decided to do public announcements using done. Here we will design a Racing drone with a public announcement system. The racing drone can either record a voice and play that in a loop or use a code and mic for making announcements. Here we will use a small drone frame that is easy to control and can be easily flown in narrow paths/areas.
Previously we have made a racing Drone using a CC3D flight controller with a Qav250 drone frame you can use the same drone here and add the public announcement system to that. In fact, this project is an extension of that project. If you want to add a larger announcement mic then you can add the announcement system to a larger frame drone as well you construct the larger F450 Drone using this article and add the public announcement system to this.

[defineweblang title=”Change Video Language” language=”English,Hindi”]
[getvideolang url= “https://www.youtube.com/embed/kEwJzLQrWSM” language=”English”][/getvideolang]
[getvideolang url= “https://www.youtube.com/embed/-8PQDLviTy8″ language=”Hindi”][/getvideolang]
[/defineweblang]
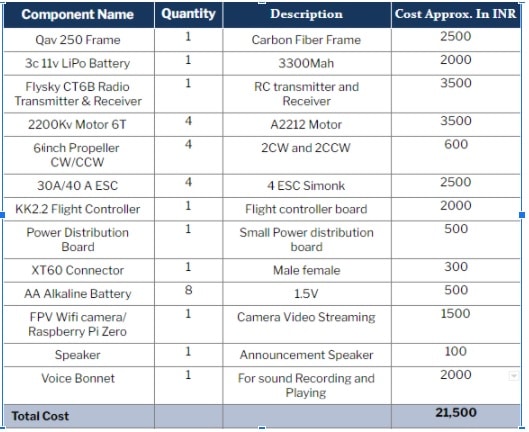
Bill of Material
First, we need to do the shopping of the following components to do the public announcement using a drone.
Assembling The Done
For making a drone follow the instructions in this article -> Read
Next, we need to mount the speakers to the drone for doing announcements. We can use the zip tie to fix and tie the speaker to the rear part of the drone frame as in pic below

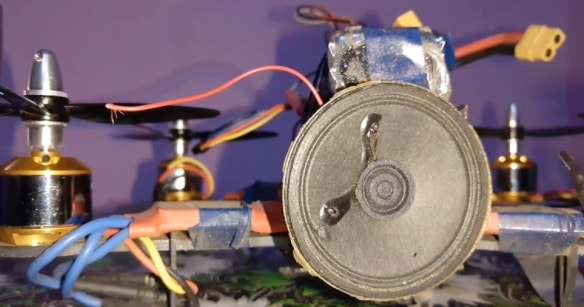
Next we have to fix the raspberry pi and its Voice bonnet on the drone frame we will also attach it with the drone frame using the zip tie as in the pic below.
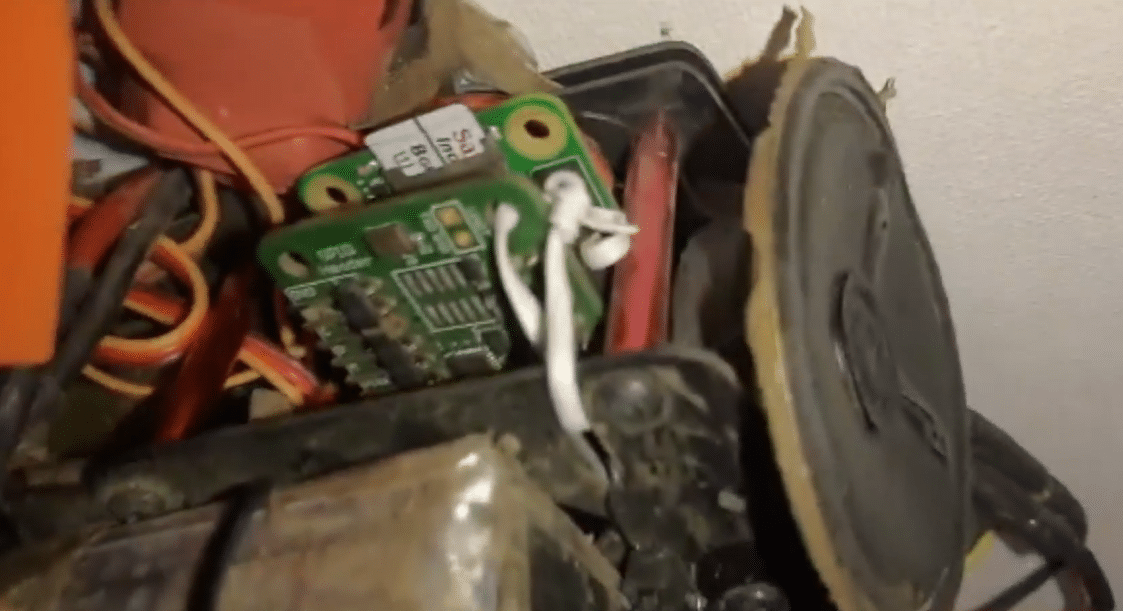
Note: While fixing the speakers and voice bonnet keep in mind the parts do not come in a radius of propellers.
Preparing Public announcement system
Here I am using the AIY Voice Bonnet for playing and recording the announcement. The AIY Voice Bonnet comes with an SD card that is pre-loaded with an AIY Raspbian image. But if you do not have that then you can prepare the SD card using a disk imager.
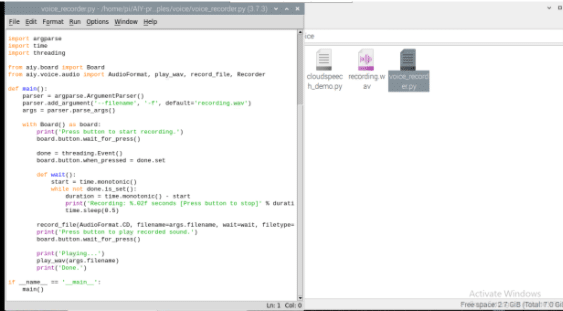
Next, we will create the code for recording the audio. First, run the voice recording code and then press the button on the Bonnet to record the audio for public announcement. After that, run the code to play the audio, which you want to announce. Else, you can simply play the recorded file.
Connection
Next, we need to connect the raspberry pi and voice bonnet to the power supply and speakers to the voice bonnet speakers port. For the power supply cut a micro USB cable and get its +ve and -Ve that is wire RED and BLACK wire and then either solder it or add a female jumper to connect with CC 3D Pins. The CC3D flight controller has many output pins for the ESC here in the drone we have used only the first 4 only so you can use any remaining pins on the CC3D flight controller for powering the Raspberry Pi . Connect the +VE red wire to the positive pin of the CC3D flight controller and -Ve to -VE pin. Then connect the speaker wire to the speaker port on the voice bonnet
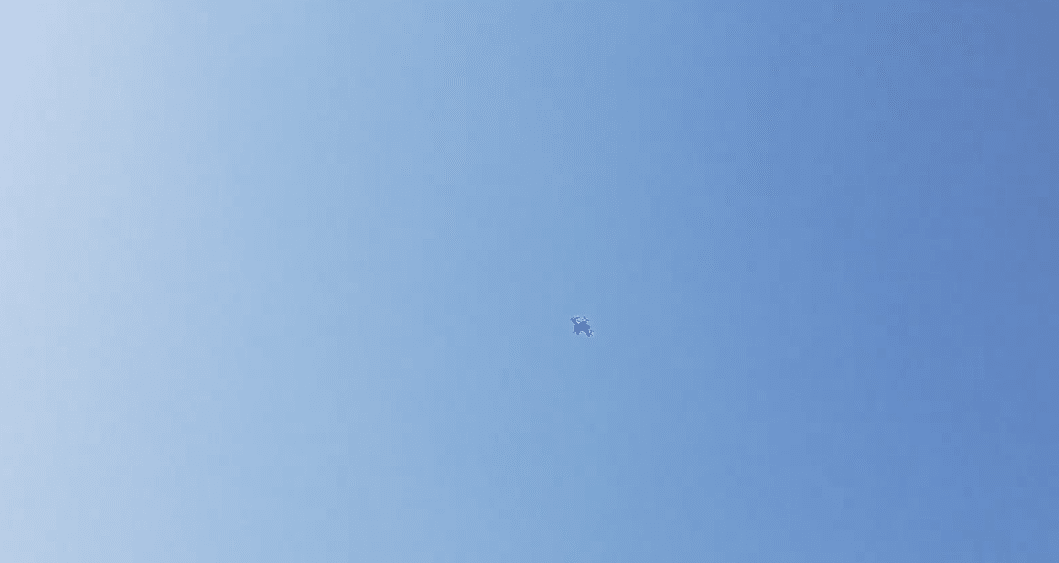
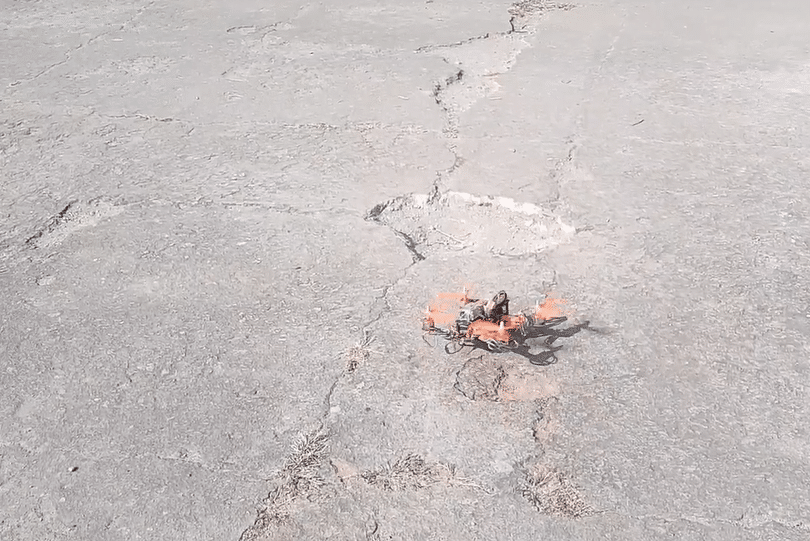
Testing
Fly the drone in and around the area where you want to make the public announcement and play the audio.