



Imagine a radio that listens to satellites instead of FM stations. Using a Raspberry Pi and an RTL SDR dongle, it is possible to receive weather images transmitted from space and display them on a local screen or webpage.
Satellite communication has always fascinated engineers and electronics enthusiasts. Weather satellites continuously capture images of Earth and transmit valuable atmospheric data back to ground stations. Some of these transmissions are publicly accessible, allowing hobbyists to receive and decode satellite imagery using low-cost hardware.
This project presents two approaches for building a weather satellite receiver and ground station. The first approach uses an RTL SDR receiver and Raspberry Pi to capture signals from weather satellites and convert them into images. The second approach retrieves weather images from publicly available meteorological portals and displays them automatically on a local dashboard.

The RTL SDR based receiver captures weather data directly from satellites, while the portal based system provides an easier method of displaying satellite imagery without requiring RF reception hardware. We begin with the RTL SDR receiver based design.
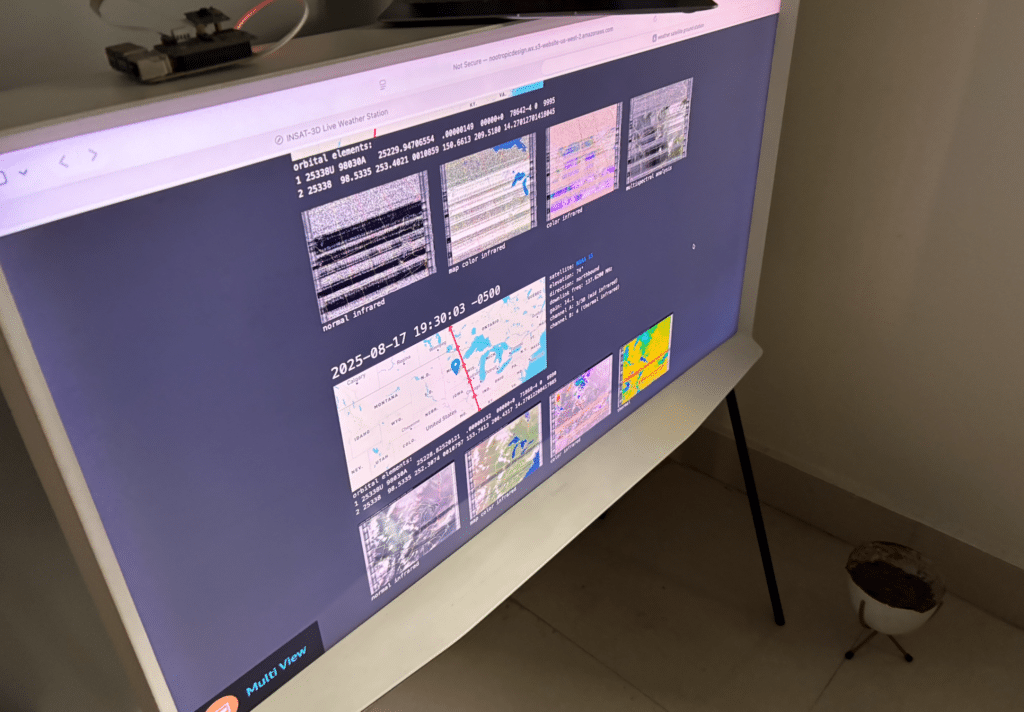
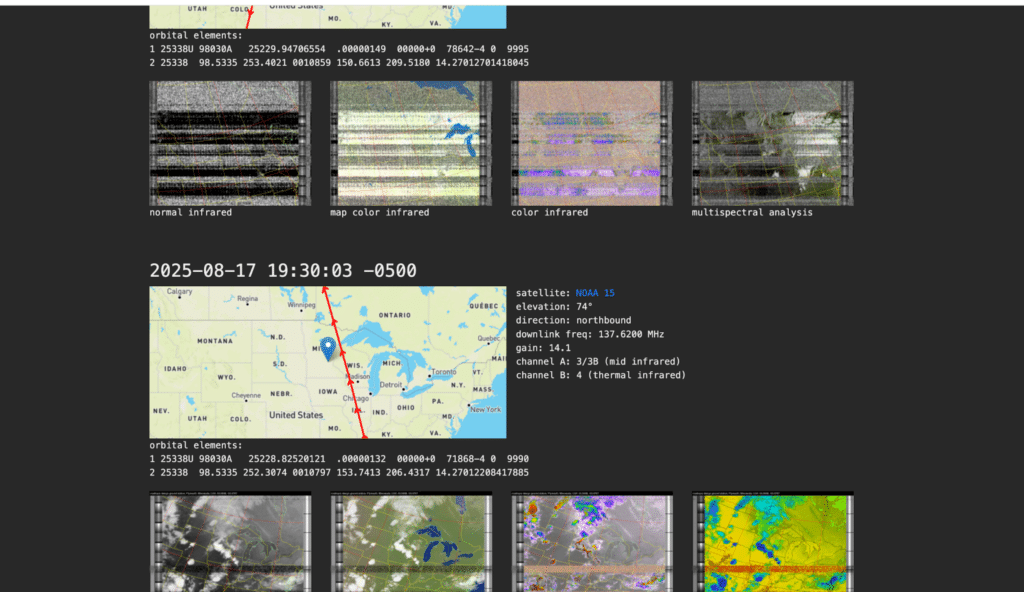
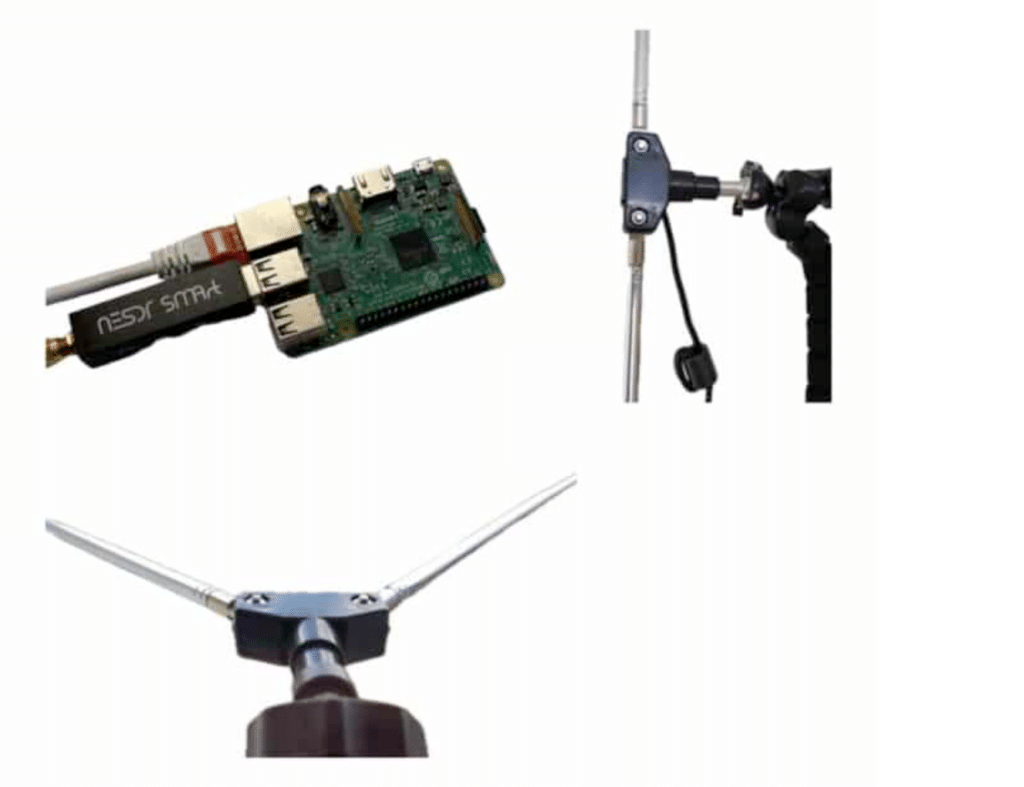
RTL SDR Dongle Satellite Weather Receiver
This setup enables real-time reception and decoding of weather images transmitted by orbiting satellites. The decoded images can be displayed locally, stored automatically, or uploaded online for remote viewing.

While direct satellite reception is primarily useful for satellites that broadcast openly over North America and other regions, for India, weather imagery is commonly obtained from INSAT based meteorological services and associated weather data portals.
The RTL SDR receiver captures Low Rate Picture Transmission (LRPT) signals from active satellites such as Meteor M2-3 and Meteor M2-4. These satellites use Quadrature Phase Shift Keying (QPSK) modulation to transmit colour weather imagery at approximately 137.1MHz.
Following the retirement of legacy NOAA APT weather satellites in 2025, Meteor M series satellites have become the primary source of openly accessible weather imagery for hobbyists.
The Raspberry Pi manages the entire reception process by scheduling satellite passes using Two Line Element (TLE) orbital data, compensating for Doppler shift, decoding received signals into images, and optionally uploading the results to a web platform.
Bill of Materials
The complete list of components needed is listed in Table 1.
| Item | Description | Quantity | Approx. Cost (USD) | Source/Notes |
| Raspberry Pi 4 | Model B, 4GB+ RAM, Wi-Fi for SSH/web access | 1 | 50-70 | Amazon, raspberrypi.com. Pi 3 viable but slower. |
| RTL-SDR dongle | Nooelec NESDR Mini (RTL2832U + R820T) or RTL-SDR Blog V4 (R860, TCXO) | 1 | 20-30 | Amazon (e.g., Nooelec B008S7AVTC). V4 preferred for stability. |
| Antenna | V-dipole kit (telescopic, 53.4 cm elements) or DIY (wire + RG58 coax) | 1 | 10-20 | RTL-SDR Blog dipole kit; DIY with 21-inch wires. |
| Coaxial cable | RG58/RG174, 3-10m for outdoor placement | 1 | 5-10 | Low-loss for >3m runs; included in some kits. |
| USB extension cable | 1-2m USB-A to reduce EMI | 1 | 5 | Standard, included with most dongles. |
| SD card | 16GB+ microSD, class 10 for Pi OS | 1 | 5-10 | High-speed for reliability. |
| Power supply | 5V/3A USB-C for Pi 4 | 1 | 10 | Official to prevent undervoltage. |
| LNA | 137 MHz low-noise amplifier (e.g., Nooelec LANA) | 1 | 20-30 | Boosts weak signals. optional. |
| Bandpass filter | 137 MHz to block GSM/Wi-Fi interference | 1 | 10-20 | Critical in urban areas. optional. |
| Enclosure | Weather-proof for antenna; case for Pi/SDR | 2 | 10-15 | 3D-print or buy for outdoor durability. Optional. |
| AWS account | S3 bucket for hosting images | 0 | Free tier | For automated web display. optional. |
Hardware Setup and Configuration
To begin, prepare the Raspberry Pi by flashing Raspberry Pi OS using the Raspberry Pi Imager tool. After booting the system, update all packages using the following commands:
- Connect the RTL-SDR dongle to a USB port (preferably through an extension cable to reduce EMI) and ensure the Pi has a stable power supply since the SDR draws about 200mA; outdoor installations may use a weatherproof enclosure or PoE for reliability.
- After completing the assembly, reboot the Raspberry Pi and confirm that the SDR is detected by running lsusb, which should show the Realtek RTL2832U.
Antenna Setup
A properly tuned V dipole antenna is essential for receiving weak 137MHz satellite transmissions.
The antenna can be built using two 53.4cm wire elements arranged in a 120-degree V configuration, or by using a commercially available RTL SDR dipole antenna kit adjusted to the same dimensions.
Install the antenna in an open location with a clear view of the sky, preferably at a height of 5m to 10m. Position it broadside to the satellite path for maximum signal strength.
If reception is weak, a 137MHz low-noise amplifier (LNA) can be added. Coaxial cable runs should be kept as short as possible to minimise signal loss.
After assembly, reboot the Raspberry Pi and verify SDR detection using:
lsusb (should list Realtek RTL2832U).
The output should display the Realtek RTL2832U device.
Satellite Configuration
Install the required dependencies by entering the following commands in the terminal:
sudo apt update
sudo apt install libusb-1.0-0-dev cmake sox at predict git nodejs npm
git clone https://github.com/keenerd/rtl-sdr.git
cd rtl-sdr
mkdir build && cd build
cmake ../ -DINSTALL_UDEV_RULES=ON
make && sudo make install
sudo ldconfig
sudo cp ../rtl-sdr.rules /etc/udev/rules.d/
reboot
Installing WXtolmg (for APT/NOAA Legacy)
For legacy NOAA support, install WXtoImg using the following commands:
wget https://wxtoimgrestored.xyz/beta/wxtoimg-armhf-2.11.2-beta.deb # Check for latest version in 2025
sudo dpkg -i wxtoimg-armhf-2.11.2-beta.deb
wxtoimg # Run once to accept license
Edit ~/.wxtoimgrc: Add your lat/long/alt (e.g., latitude=40.7128N, longitude=74.0060W, altitude=10).
Meteor-M Configuration
Install the required LRPT decoding tools:
text
git clone https://github.com/artlav/meteor_decoder.git
cd meteor_decoder
make
sudo make install
# Also: meteor_demod from https://github.com/dbdexter-dev/meteor_demod (compile similarly)
Configure Predict
Configure Predict by entering the ground station location.
Enter ground station: Callsign (e.g., WX1), latitude (positive N), longitude (positive W), altitude (meters).
Automation Scripts
Clone repo (updated fork for Meteor if needed; original for NOAA):
git clone https://github.com/nootropicdesign/wx-ground-station.git
cd wx-ground-station
./configure.sh
cd aws-s3
npm install
Edit scripts (upload-wx-images.js, etc.) with AWS details: REGION (e.g., us-east-1), BUCKET, LOCATION.
For web: Upload index.html js files to S3; set public access.
For Meteor: Use community scripts like raspberry-noaa-v2 (git clone https://github.com/jekhokie/raspberry-noaa-v2.git) for automated LRPT decoding.
Schedule passes: Use cron to run predict and trigger rtl_fm/wxtoimg or meteor_demod.
Testing Weather Satellite Station
- Basic RTL-SDR Test: rtl_test -t (no lost samples indicates good hardware).
- Manual Reception: Use GQRX (install: sudo apt install gqrx-sdr) to scan 137 MHz for FM signals during a predicted pass (check TLEs from celestrak.com).
- Pass Prediction: Run predict -p ‘NOAA 15’ | head -1 or, for Meteor: Update TLEs and test.
- Full Cycle Test: Schedule a pass with at command or cron. Record with rtl_fm -f 137.62M -s 48000 -g 45 -p 0 – | sox -t raw -r 48000 -es -b 16 -c 1 -V1 – output.wav. Decode: wxtoimg -e ZA output.wav image.png.
- For Meteor: rtl_fm -f 137.1M -s 140k -g 45 – | meteor_demod -B -o qpsk.iq, then decode to image.
- Verification: Check for decoded images (clouds/land visible). If noisy, adjust gain/ant elevation. Upload to S3 and view site.
- Troubleshooting: Weak signals? Add LNA/filter. No passes? Update TLEs. For 2025, confirm Meteor activity via online trackers.
Indian Satellite Weather Station
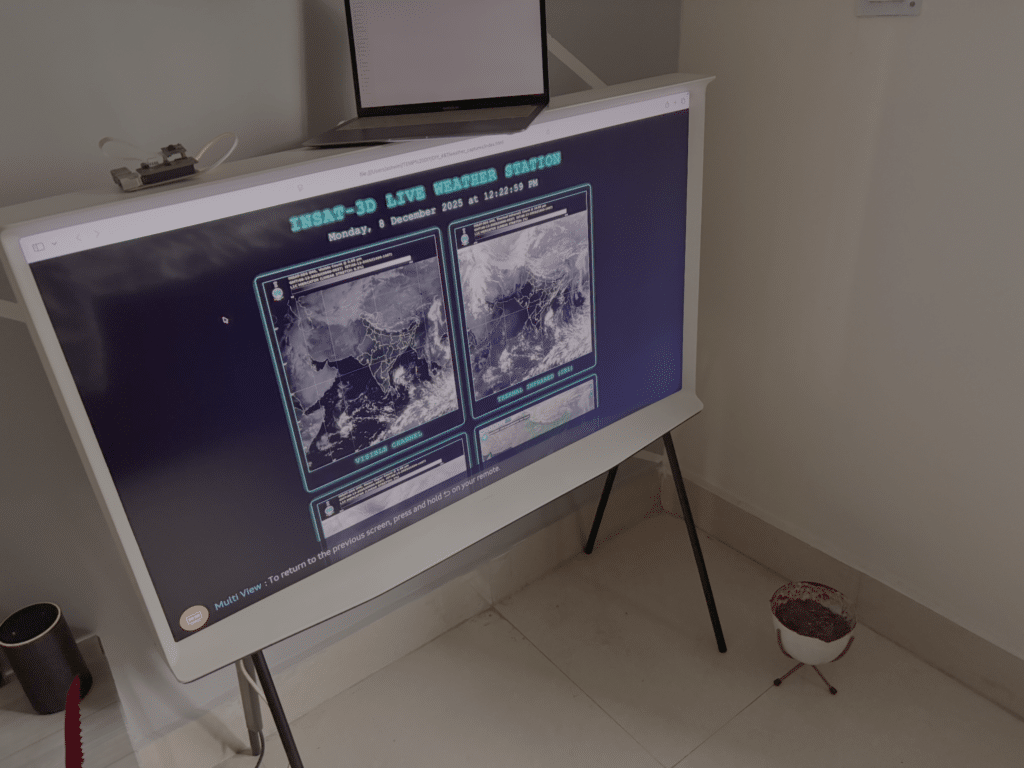
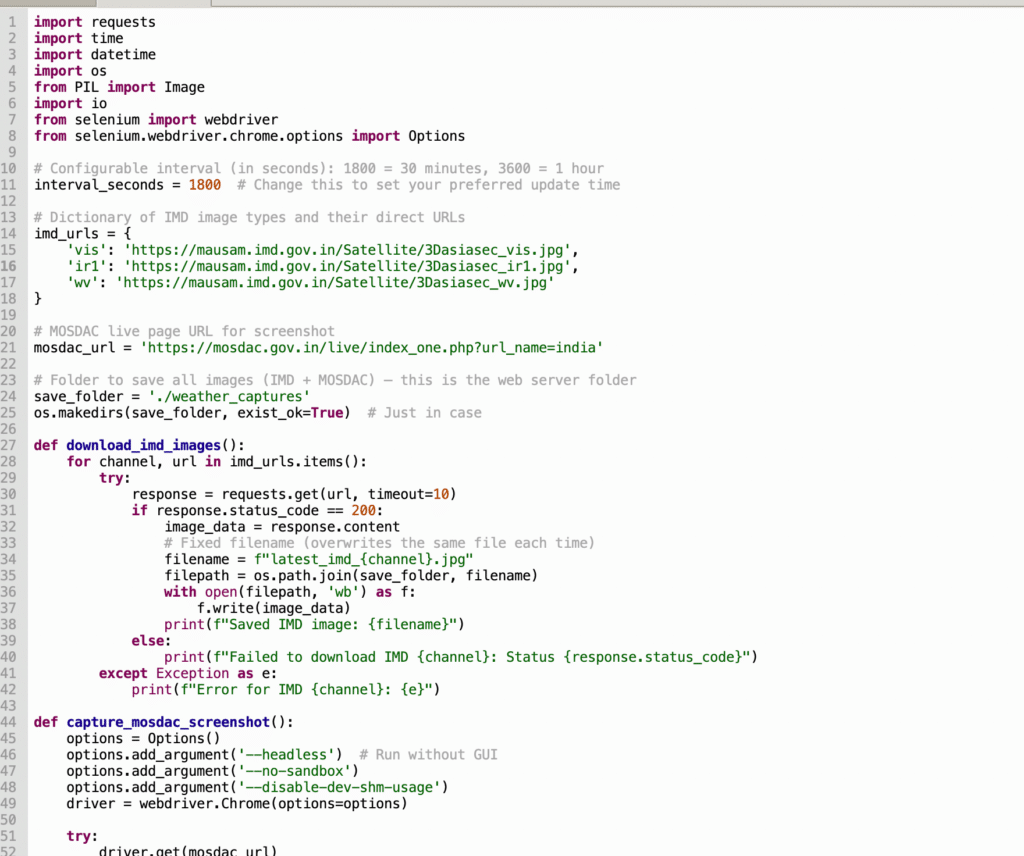
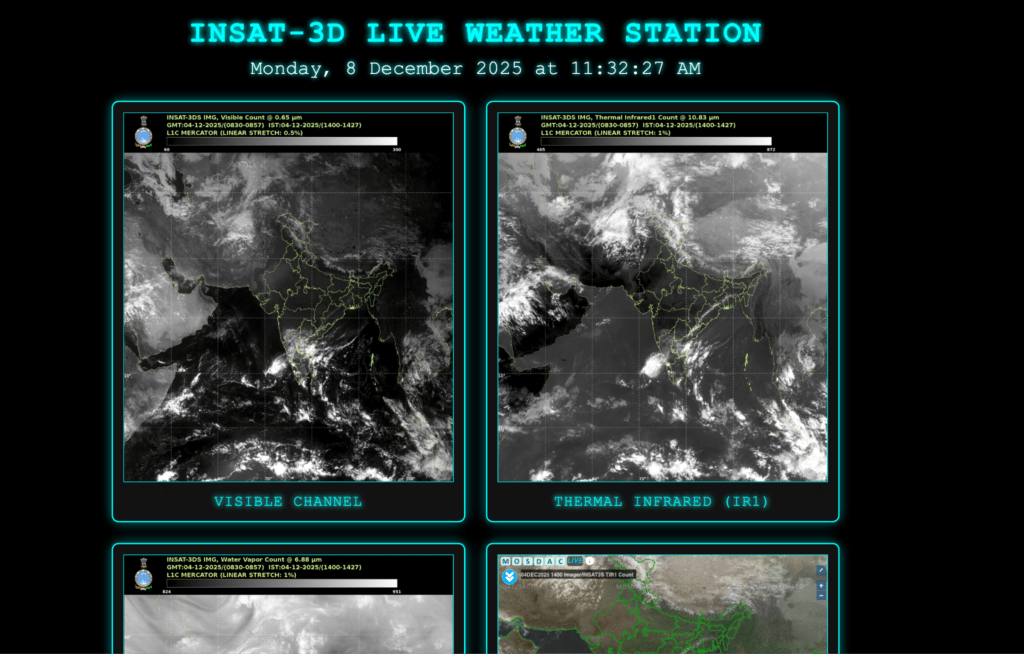
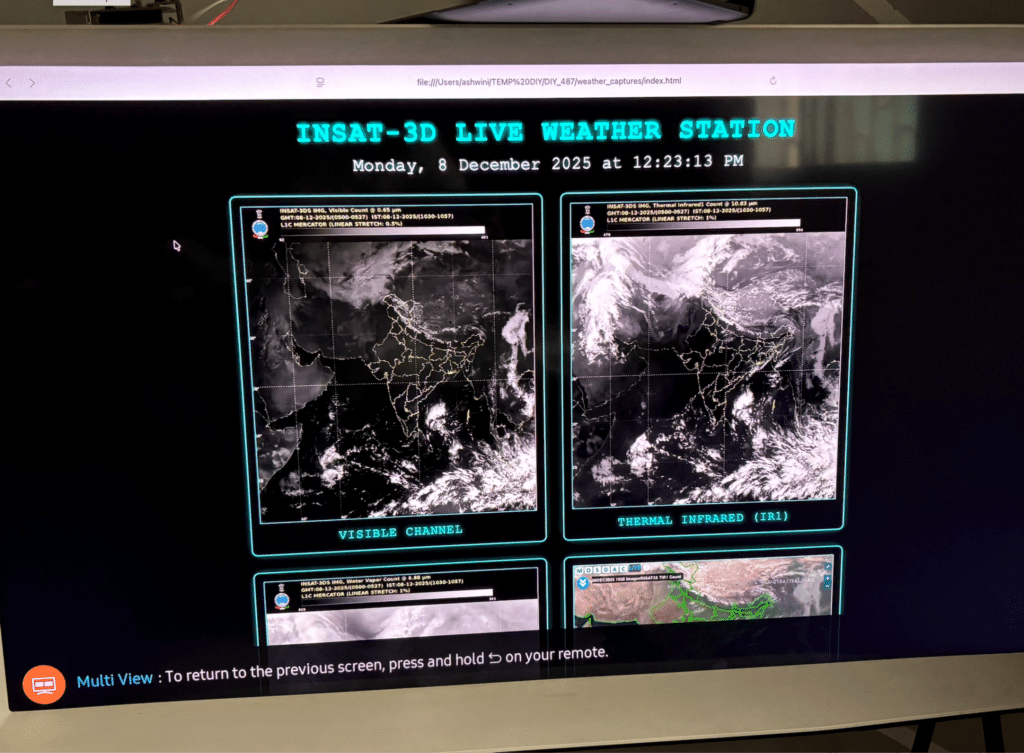
For an Indian weather satellite station, satellite imagery can be retrieved directly from publicly available meteorological portals using Python automation scripts.
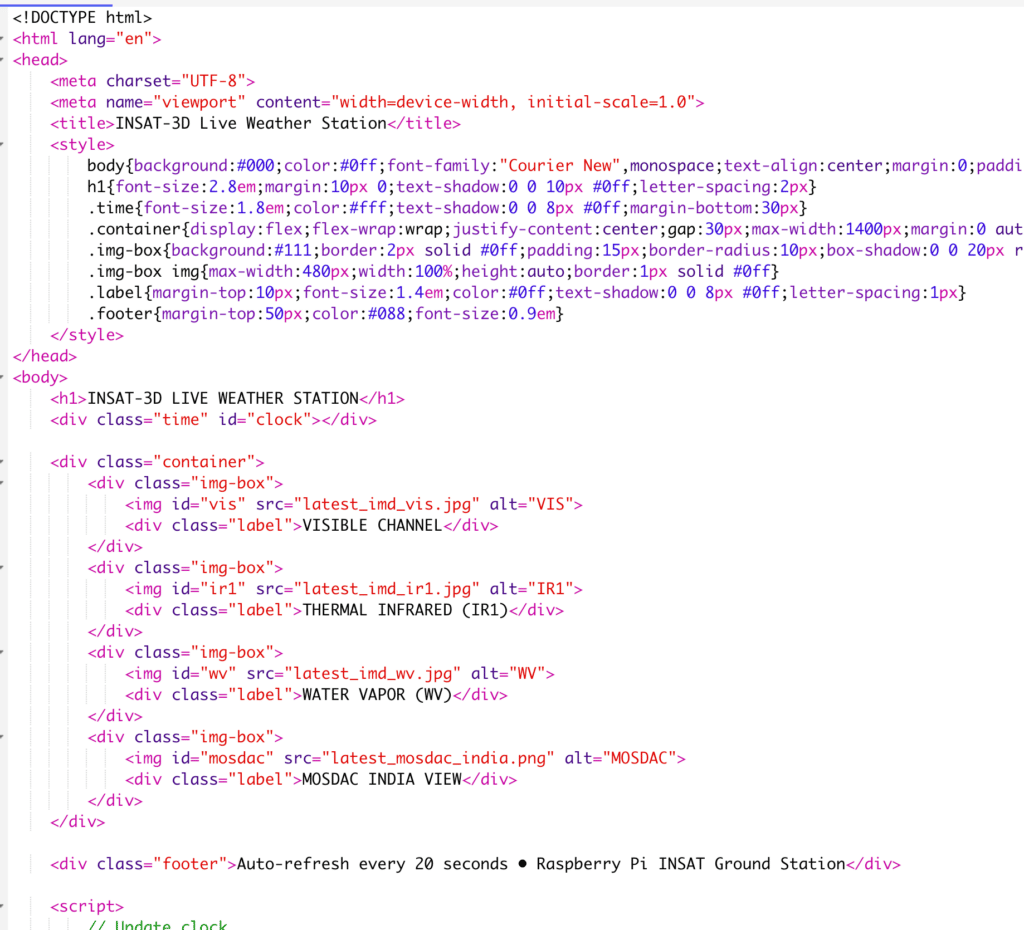
The script connects to the weather portal, downloads the latest satellite images, and stores them locally. An HTML dashboard then displays the images and automatically refreshes them at predefined intervals (see Figure 3).
Installing Dependencies
Install Python 3 and Selenium using the Linux terminal. In most Raspberry Pi OS versions, Python 3 comes pre-installed along with the IDE Thonny.
Install Python 3 and Selenium using the following commands:
sudo apt install thonny
sudo pip3 install selenium
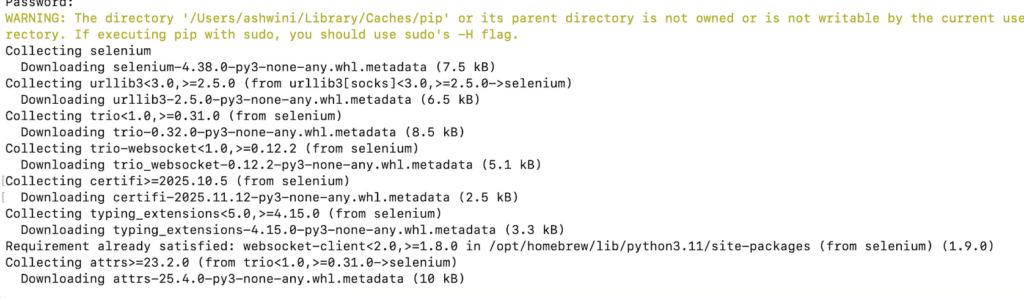
Next, create a Python script that downloads weather satellite images from the portal. Typically, three types of imagery are available: visible spectrum images, infrared (IR) images, and water vapour imagery.
Store the downloaded images in a designated folder and configure the HTML dashboard to refresh every 30 minutes.
Once both the Python script and webpage are running, the system functions as a lightweight weather monitoring station, automatically displaying the latest satellite imagery available from the source portal.
Other Weather Satellite Station Projects
- Set Up Your Own Weather Satellite Receiving Station
- Weather Satellite Station For Meteor M2 Reception