


This article shows how to build a simple, low-cost smart trolley robot using an Arduino Uno and Bluetooth (HC-05). The trolley can move forward, backward, left, right, or stop based on commands sent from an Android app. Designed as a lightweight and practical alternative to expensive smart trolleys, the project covers the circuit, components, programming, construction, and testing, making it ideal for beginners in robotics, DIY automation, and smart retail or warehouse applications.
Robots’ applications span across diverse domains—industry, homes, hospitality, events, agriculture, and even space exploration. Within this broad landscape, the Smart Trolley Robot, TROLL.E 1.0, is being introduced here. Lightweight, structurally simple, and engineered for precise control, the robot offers both efficiency and ease of use.
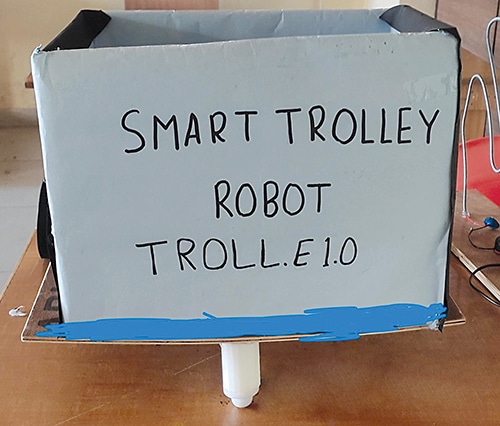
In most malls, shoppers continue to rely on mechanical trolleys that require manual effort. Smart electric alternatives remain uncommon in retail and warehouse settings. Although some digital trolley models exist, they tend to be expensive and overly complex. Fig. 1 shows author’s prototype for a simple yet smart trolley robot.

POC Video Tutorial
To assemble this robot, the required components are listed in the Bill of Materials table.
| Bill Of Materials | |
| Components | Quantity |
| Arduino Uno (MOD1) | 1 |
| Bluetooth HC-05 (MOD2) | 1 |
| L298 motor driver (IC1) | 1 |
| 12V, 500 RPM geared DC motor (M1, M2) | 2 |
| Battery holder | 1 |
| USB cable | 1 |
| Breadboard | 1 |
| Battery 18650 3.7V 2000mAh | 4 |
| Wooden plank | 1 |
| 100mm diameter tyres and robot wheels with 6mm shaft | 2 set |
| Small castor wheel | 1 |
Smart Trolley Robot Circuit and Working
Fig. 2 shows the circuit diagram of the smart trolley tobot. Bluetooth technology has been used to enable wireless control. The device is built around an Arduino Uno (MOD1), Bluetooth module HC-05 (MOD2), L298N motor driver (IC1), two 12V, 500 RPM geared DC motors (M1, M2), 100cm diameter wheels with 6mm shafts, a breadboard, jumper wires, USB cable, wooden plank, battery holder, and four 18650 Li-ion battery cells (3.7V, 2000mAh each).
Recommended: Check tested Arduino projects.
